We all have outdated pieces of wood furniture lying here and there in our houses. You may have a sentimental attachment to a piece or it is very well-made. But what to do if its color or finish is getting old? Can you spray paint paint wood?
Yes! However, you do need to use the right approaches for a DIY project. If there’s paint or varnish that needs updating, or the wood is stained, you may need to expand your painting process through priming. Moreover, you have to choose the right spray paint as well.
Let’s walk you through the process of spray painting the wood furniture with all the tips and how to do it yourself.
Table of Contents
6 Easy Steps to Spray Paint Wood Furniture
While the answer to the question “Can you spray paint wood?” is yes, you do need to use the right steps and approach. The step-by-step process for spray painting wood is as follows:
1. Put the Safety Measures in Place
For a safe project of spray painting wood furniture, you need a mask, eye protection, and gloves. These safety measures are crucial because spray paint isn’t something you want to breathe or get into your eyes.
Safety measures are also recommended for the debris created during sanding. Plus, the paint can easily get on your hands. So, put all the safety measures in place, before proceeding to the painting project.
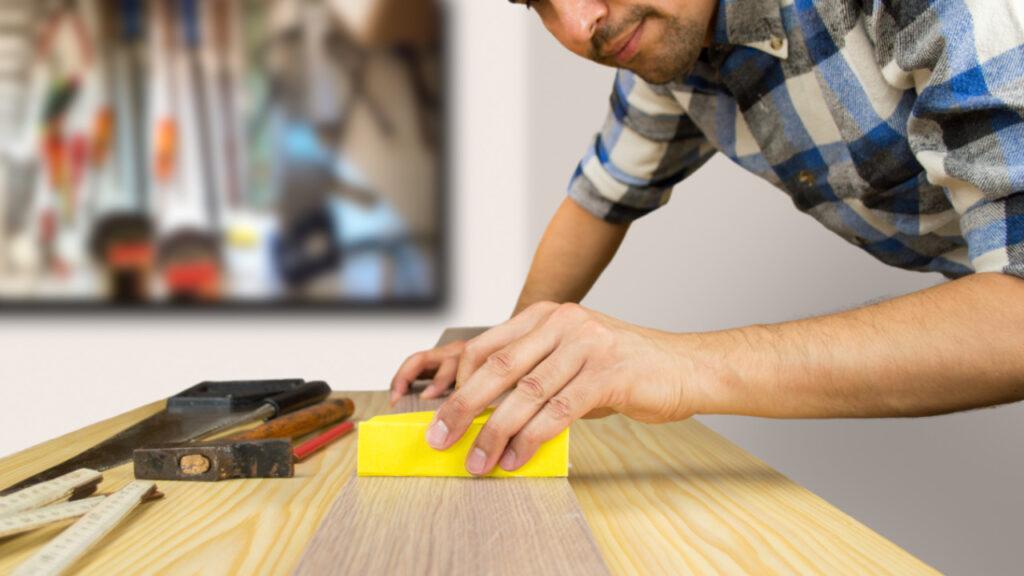
2. Sand the Wood Surface
Sanding the wood surface is always a good idea, whether you are going to paint bare, stained, or varnished wood. Sanding allows you to address rough spots on the furniture surface.
You may also de-gloss the surface through sanding, handle paint peels, or tackle other wood surface-related issues.

However, the sanding grit level you need depends upon the problems you are addressing. If the surface is notably uneven, you may want to go with a medium grit in the 100-150 grit range.
If you are preparing paint for any small issues, a fine grit between 200-300 could do the job for you.
3. Clean the Wood Piece
Once you are done with sanding, clean the debris from the piece thoroughly. You can use a clean rag to wipe down the surface. It will ensure that all dust has been taken care of before moving on to the next step.
4. Select a Paint-Friendly Location in the House
Painting is a messy job. If you are going to use spray paints, you will need to select a paint-friendly location in the house.
Ideally, it’s best to choose an area where you can freely use over-spraying. It can include an open area or a location where you can cover everything in the vicinity with sheets. In this way, you can manage to save the background objects from any paint splashes.
Moreover, place a piece of clothing to protect underneath to protect the floor. The spray painting of the wood furniture will need a downward direction. You will want to cover the floor from getting paint marks and splashes because you will have to clean your hardwood floors thoroughly.
5. Apply Primer to the Wood
Although priming is usually recommended before painting, it could be optional depending on the type of paint you choose and the general condition of the wood surface.
If you choose to apply primer, don’t forget to follow the manufacturer’s instructions before applying. Then, give it time to dry fully before moving forward.
It is recommended to flip your wooden piece upside down and start painting on the underside. It’s best if you know your woodworking and how to handle the wooden pieces.
6. Start Spray Painting the Wood
When the primer gets dry, it’s time to start painting the wood piece. Read the label on the paint product to determine if you need to shake the can before painting. Moreover, you can also read the manufacturer’s directions to see if any spray will fall in any direction.
Afterward, flip the wood piece upside down. Apply long, even strokes of paint. Continue painting the edge of the piece before moving to the next round. Ensure a slight overlap as you paint. It will increase the odds that you will get complete coverage of the wooden piece.
During painting, it’s best to make an even coat that’s a bit lighter. It’s better than trying to load it with paint. If there’s too much paint, you will face the issues of paint drips and splashes. Focus on applying the paint evenly, while keeping in mind that a second coat can be crucial.
If the single coat works, you can simply let the wood piece dry. If it doesn’t work, follow the manual to know how long to wait before you can apply the second coat.
Afterward, give the wooden piece 24 hours to get fully dry.
4 Easy Steps to Sealing Spray Paint on Wood
After finishing the paint, you will normally want to protect the paint job. For that, you need to use a sealer. Here is an overview of how to seal spray paint on wood:
1. Choose a Sealant
Just like paint products, you can find many sealants on the market. Carefully choose the one that’s designed to work on the spray paint you have got.
2. Put on Protective Gear
Sealant is a harsh product. So, put on your protective gear again. It is specifically true if you are using a spray-on sealant. It can get to the eyes and the lungs, as well as to your hands. The protective gear will help you stay safe.
3. Use Long, Even Strokes
Once you are ready to apply the sealant, use long, even spray strokes. With spray products, you need to go slightly past the edge. If you are using a brush, try going in one smooth motion from edge to edge as you work.
4. Let the Sealant Dry
After applying the sealant, give it time to dry. Once again, read the manual to know the time for drying, ensuring you wait long enough.
Your old wooden piece is fresh, new, and ready to use.
Are You Prepared to Spray Paint Wood?
You need to choose the best spray paint for the wood surface. If you have high-quality spray paint, the end product will be smooth and flawless.
As long as you prepare the surface carefully for spray paint, you will be in good shape for a paint job well done.


