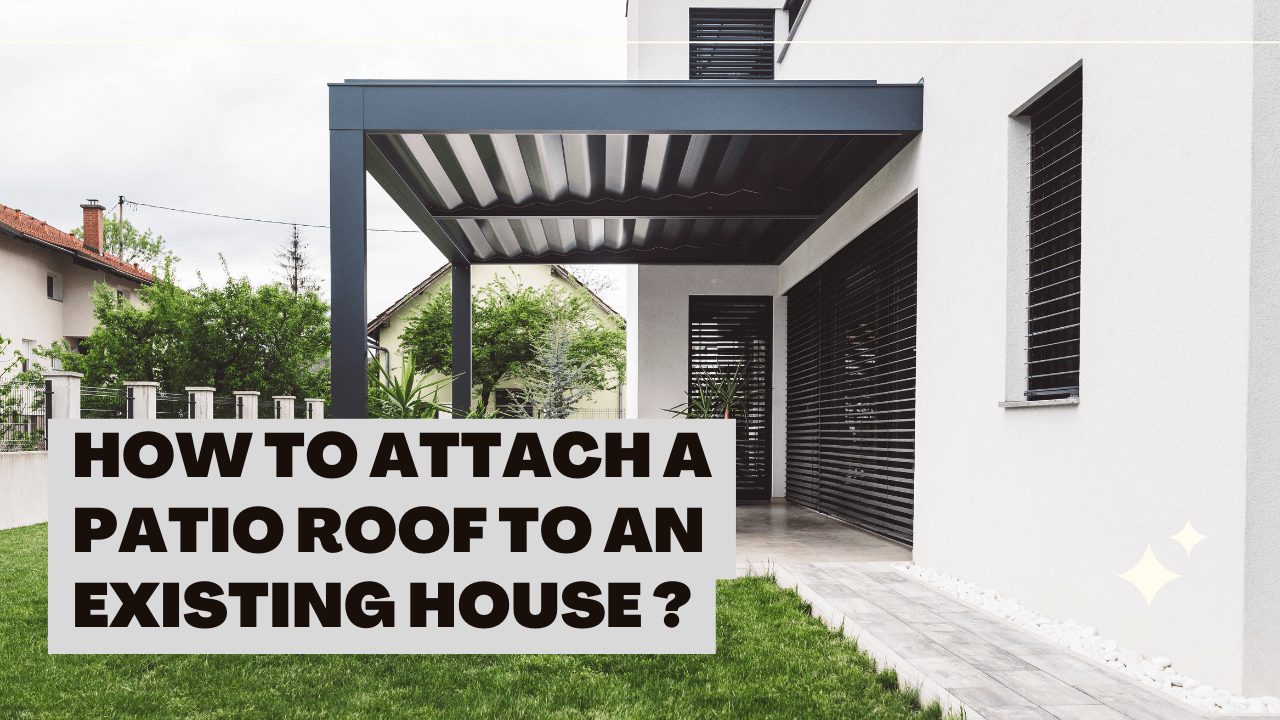
Patios are a must-have if you enjoy spending time in the sun and unwinding in your private place. Even yet, the weather won’t always be in your favor, and a patio roof is an addition that can allow you to spend time outside regardless of the weather.
It’s probably the essential guidelines you’ll get to read if you’re here to discover how to attach a patio roof to an existing property. Patio roofs don’t necessitate extensive planning or technical expertise.
You can create a patio look that flows from roof to roof by attaching a patio roof to an existing house. This patio roof requires some patience and carpentry abilities, but you can make it work if you have the skills and the time. It not only protects you from the sun and rain, but it also adds to the beauty of your home.
Continue reading to learn how to attach a patio roof to an existing home.
Table of Contents
Steps To Attach A Patio Roof
It’s not straightforward to attach a patio roof to an existing house. It is possible, but it necessitates a great deal of motivation and focus. In addition to high morale, you’ll need the right tools to do this endeavor.
Patio roofs can be dangerous if not done correctly, primarily if you reside in a location where strong weather conditions frequently cause roof damage.
Make sure you use tools correctly to avoid any danger and keep yourself and anyone around you safe. The essential needed tools for this project are a ladder, power drill, saw, level, carpenter’s tape and wood material, including rafters and shingles.
1) Determine The Roof Position
A patio roof can be attached in several different ways. Each position has its own set of advantages and disadvantages in terms of attachment processes. Examine each of these options to find which one best fits your needs. After that, you’ll be able to figure out how to install a patio roof to an existing house.
You can go higher and remove the house’s gutter rather than building your patio roof at eaves level. The backchannel will be considerably higher than in the previous example, resulting in a tall patio roof.
Eaves-level patio roofs require transfer flashing, whereas high patio roofs do not. This is the factor that allows you to gain a few centimeters in height.
2) Get Permit From Local Authorities
Before you begin, double-check that the regulations in your area do not need you to seek a building permit to make such a change. Local building codes vary, and if you don’t follow them, you could face punishment. You might not be able to add a patio roof due to local building codes.
3) Mount The Ledger
The house’s siding determines the method for installing a ledger. Relatively flat siding can be left alone, but you have to remove the clapboard, beveled wood, metal, or vinyl siding.
If your horizontal siding is beveled, use an inverted piece of siding to provide a plumb, flat surface for attaching the ledger, as shown in the figure. If your siding isn’t beveled, simply screw the ledger to it tightly.
A ledger should be attached to the house’s framework, such as joists on the second story or wall studs. Bolts that run through the ledger, the house sheathing and are then attached with nuts and washers provide the most robust ledger connection.
Use lag screws with washers instead of bolts when access to the opposite side is impossible. Nail or brace the ledger in place for the time being, making sure it’s leveled and positioned correctly.
Drill lag-screw or bolt pilot holes through the ledger and into the house’s framing, then double-check for level. Every 16 inches, fasten the ledger to the wall with half-inch lag screws or bolts.
4) Anchor The Ledger To A Masonry Wall
Expanding anchor bolts are used to secure a ledger to a masonry wall. Begin by drawing a line for the ledger’s top edge across the wall. Drill holes for the expanding anchors every 16 inches or as required by local codes, insert the anchors, hold the ledger in place, and tap the rear face of the ledger with a hammer to indent the anchor locations.
Drill bolt holes where the bolt heads have left markings after removing the ledger. Replace the ledger on the bolts, inspect for level, add washers and nuts, and tighten the bolts.
5) Add A Galvanized Metal Sheet On The Wood Sides
A roof ledger affixed directly to a home with wood siding should be covered with galvanized metal flashing that tucks up under siding to prevent water from leaking in behind it unless it will be shielded from the rain by the house’s eaves or a solid roof.
Use flashing and caulk the top edge if integral flashing isn’t possible, such as on a stucco wall. Before fastening the overhead roof rafters in place, you must complete this task.
Install the flashing, caulk the top edge, and fasten it to the structural members with galvanized nails penetrating at least one inch. Then fill up the nail heads with caulk. If the house is sided with shingles or lap siding, simply tuck the metal’s top edge as much as possible beneath the bottom border of the shingles or siding.
Final Thoughts
You can get inventive once you’ve figured out how to install a patio roof to an existing house. If the aesthetics of your property allow it, leave the beams exposed. Make the roof look more expensive by adding ornate trim or flashing.
Additionally, regardless of the weather, you can enjoy the outdoor sittings from the comfort of your home patio once you’re done.