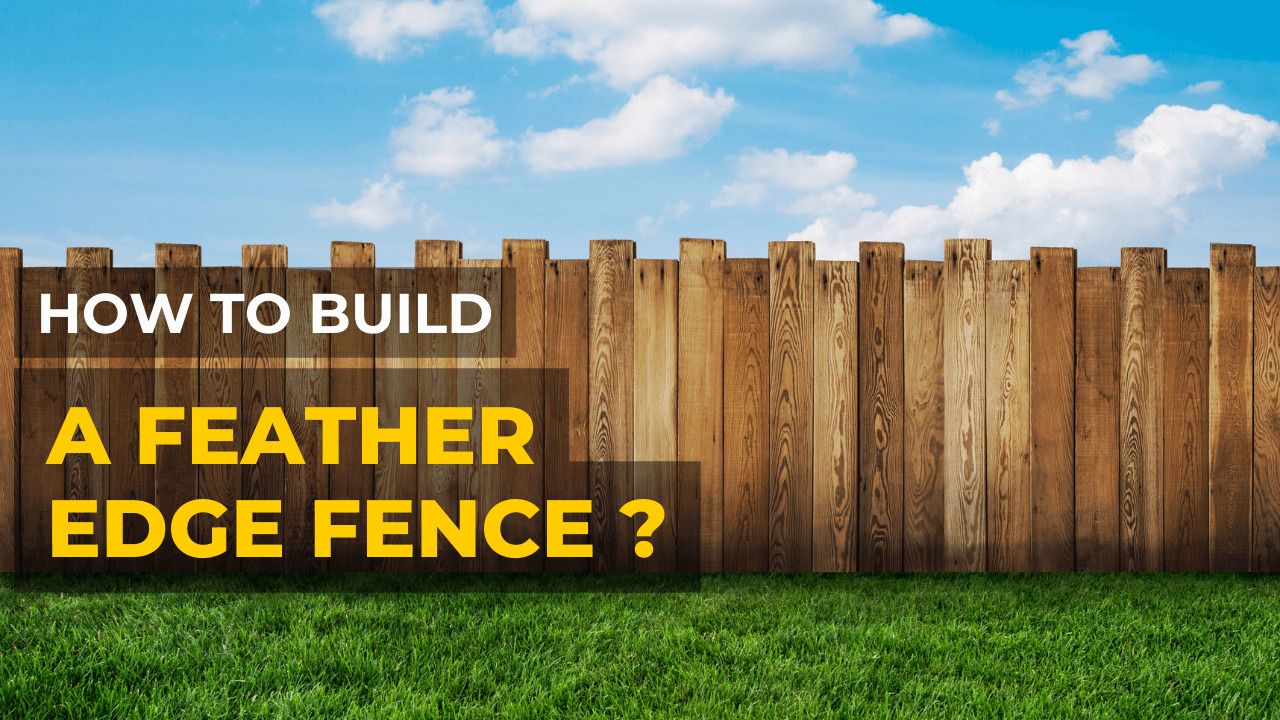
Feather edge fencing is a well-liked, sturdy, and beautiful alternative to typical fence panels. Close-board fencing may be built with the right materials, look wonderful, and last for many years. Additionally, compared to using regular panels, feather edge fencing is stronger and more resilient.
Depending on the level of finishing required, you must decide whether you need Gravel Boards and Post Caps before you start installing featheredge fencing. It would help to choose your panel width and the spacing between posts.
In this post, we’ll demonstrate how simple it is to install or construct featheredge fencing;
Table of Contents
Feather Edge Fencing: An Overview
Fence with feather edge boards attached vertically to the rails is known as close board or feather edge fencing. Although they can alternatively be made of concrete, which will be far more durable, fence posts are normally made of treated wood.
Either the posts can be poured into the ground with concrete or fastened with metal supports, which are less durable but much simpler and quicker. Rails are the connecting members fastened to the fence posts that you will bury in the ground. These can be attached to the post directly and fit into the fence post’s triangular notch.
Feather boards are ideal for use in close board or feather board fence. These boards provide the fence’s protection, fastened vertically to the rails.
Steps To Build Feather Edge Fence
Collect Needed Tools And Items
- Feather Boards
- Notch posts
- Arris rails
- Gravel boards
- Counter rail
- Capping rail
- Nails
- Hammer
- A bag of post fix
The fencings near boards are made up entirely of Feather Edge Boards. They are positioned side on and fastened to the three Arris rails after the Gravel Board has been hammered or screwed to both V-notch posts.
After that, the counter rail is fastened to a distinctive cut-out on top of the posts, to which the capping rail is fastened to complete the bay.
Measure The Needed Fence Panels
Featheredge fences are a part of featheredge fencing. It is also important to prepare by adding a few more boards. Following the selection of the desired panel width According to the fence’s length, you will need to estimate how many fence posts are needed.
When estimating the overall length of your post, make sure to account for the 2 inches necessary for it to reach the ground.
Remove Old Fence
Eliminate all obstacles, including concrete and old fence posts. Verify the width of each post along the run for any problems that can make it difficult for you to dig a hole for the posts.
If you set it up properly, there won’t be any interruptions during installation; if not, you’ll constantly have to stop and restart, which will lengthen the project’s completion time.
Secure The Fence Rails
The rails must be placed after the posts are firmly in place. The feather-edged timbers can sit on the gravel board and be secured simply for the length of the fence if the rails are flush with the front of the posts.
You have a choice whether to position the gravel board and rails such that the feathered timbers somewhat enclose the posts or not. To add additional strength, supporting brackets can be utilized while screwing the rails into the posts via the sides.
Fix The Boards To The Rails
Next, attach the first feather edge board to the exterior of your fence. Make sure something is 100 percent upright by using a spirit level. Fix each succeeding board behind it. A tiny block can be utilized to achieve the proper spacing and guarantee an even overlap.
To end at the outside edge of the post, measure the distance as you approach the final post and adjust the spacing. Your finish will be beautiful and tidy as a result.
What Would Be The Best Way To Attach Feather Boards To Fence Rails:
Galvanized nails are the way to go because they are considerably more corrosion resistant and will last longer. The thinner part of the board shouldn’t be nailed through primarily because it could split.
As we have demonstrated, you should drill pilot holes before using these nails to avoid this, especially if you plan to use them to secure the board’s thin edge. Although using galvanized nails is fantastic since they won’t rust, if they aren’t properly aligned, the nail head will stick out from the wood, which looks awful, especially in the sun.
We hope this tutorial will assist you with your feather edge fencing project and demonstrate the best way to evenly fit Feather Edge boards to build a fence that looks great and lasts for many years.