
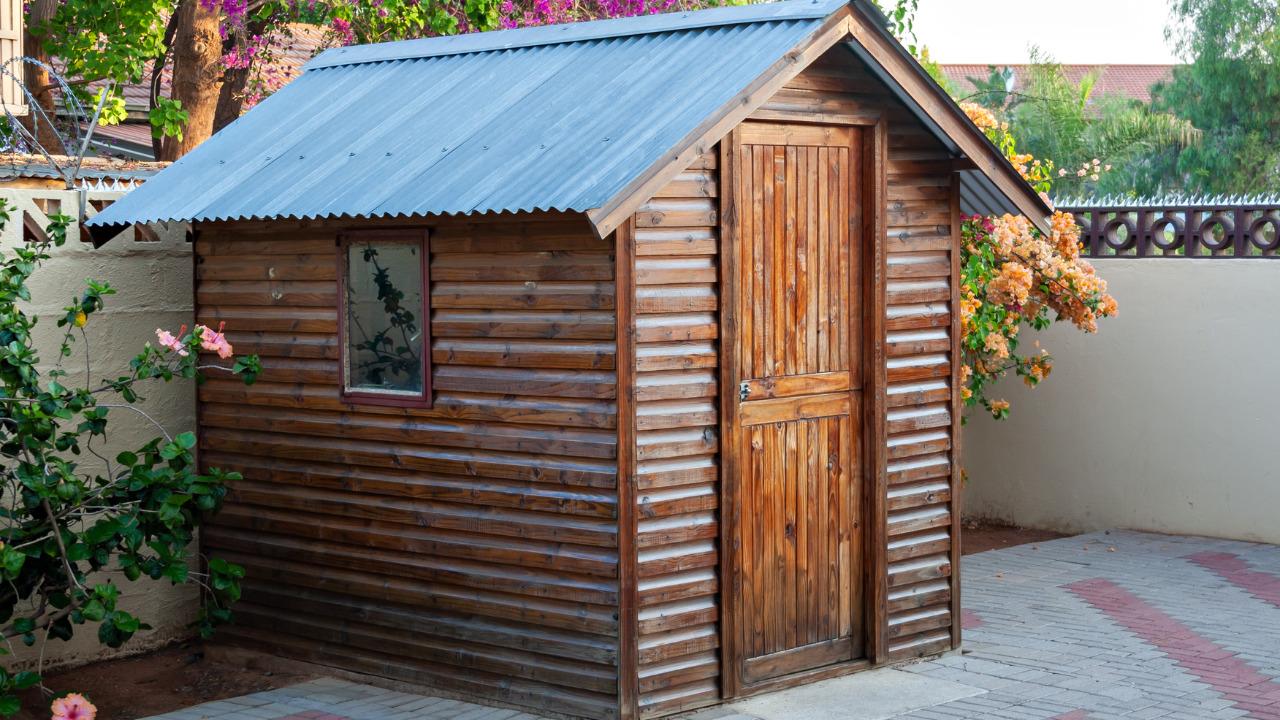
For a long time, homeowners have struggled with storage space. Many people find that adding a loft to a small shed is a great way to increase storage space. While this may appear to be an easy job for the home woodworker, the weight constraints of the loft should be considered.
Here are some shed loft instructions and guidelines that describe the various structural alternatives for installing a shed loft to expand storage space.
A loft may add storage or a workstation to a shed by giving you access to precious underutilized space. And while a loft addition may appear to be a difficult undertaking, it isn’t. Most DIYers can do this project in a single day. This guide will provide step-by-step directions on constructing a loft in a shed.
Table of Contents
What Is Loft? An Overview
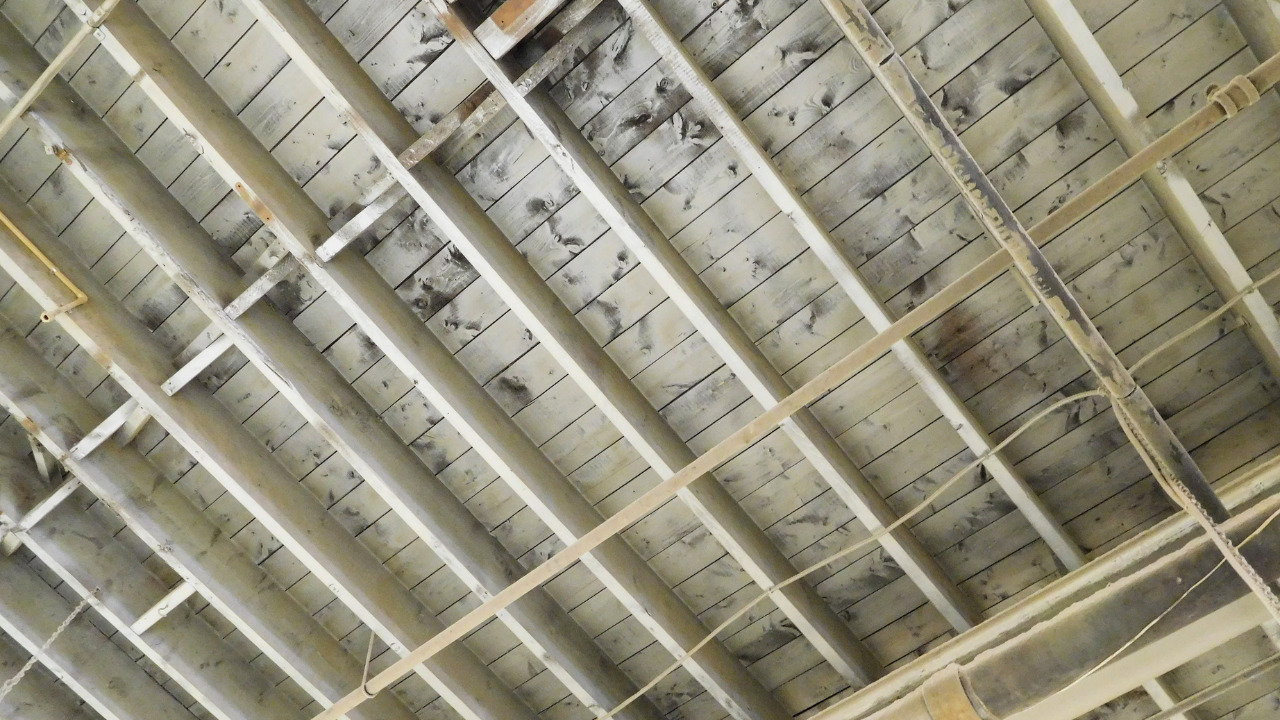
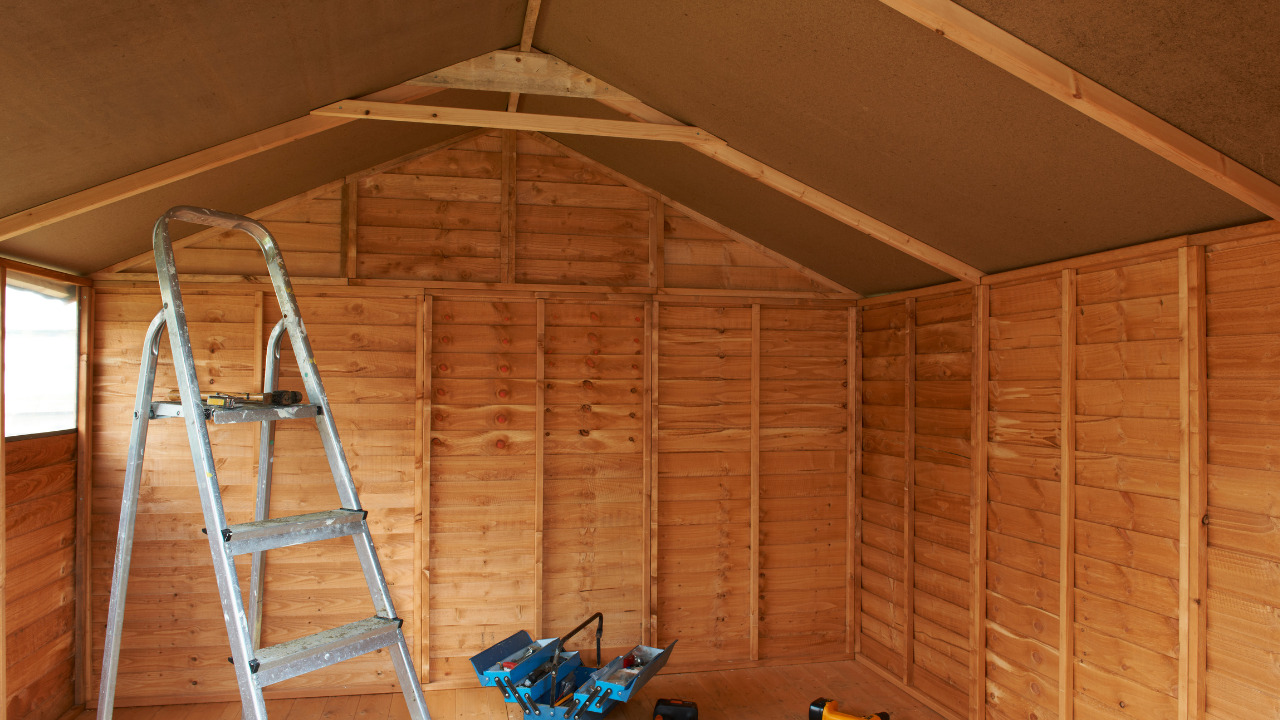
The interior roof area between the top of the wall plates and the peak of your roof is referred to as a loft. Ceiling joists are installed between the wall plates to create a loft; plywood is installed over the joists to make a floor.
Your shed’s whole roof space will be enclosed with a full loft. This is comparable to the attic space found in most full-sized houses.

A full loft increases your shed’s storage capacity and is excellent for larger sheds with higher roofs. Whether partial or full, Lofts can be huge, with enough room for a work area or even a living space, or modest, with just enough space for storage. The volume of the roof interior determines what you can accomplish with the loft area of a shed.
What Would Be The Best Loft Design For A Shed?
Most attic storage space is available in a shed with a gambrel or barn roof. This is a result of the extra headroom the gambrel truss offers. If your home has a gable-type roof, you might also want to maintain that style for your shed roof.
The amount of storage space in the shed loft of your gable-style shed may also depend on the roof pitch. Although the loft section of a saltbox-style shed and a lean-to shed will not provide as much storage space, there are still options to use some storage space up there.
Steps To Build A Loft In A Shed
Having the loft hatch at one end is ideal if you intend to utilize the loft as a ‘hangout’ room. This configuration makes the most of the available floor space. It’s entirely up to you!
A door in the loft’s front wall could be advisable for long goods. This solution was supposed to allow one of this site’s readers to keep a Kayak in his loft space. If you also want to build a loft in the shed yourself, Consider the following steps:
1) Collect Needed Tools
The things you will need to build a loft yourself include:
- Plywood
- Deck screws
- Mitre saw
- Tape measure
- 2*4 woodcuts
- 2*6 woodcuts for the sheds
- Ladder
- Joist hanger
- Electric drill
- Drill bits
2) Cut The Plywood Into Desired Size
In the location where the loft will be erected, find the studs in the walls. Measure and cut a piece of plywood to the loft’s desired length.
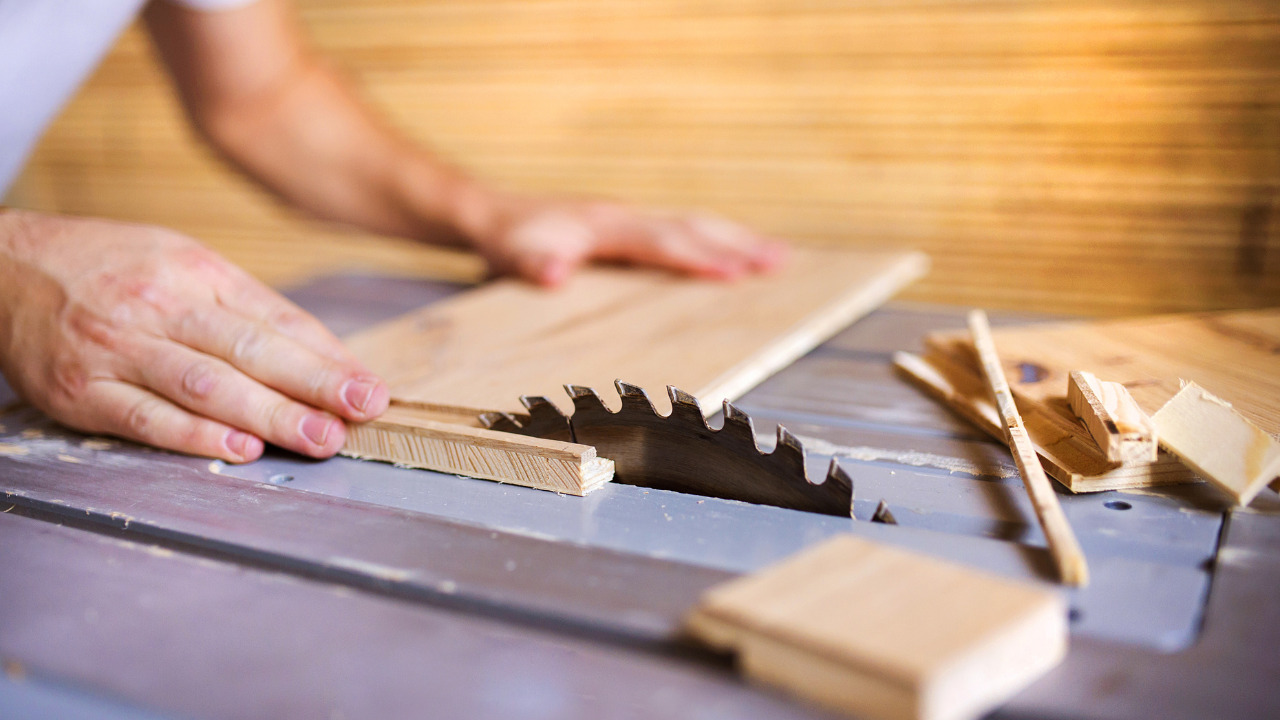
Make sure it’s 8 inches broad. Use deck screws to secure the plywood to the wall studs. Next, use the deck screws to secure the 2-by-4 joist hangers to the plywood. Maintain a distance of 12-16 inches between them.
3) Secure The Joist Hangers With Joist Screws
Place the cut wood into the joist hangers and use the deck screws to fasten them. At this stage, these become ceiling joists. Mark the distance between the shed’s walls and the desired width of the storage area.
Divide the width of the shed by three and mark the joists correspondingly if you’re using the complete width.
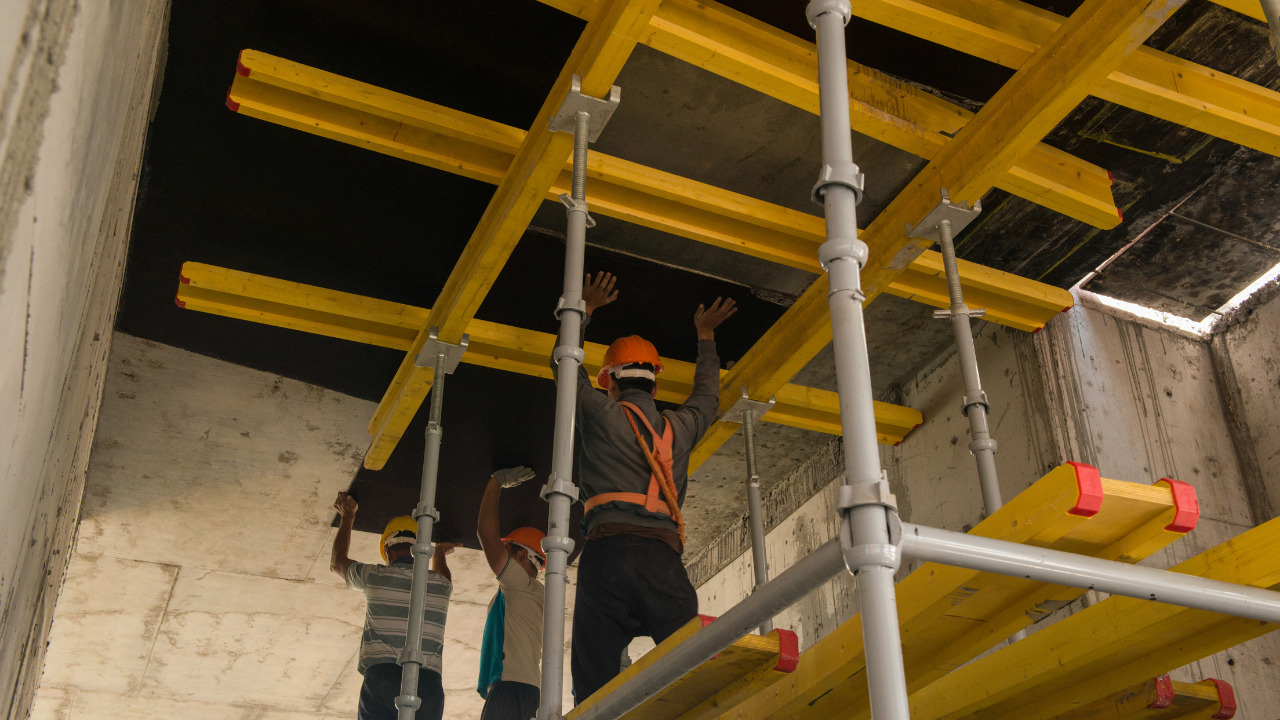
4) Use Braces For Strengthening The Ceiling Joists
Cut twice the number of joists needed from the rafters to the bottom of the ceiling joists. This bracing will strengthen the ceiling joists and enable additional weight to be placed on them. With deck screws, fasten the braces to the rafters and ceiling joists.
Ensure the braces are plumb to get the most strength out of them. Measure and cut a piece of plywood to fit on top of the ceiling joists in the chosen storage area. With the deck screws, fasten it to the ceiling joists.
5) Build Shed Loft Ladder
Measure the distance between the wall studs. This was simply because there wasn’t any sheetrock or other material on our wall. This ladder won’t work for you if your walls are made of sheetrock. After measuring and cutting the boards, fasten them to the studs with screws.
Furthermore, we widened the top board a little so we would have something to grip onto when we reached the top. The storage loft is immediately accessible. Additionally, screws can be used for added security.
The nails might have come out while you used the ladder. The screws are stronger.
6) Install The Subfloor Of The Shed
Depending on your requirements, you may or may not install a shed loft subfloor. For example, if you’re using a modest loft space to store items like lengths of lumber, the loft framing may be sufficient for certain people.
If you want a bigger or more useful loft, and especially if you intend to walk around, you may wish to lay down real flooring. Your choice of flooring material should be plywood. Your floor joists’ distance from one another determines the plywood’s thickness.

Spreadsheets over the joists and screw them down to install your subfloor. Before constructing the floor, if you intend to build a whole loft, you need to choose where your access point will be. The access point is the hole in your flooring that you will make to gain access to the loft.
Make sure always to have the step ladder nearby. Nobody wants to look for that annoying step ladder when it’s time to remove anything from the loft. Consider creating a permanent ladder to reach your space if your loft is full or larger than a partial loft.
You can also think about putting in pull-down stairs for a full-sized loft.
Make Sure To Use A Handy Ladder
Make sure you have the step ladder with you at all times. When it’s time to get anything down from the loft, no one wants to look for that pesky step ladder. Consider constructing a permanent ladder to access your space if you have a complete or half loft. If you want a full-sized loft, you may also install pull-down steps.
Your shed loft, often known as an attic, can be used for various things. The most obvious benefit is that it may enhance storage space. It could also be a play area in a playhouse for kids. Whatever your needs are, a loft in your shed will undoubtedly come in handy.
Conclusion
A loft extension to your shed can be a fantastic addition, allowing you to maximize the storage capacity of your shed while also providing additional workspace. And best of all, it’s a straightforward project that can be accomplished quickly and affordably.
Choosing the size and spacing of the floor joists and inspecting the deck material is the easiest part. Don’t own a shed? Consider building one
Hopefully, this tutorial has given you the information you need to plan and construct a safe and functional shed loft. Now, it’s your turn to install the loft in your shed to get some extra storage space.


