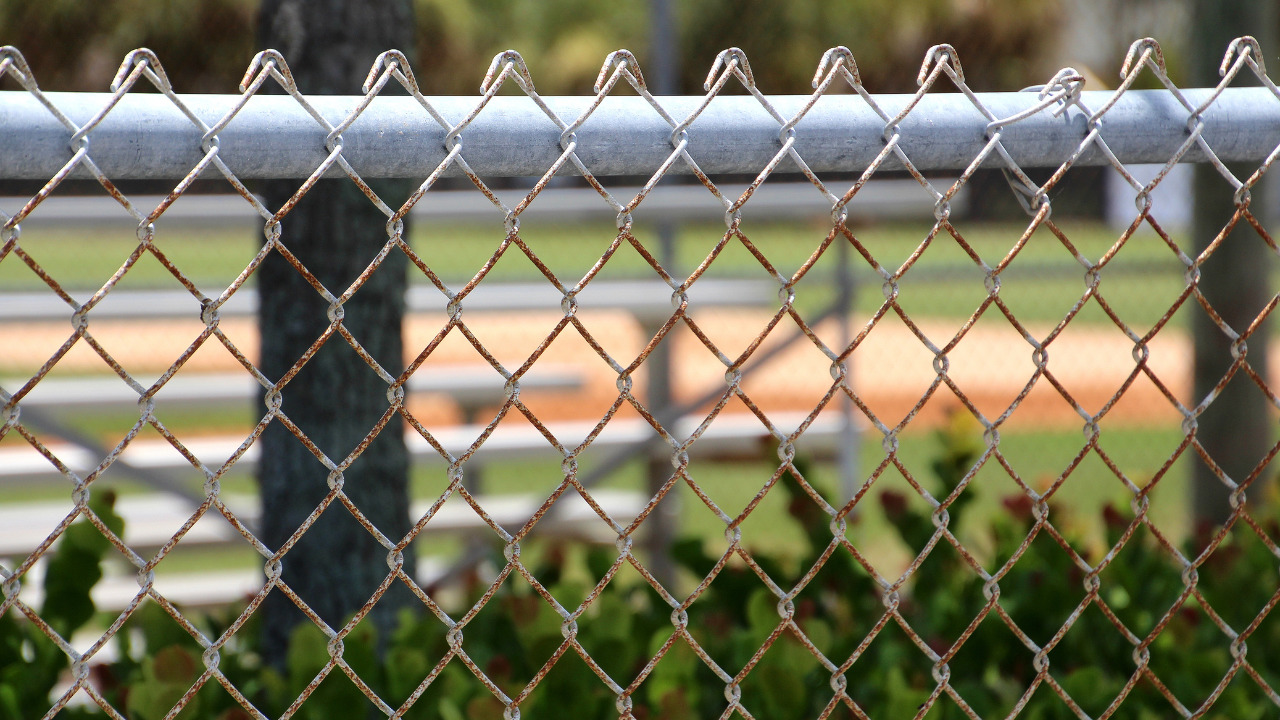
Galvanized metal fence posts are more durable than wooden fence posts and don’t decay. Using them in your wooden fence makes sense, especially if you’re converting a chain-link fence to a wooden fence for additional privacy.
Building a wooden fence with metal posts isn’t as challenging as it may appear, thanks to brackets that make concealing the posts and fastening the fencing a breeze. Although the final fence appears to have wooden posts, it will survive for many years.
Table of Contents
Steps To Build A Wood Fence Gate With Metal Posts
Needed Tools And Supplies
- Brackets
- Power drill
- Screws
- Tape measure
- Posts
- Steel Frames
- Metal posts
- Steel tubes
- Galvanized nails
- Lumber
- Gate hinges
- Chain-link fence gate
- Wrenches
- Pliers
Create A Design Layout

Planning your fence gate layout is the first step in a successful DIY fence gate project. But it’s helpful to know the most typical fence gate parts before designing your arrangement. Identifying the “rough opening” between the two fence gate mounting posts is the first step in arranging your gate configuration.
It’s time to buy your materials after you’ve measured the rough opening of your fence gate and taken some time to figure out the layout of your fence gate.
Use Brackets For Conversion
Most home and garden retailers and fencing suppliers carry the brackets you’ll need for the conversion. You can also get the brackets from those who make joist hangers, post holders, and steel connectors. Fence brackets are designed to fit efficiently around a galvanized post for an intermediate diameter.
Some use a tension bolt to hold them in place, while others fit over the post and are secured when the wood fencing is installed.
Make Columns Around The Posts
If you’re replacing a chain-link fence with a wooden one, you won’t need to bother putting posts because they’ll already be supported in concrete and placed about 8 feet apart.
Use posts long enough to sink a third of their complete length into the ground if you’re installing new ones. Make sure posts are at least 8 feet apart. The tops of the posts can be a fraction of an inch lower than the fence’s finished height.
It’s entirely up to you whether or not you build the boxes around the posts. If you love to have a faux column at each post instead of having the excellent-looking cedar fence material interrupted by bright silver posts, brackets, and hardware, go for it.
The left and right sides of the brackets will reveal if you look at the front of the column, and the silver finish will stand out like a sore thumb. It’s up to you to paint the brackets brown to blend in better.
Use Long Steel Frames
Let’s start with the frame, which holds everything together. These gate frames are not run-of-the-mill frames any longer. Each one is made from galvanized steel tube and welded in the home. You can accomplish a set of goals with the help of these steel tubes.
First, it helps you ensure the product’s quality and durability. Second, it enables customizing each gate according to the yard’s specifications. However, the slope may vary for the different yards. So, a standard square gate may not always be the best solution. It is better to tailor each gate to your yard’s slope.
Wrap The Metal Posts With Lumber

If you like the look of an all-wood fence, special brackets allow you to conceal the metal posts by wrapping them in lumber entirely. Screw vertical two-by-fours to the brackets to box in the side’s posts after securing the brackets to each post.
Cover the back of the box with one-by-six or two-by-six lumber. The fence boards will cover the front sides of the brackets. Cover the tops of the post boxes with a stylish horizontal top rail or individual peaked post caps to keep water out.
You can add the wood trim top cap to the fence to give the post’s columns an excellent and robust appearance. You can use 2*8 wood boards and trim with busted pickets.
Use Brackets To Install The Fence
The brackets make the job easy whether you build the virtual fence before or after wrapping the posts. The fence rails are fastened in place, usually two-by-fours, with their faces against the brackets. Except for the gate, screw the fence planks to the rails, and you’re done.

Because the gate is composed of a robust steel frame, you will need heavy-duty gate hinges to support its weight. But a heavy-duty hinge alone isn’t adequate. You can take it further by bolting it to a steel pole. This steel-to-steel design ensures that your fence gate will not sag or drag throughout the fence’s lifespan.
The thick round steel poles are next, possibly one of the most crucial pieces. Each post is composed of Schedule steel, which means it builds to withstand much abuse. The gate transfers weight from the frame to the hinge and the post each time you open it.
The frame’s weight would slowly bend over the top of the post without adding the heavy-duty post. So, it would be the last thing one should consider while building a wood fence gate with metal posts.
Construct The Wood Fence Gate Frame

Use the same gate hinges on a chain-link fence gate to use the galvanized post’s strength on the hinge side. To lower the weight of the gate, first, build a metal gate frame using thinner steel pipes than the posts.
Using galvanized steel corner brackets, connect the frame parts. Drill holes through the gate frame’s top and bottom rails, attach wooden rails with carriage bolts, then hang the gate frame from the post hinges—screw fence planks to the rails to finish the gate.
Make sure to measure the opening of the gate. Both sides of the gate opening should have stringers attached. The top cap, which moves with the gate, should be secured. Construct the gate structure and hang it in place precisely. You can use the pickets to cover the gate frame.
Attach the hinges after adding the pickets. For the latch, cut clearance holes. Make the top cap clearances. Enjoy your new fence gate once it is opened!
Mount Wood Fence Gate

A few paint stirrers are used as temporary shims to create a small stand-off on the hinge side when the gate is propped and clamped. It’s advisable to leave a small space on the hinge side due to the natural movement of wood and to ensure that the gate always closes completely without binding.
Add Slats And Hinges

Building a fence becomes exciting at this point. The majority of the difficult labor has been completed. Consider placing a thread over the top of the fence to mark where the slat tops should be. Depending on your needs and preferences, some fences are built with level tops, while others follow the landscape.
At this point, hinges should be added. Simple Home Depot gate hinges that come with lag screws can be used for installation. The required location for the hinges has been precisely noted, and pilot holes have been drilled in the designated areas for the screws. To install screws, use a socket wrench.
Install Gate Hardware

Place the gate in its initial position between the two mounting posts before mounting it. Using a scrap piece of wood as a spacer at the bottom of your gate is strongly advised. Doing so allows you to mount the hinges more easily and ensure that your gate is at the proper height.
Lastly, use shims to ensure your fence gate is leveled and centered between the two mounting posts. The mounting hardware needs to be installed when your fence gate has been properly positioned between your mounting posts.