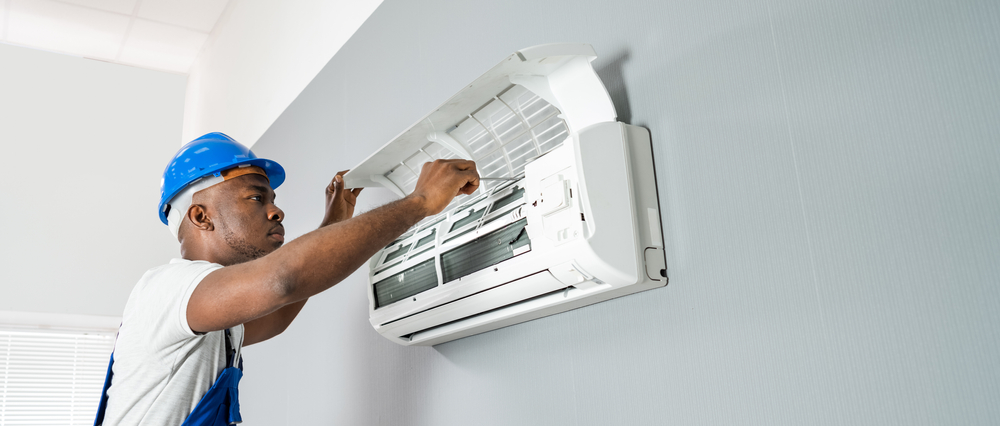
The conventional approach is to purchase a crimper designed for the task if you need to change a female end to a male fitting when working on HVAC or dust collector piping. Some advice suggests using a pair of needle nose pliers to deform the perimeter, which could lead to uneven, poorly-fitting work.
Instead, use this simple, cost-free technique to create a junction that fits better and looks more polished. Factory-made ductwork has one end crimped so that it may easily fit into the connecting piece when you purchase it.
Duct crimpers can be used to imitate such connections by using ductwork cut-offs. The staggered jaws of duct crimpers distort the metal into a corrugated pattern by compressing the handles like a pair of pliers.
Table of Contents
How To Crimp HVAC Ducts With A Plier?
Take a pair of wide-mouth pliers, two cut-off brads to the lower jaw, and one in the middle on the top jaw, and tape them with the brads. You now have a decent substitute for a genuine crimper tool, which means you just made significant time and financial savings on crimp projects.
Revolving the tool around the opening’s mouth while attempting to produce an even, undulating pattern. To fully and firmly fit the new male connection end into the following female part, you should experience enough shrinkage.
Steps To Connect Ductworks After Crimping
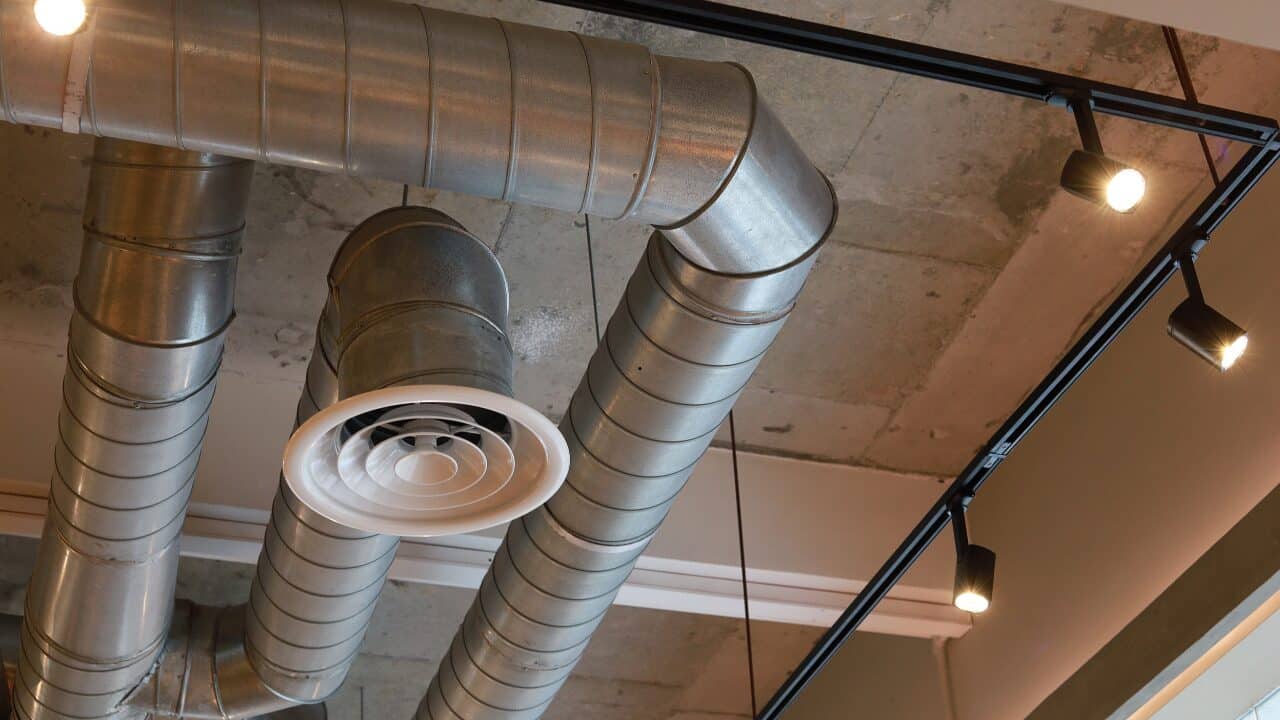
A component of your HVAC system, residential ductwork transports heated or cooled air from the furnace to the living area and returns the same volume of air to the furnace. This procedure mixes the air and keeps the house’s air pressure healthy, especially while the windows and doors are shut.
Round or rectangular sheets of metal are used to construct the ductwork. To distribute air throughout the house, several components are connected. It’s crucial to comprehend how to link the ductwork appropriately to guarantee proper connections.
Crimp Ducts Ends
Pick crimped and uncrimped ends on standard duct parts with crimped ends for the connection. The crimp tool, which resembles a pair of scissors, must be used to crimp the loose end if it still needs to be crimped.
As the crimp tool is pointed into the duct, position the sheet metal between the blades. Remove the crimp tool by pressing, releasing, and pulling. When you have the crimped duct end, move the tool along the duct aperture and continue to squeeze and release.
Install Crimped Ducts Ends
Round ducts are joined together by their crimped ends, which should go into their uncrimped counterparts. One or two flat-head screwdrivers can assist one duct into another if the ducts are challenging to attach. Foil tape should be applied to the duct connecting seam. To avoid air leaks, smooth the tape.
Use Self-Tapping Screws
Place a lengthy self-tapping sheet metal screw where the two ducts intersect to ensure a strong connection. With equal distances between the three screws, add two more screws along the seam. The three screws will stop the two ducts from splitting at the new seam and moving.
For rectangular ducts, consider the following steps;
Align Ducts Pieces
One duct must be joined, so place S-cleats on its two opposing bare metal edges. It is important to check that the S-cleats are not longer than the connecting side. Justify the placement of two identically sized rectangular ducts.
Connect Ducts Pieces
Insert the following duct’s two raw edges into the S-cleats that were put in place on the duct next to it. To make installation simpler, if necessary, gently open the S-cleat with a flat-head screwdriver. When the space between the ducts is as small as possible, keep pressing the two ducts together.
Attach Drives On The Remaining Ducts Sides
One at a time, slide the drives onto the two remaining ductwork sides. A minimum of 2 inches must separate the drives from the side of the joined duct. The drive should be left dangling over the duct seems corners. To lock the drive-in place and provide a more airtight connection, use a hammer to pound the additional drive material over each corner of the duct seam.
Tape the joint separating the two ducts. Your HVAC system will operate more efficiently if you smooth the tape to guarantee an airtight connection.