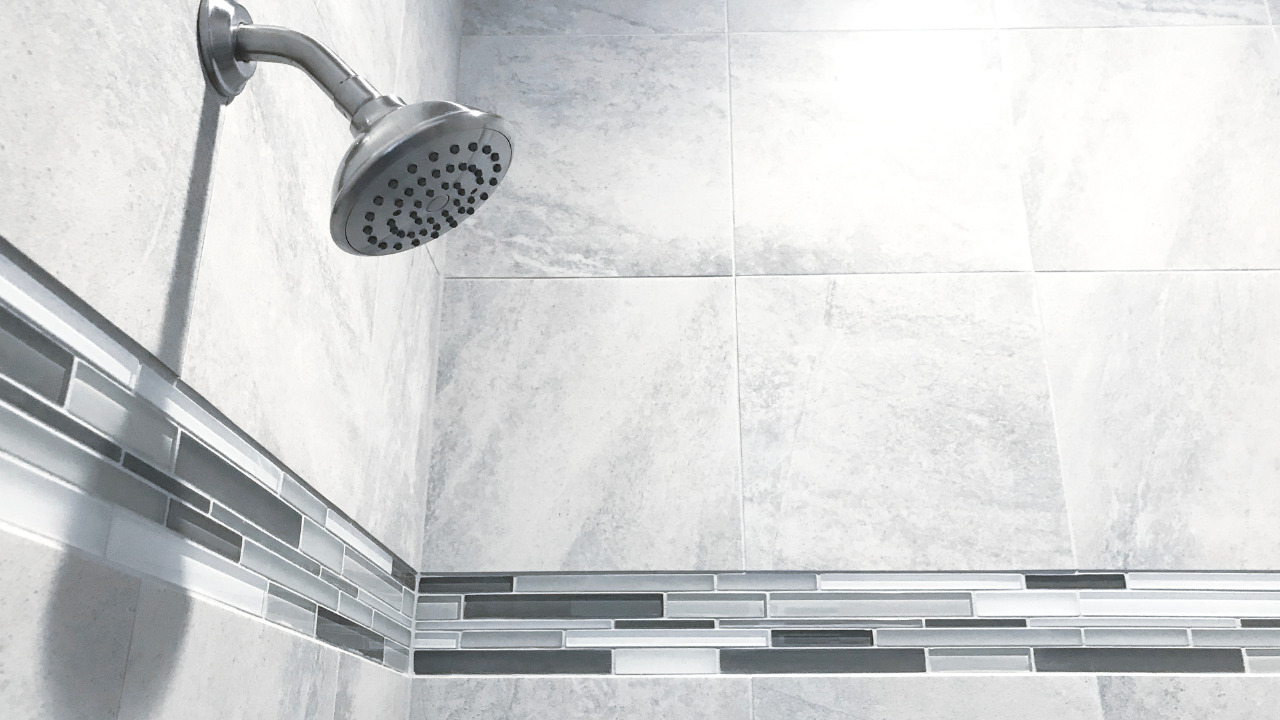
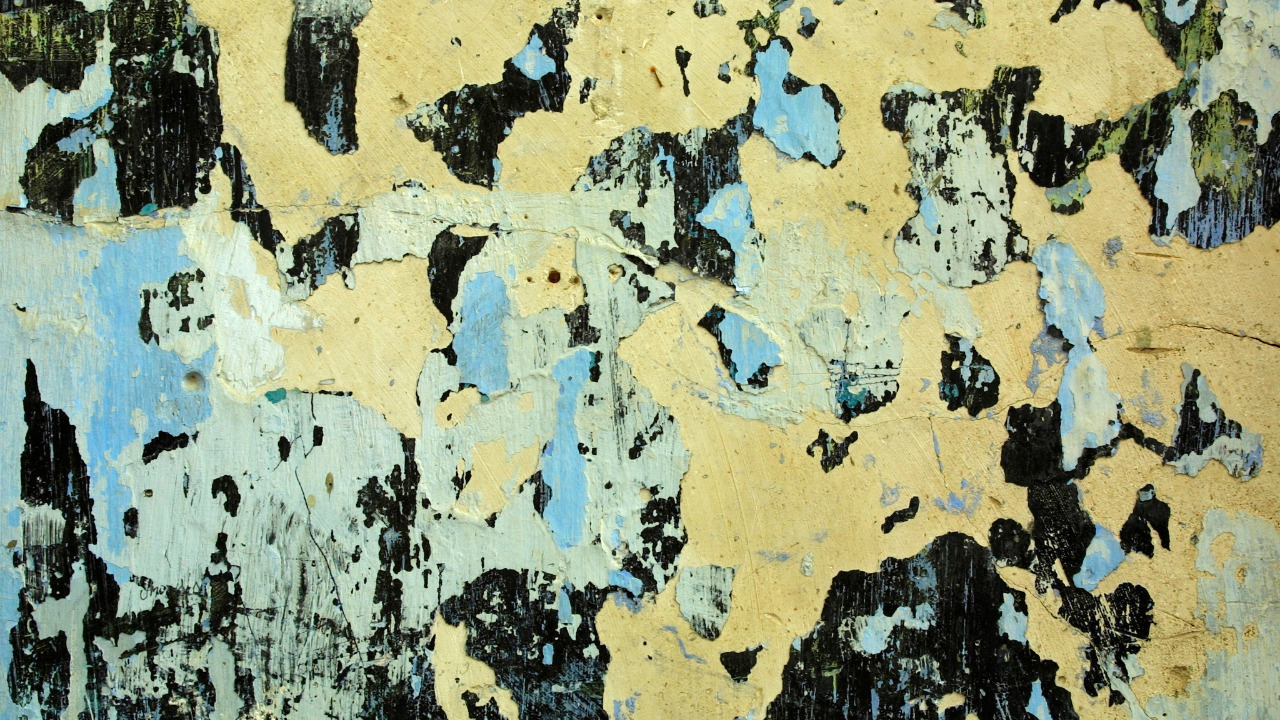
Paint peeling is typical, especially in locations with much moisture, like the bathroom or kitchen. Peeling paint is ugly but permits the surface it sits on to degrade. Moisture can deteriorate walls and ceilings over time, so it’s critical to address the problem as soon as possible.
Clients frequently ask why their bathroom wall paint peels and how to repair it. It not only detracts from an otherwise lovely bathroom, but it also provides a breeding ground for mildew and bacteria. That’s precisely what you don’t want to happen. You may notice peeling or bubbles when you start painting in high humidity.
It can also happen when the paint is placed over water, and soap scum build-up, usually in areas where you use the shower, sink, and toilet daily.
Table of Contents
What Are Common Reasons For Paint Peeling?
Paint peeling can occur for a variety of causes. It’s possible that the surface wasn’t adequately prepared and painted, or the coatings weren’t allowed to dry in between. Moisture is, by far, the most common explanation. Moisture penetrates between the paint layer and the surface beneath the paint in the bathroom, causing it to peel.

As the paint peels, it becomes easier for moisture to penetrate the region, resulting in even more peeling and so on. To end the destructive cycle, you must seal the surface against moisture and remove any accumulated moisture. Since you detected it early, you probably won’t need to repaint the entire wall because you can only perform a patch job.
The exact procedure for repairing peeling paint is outlined in the following steps. For smooth results in your bathroom repairs and the new paint job in your bedroom, you must prepare your surfaces and use the right product.
Application Of New Paint On Old Layer Cause Peeling
Flaking usually develops when new acrylic paint is placed over old enamel paint on the new ceilings. Because acrylic paint is naturally flexible, and the enamel finish is hard, this happens. As the temperature changes, the top layer delaminates due to the differing paint characteristics working against each other over time.
To fix this problem, obliterate the acrylic finish, then use a general-purpose undercoat to stabilize the surface before repainting.
In early times, Painters painted the coat directly on simple gyprock, which meant the paint didn’t soak in as well as it should have. More pressure is applied to the surface as additional coatings are placed over time, and gravity does its job. The result is a peeling and flaking issue ceiling.
Think About Prevention Even Before Cure
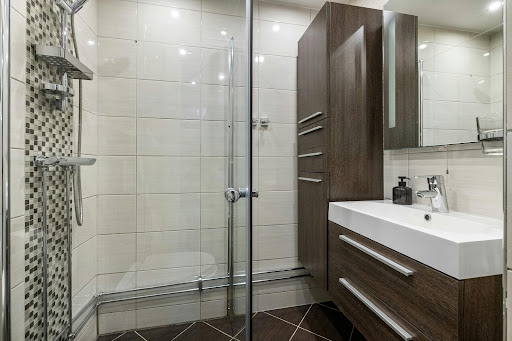
It would help if you first considered prevention before repairing your bathroom ceiling paint flaking. Bathrooms can be a haven for mold and mildew growth. It isn’t just that they are often smaller spaces. But the water and humidity from regular showers and baths cause the problem.
Good ventilation is essential for avoiding ceiling paint from peeling in the first place. It’s critical to have a nice bathroom fan, and it’s even better if it has a timer so you can leave it on for at least an hour after you bathe. It’s also a good idea to leave a window in your bathroom.
Steps To Fix The Peeling Paint
To fix the peeling paint, you will need basic tools and equipment to reach the affected area appropriately. You can hire the tools instead of buying them if you have a small budget. So, let’s start repairing or fixing the peeling paint:
Collect Needed Tools And Materials
- A putty knife
- A dust mask
- A fine-grit sandpaper
- Patching compound
- Plaster
- Paintbrushes
- Paint primer
1) Remove All The Chipped Paint
Make sure all areas are dry before starting any work. This applies to both the ceilings and the walls. Do not use the shower for a day or two before repairing it. With a putty knife, begin removing peeling paint. The surface will be uneven, but that’s fine for now.
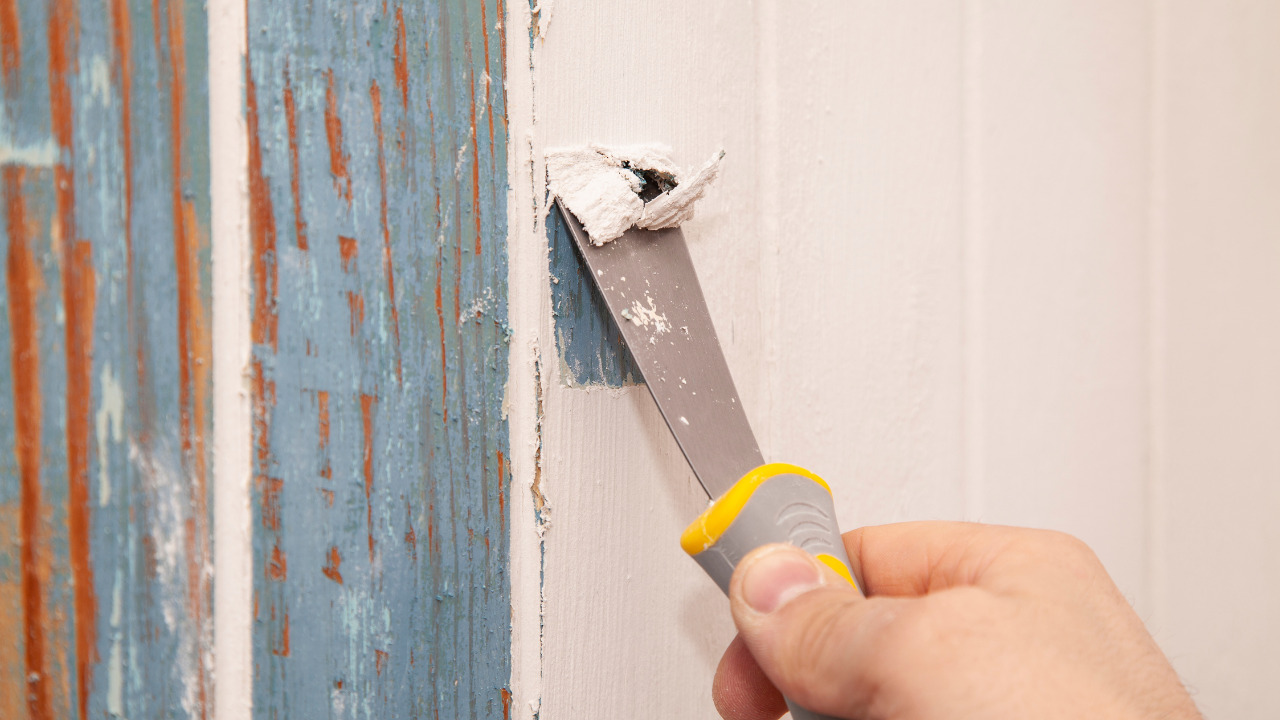
Make sure you’re wearing safety glasses and a dust mask. This keeps dust particles out of your eyes and lungs, which can be hazardous.
If the paint layer is thin, use fine-grit sandpaper to smooth the transition between the paint and the underlying surface. If the paint is as thick as a single piece of paper, use a trowel to apply a thin coat of joint compound to level up the missing paint.
After the compound has completely dried, sand it. Repeat the process of applying the compound and sanding until the surface appears to be smooth.
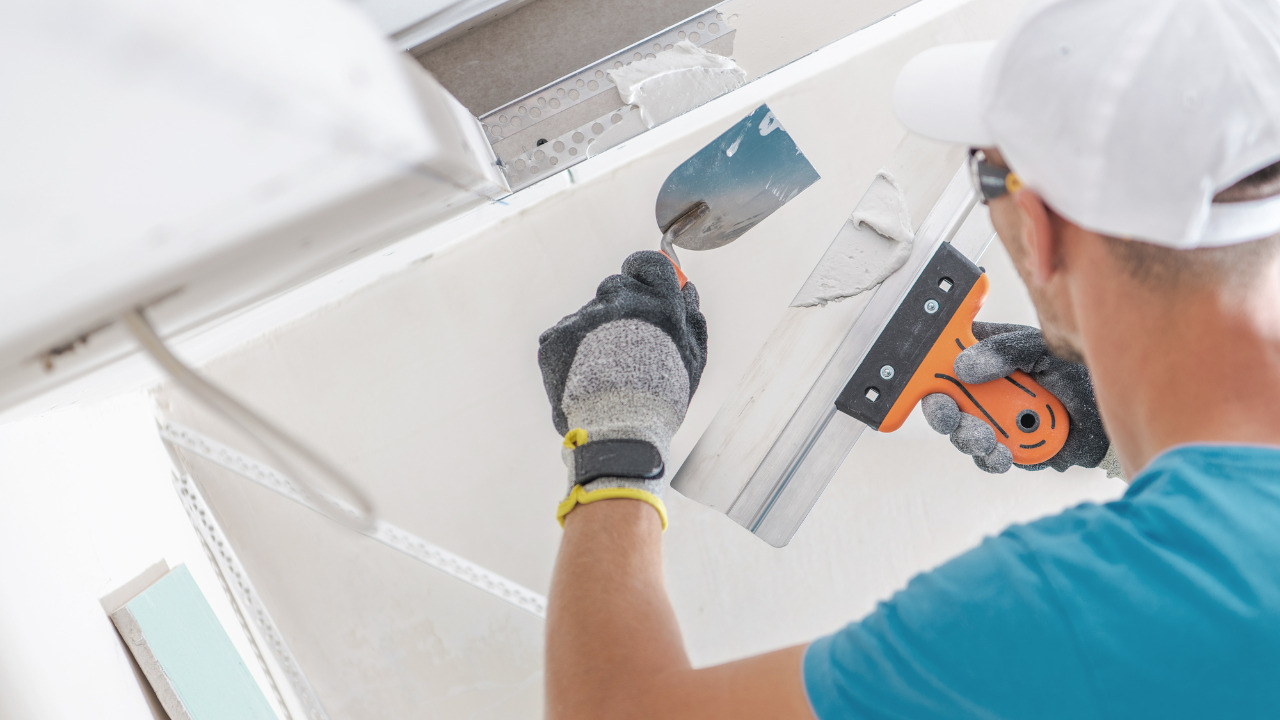
2) Patch The Area
The surface will be uneven when the chipped paint or paint bubbles are removed. Some sections will have a paint coat, while others will not.
Even out the bathroom walls and ceiling with a patching compound. Use a putty knife to spread it out thinly. Allow for a minimum of six hours of drying time for this coat. Give it a full day to dry if you have a couple of days to deal with it. You can sand the first coat smooth once it’s entirely dried.
3) Sand The Area Again
You may only need one coat of plaster. If you need two coats to repair your peeling paint effectively, allow for at least six hours of drying time between coats. After waiting the necessary amount of time, use a putty knife to apply another thin coating of sheetrock plaster.
After your second coating has dried completely, sand it with fine sandpaper. Remember to put on your safety goggles and mask once more.
4) Prime And Paint The Bathroom

It’s time to think about priming and painting now that everything has been mended, smoothed, and sanded! Bathroom walls peel most of the time because they weren’t appropriately primed in the first place. The first line of defense against water and dampness is primer! Allow it to become your best buddy, particularly in the bathroom.
It’s time to paint after the priming has dried completely. Select a paint with a semi-gloss or gloss finish. Unlike conventional paints, these don’t absorb moisture. They also won’t peel or flake with regular use in the restroom. A higher-gloss eggshell would also work, but don’t go much lower.
However, it is still up to your choice to go for the glossy or matt look paint.
Repairing A Textured Bathroom Ceiling Paint Is A Crucial Process
The simplest approach to fix peeling paint on ceilings with texture is to use a ceiling texture spray. These are simple to use and can be found at any hardware shop. Cleaning off any loose paint or dust from your ceilings is all required before spraying on the texture spray in portions until it covers all textured walls.

When applying the ceiling texture spray, use a light touch. If not, it can appear that you have painted your walls too extensively. The texture spray can be painted over with any color of your choice after you’ve applied it and allowed it to dry completely.
Tips To Maintain The Bathroom Ceiling Paint
You may take several actions if you already have a peeling paint issue to prevent it from worsening. Make sure your bathroom has adequate ventilation first. If not, add a fan if there isn’t one already. Then, after taking a bath, try opening a window for about an hour.
This will assist in reducing the humidity levels and avert future damage. Removing any dust or grime that may have gathered over time is crucial. Then, to prevent mold from returning to the walls and ceiling, use an anti-mildew treatment.
Frequently Asked Questions
Does Peeling Paint In Bathroom Indicate Something?
There are numerous potential causes for the paint to peel. Painting over unclean walls, too much moisture, and applying latex paint over oil paint can compromise the paint’s adhesion and cause it to flak off.
However, in a bathroom specifically, the amount of moisture produced in the space is most likely the cause of the paint peeling. Paintwork in bathrooms may eventually become permeable to water, particularly if the paint is old and beginning to break.
Can You Paint Over the Bathroom Ceiling Paint Without Sanding?
Yes, you can do it, but it might not be possible to get smooth painting results without completely sanding or peeling off the old paint. You’ll be shocked at how fast and simply a whole wall can be covered if you use a pole sander.
What Is The Main Reason For Peeling Paint?
It’s a good indication that moisture accumulates under paint when it starts to crack or peel. In many cases, mold has had time to form in the wall when this becomes apparent, and mold removal is required.
Conclusion
Lastly, keep in mind that this work should be completed patiently. Although it is a simple DIY project, you may always hire a professional to replace the bathroom’s peeling paint. But investing in high-quality priming and paint is crucial for a project that will last. Don’t wait any longer to address the peeling paint issue because that will only cause further peeling.