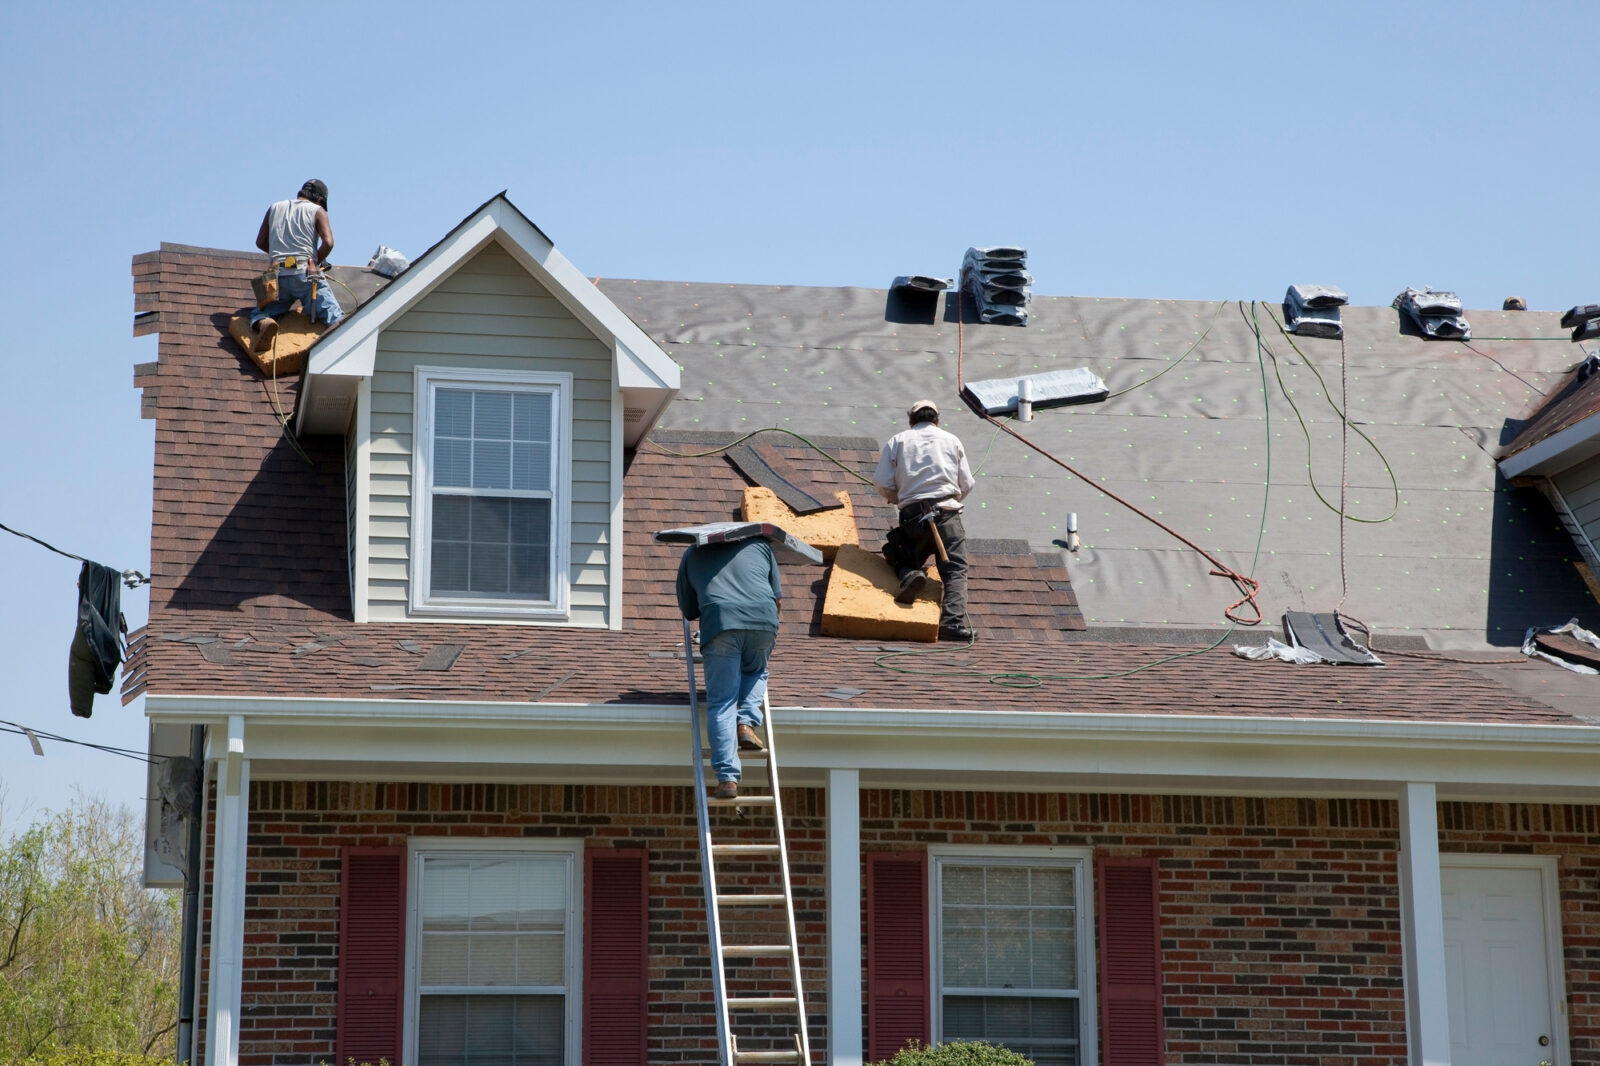
The importance of hiring a professional when installing a roof cannot be understated. Professionals have the experience and knowledge to ensure that the job is done correctly, safely, and efficiently.
They are able to identify any potential problems with the roof installation before they become major issues, saving you time and money in the long run. Furthermore, a professional will have access to better quality materials than what you may be able to find on your own.
This means that your roof will last longer, which can save you money in repair costs down the line. Professional roofers also understand local building codes and regulations, ensuring that your new roof is compliant with all applicable laws.
Finally, when working with a professional you can rest assured knowing that your home is in safe hands and that it will be protected from any potential damage caused by poor installation.
Table of Contents
Materials Needed for Roof Installation
When installing a roof, it is important to ensure that you have the materials needed to complete the job properly. Depending on the type of roof you are installing, this may include shingles, adhesive, flashing, fasteners, and insulation.
Roofing nails should be long enough to penetrate deeply into the structure of your home while still being short enough that they do not stick out above the surface of the shingles.
Adhesive should also be used in order to hold shingles in place and prevent them from lifting during extreme weather conditions. Flashing is essential for directing rainwater away from vulnerable areas and preventing water damage.
Finally, insulation should be installed in between the roof deck and the outer layer of shingles in order to provide an extra layer of protection against heat transfer through your home’s roof.
Steps Involved in Installing a Roof
Installing a roof is a complex process that requires careful planning and execution. Here are the main steps involved in installing a roof:
Measure and inspect
Measure the area of the roof you plan to cover and inspect for any potential issues like damaged or rotten wood, moss, algae, or insect infestation.
Decking: Install plywood or OSB decking to serve as the base of your roof; use nails specifically designed for this task.
Flashing
Install flashing along all edges of your roof to help prevent moisture from entering your home.
Underlayment
Apply underlayment over your decking to provide extra protection against water damage.
Shingles
Secure shingles to the surface of your roof, starting at the bottom edge and working up towards the peak; use four nails per shingle for extra security.
Vents
Install exhaust vents at appropriate points on your roof to ensure proper ventilation and air circulation inside your home; this will help extend the life of your shingles and reduce energy costs over time.
Finishing Touches
Once complete, caulk around any exposed edges and trim off excess material as needed before applying final touches like valley caps or ridge vents where applicable. With careful planning and installation, you can enjoy years of worry-free service with a professionally finished rooftop!
Preparing the Site
Preparing the site for roof installation is an important step that must be done properly to ensure a successful outcome. The first thing to do is to clear the area of any debris or obstructions that may interfere with your work.
Once this is complete, it’s time to inspect the surface for damage or rot and make any necessary repairs. After these preparations are complete, you can begin installing your decking, flashing, and underlayment as needed. Finally, if you plan on using shingles, apply protective plastic sheeting over these materials to protect them from weather damage during the installation process.
By taking the time to properly prepare your site for roof installation, you will have laid a solid foundation for years of worry-free service!
Installing the Starter Shingles
Installing the starter shingles is a critical part of the roof installation process. First, mark your starting point with chalk or string and ensure that it is level and square. You will then need to apply roofing adhesive to the decking along this line before laying down your first row of starter shingles.
Make sure that each shingle is properly aligned and overlaps with the one below it, while still leaving enough room for an adequate seal. Once you have laid down your starter shingles, continue up the roof in rows until you reach the peak. Finally, secure these starter shingles with nails or staples to make sure they remain securely attached.
By taking care during this stage of installation, you can ensure a strong foundation for all your other roof components!
Laying Down the Tar Paper (Waterproof Membrane)
Laying down the tar paper (waterproof membrane) is an important step in installing a new roof. First, start by unrolling the tar paper and laying it overlapping at least two inches along each row. Using a brush or roller, apply adhesive to the decking every four feet as you go.
Make sure to cover every square inch of your decking with the waterproof membrane, ensuring that all seams are properly sealed. Then, using a hammer tacker or other tools, secure the tar paper to the decking with 1-inch staples at least 6 inches apart.
Finally, take your time going over the entire surface to ensure that any wrinkles have been eliminated and that all seams are properly sealed.
By taking care during this stage of installation you can give yourself peace of mind knowing your roof will be able to stand up against any harsh weather conditions!
Securing the Sheathing
Once the tar paper is in place, it’s time to secure the sheathing (or roof deck). Start by nailing down each piece of plywood or OSB to the rafters, making sure that all nails are driven in properly and at least 1/4 inch away from the edge of each board.
Use 2-inch galvanized nails for this process and make sure to space them about 8 inches apart. Make sure every single joint is fastened securely and there are no gaps between boards.
Covering the Entire Roof with Shingles
Once your sheathing is secured, it’s time to start laying down asphalt shingles. Begin at the bottom and work your way up, staggering each course as you go. Make sure that each shingle has a full seal of adhesive on its back before nailing it down into place.
Nail down each shingle into place using a nail gun or hammer and make sure they’re spaced no more than 6 inches apart. Be sure to use corrosion-resistant nails that are rated for outdoor use when installing shingles as well.
Installing Ridge Vents and Drip Edging
The last step in installing a new roof is installing ridge vents and drip edging around the perimeter of your roof. Begin by attaching metal drip edging along the edges of your roof where it meets other buildings or walls – this will help direct water away from those areas.
Next, install ridge vents along both sides of your roof peak – these help exhaust hot air from inside your home while bringing cooler air in from outside during summer months. Finally, fill any remaining gaps between shingles with caulk or other sealants
Building Code Requirements
Building codes are an important consideration when installing a new roof. Depending on the type of building and its location, there may be specific requirements for the type of roof that must be used. For example, some areas require roofs to be made out of fire-resistant material such as metal or slate.
Additionally, building codes may require that certain types of flashing or water barriers are used to ensure a watertight seal around penetrations and other areas prone to leakage. Other considerations may include proper ventilation requirements and the use of impact-resistant shingles in certain conditions or locales.
It’s important to research your local building codes before beginning a roof installation project. By doing so, you can make sure that your new roof will meet all necessary standards and keep your home safe from potential damage caused by weather or other factors.
Conclusion
Once you have researched your local building codes and confirmed the type of roof required for your installation, the next step is to gather the necessary materials. Depending on the type of roof being installed, this may include shingles, flashing material, water barriers, and other components.
It’s important to take time when purchasing these materials to ensure that you are getting high-quality products that are designed for use in your area.
After all materials have been gathered, it’s time to begin the installation process. With careful attention to detail and following all safety guidelines and building codes, a properly installed roof can provide years of home protection from the elements.