You may need to replace a drain if you’re moving into an older property with an unappealing shower drain or if your shower drain has a leaky gasket.
Because the drain is screwed onto the pipe stub coming up out of the slab, removing and replacing a shower drain is the same whether you’re working with a concrete slab or a plastic shower pan.
All you need are some essential tools and safety equipment, such as goggles and a dust mask, to repair a shower drain in a concrete slab quickly and easily.
When selecting a shower drain for your built-in water base system, there are several possibilities. Your choice is determined by your situation and the type of water tub you have.
Additionally, the type of pipe you have at home and the retailer’s recommendations for the water pan and drainage can help you decide which drain unit to buy.
Table of Contents
Steps To Install Shower Drain On Concrete Floor
Whether a renovation or a new building, practically every modern bathroom has a standard shower drain. Installing a linear shower drain, a Simple Drain, isn’t as difficult as you think. You can get a straightforward explanation of how to install the drain shower on the concrete floor.
Collect Needed Tools And Supplies
- Tape measure
- Cement
- Gravel
- Sand
- Drainage pipes
- Tiles
- Screws
- Wrench
- Tile sealant
- Chisel
- Hammer
- Flange
- Cement bond
Measure The Area
It would help if you first determined the bathroom’s drainage level. Keep in mind that the tiles must be put at least one and a half millimeters above the upper portion of the shower drain for the bath to drain completely.
When measuring the entire depth, keep the following in mind: tile diameter, adhesive surface, and leveling surface. Check the system range for the right shower drain for your project.
To expose the flange, remove the concrete around the drain. Break away the concrete using a hammer and chisel until the drain flanges, and bolts holding the drain in place are visible. A fiberglass shower stall will suffice if you place a shower over a concrete floor.
It would help if you had a drain roughed in, with the pipe protruding a few inches above the floor. Otherwise, you’ll have to break through the concrete to install a new shower stall line.
Mount The High-Quality Drain Assembly
Remove the bolts holding the pipe rough-in and drain on the concrete floor. To loosen the screws, use a wrench set to determine the correct size. Remove the bolts to separate the drain cover from the flange and the actual drain attachment by removing the top of the drain, also known as the drain cover.
Apply pressure to the drain flange with a screwdriver and turn it in either direction until the pipe cement bond is broken. Place the screwdriver in the old bolt holes from the flange to apply leverage. The old drain should be removed from the stack. Use the No-Caulk Shower Drain, which is a leakproof shower drain assembly.
You can get the No-caulk from any home improvement store and plumbing supply store. Use the drain assembly’s slotted bar tool—hand-tighten the bar’s slot with the flat blade.
Link The Drainage With Shower Pipes
Drain pipes with more minor diameters are recommended for shower drainage. This could be the case when a shower tray is installed in construction projects. To start the installation, connect the shower drain to the drainpipe and ensure the drainage pipe has a good curve.
Because the plug provides enough binding, it is unnecessary to roll the drainage into the connection. Return the shower bay and basket assembly to their original positions above the pipe. Slide the caulking gasket over the pipe and push it down until it touches the drain basket’s lip at the bottom.
You may need a hammer and a small piece of wood to tap this gasket into place.
To install the shower, and drain cover, loosen the bolts on the flange, slide it over the top of the bolts, and turn it until it is locked.
To complete the repair, tighten the bolts with a wrench. While stirring up some concrete mix in a bucket until you have a thick, chunky slurry, cover the top of the drain with duct tape to preserve it. Mixing is done with a margin trowel.
Install Tiles
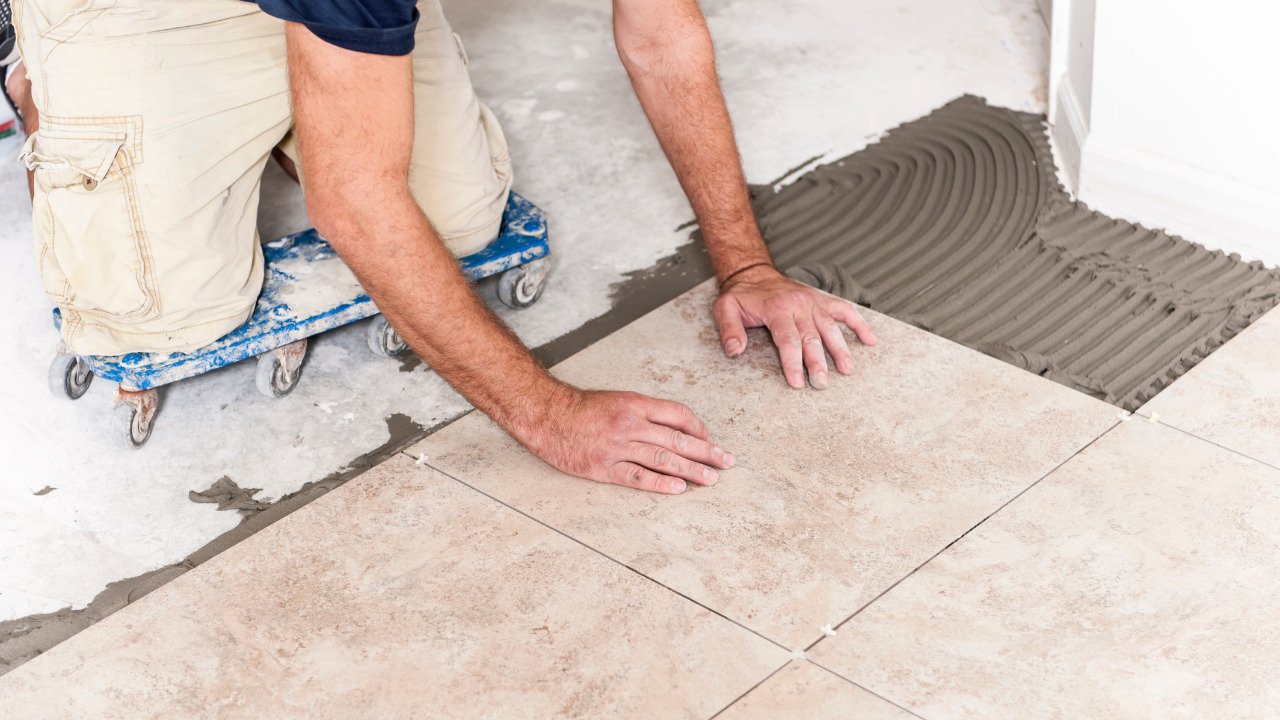
When tiling, incorporate a two-percent slope into the water drainage system. It is critical to apply the elastic coating to ensure that the tiles do not line up directly with the sewage line.
If the tiles were mounted, an adhesive seam sealer might be securely placed on the joint here between the tiled floor and drainage. The binding layers must be free of compounds that reduce the strength of mortar, glue, and other types of bonds.
Test Drain Pipes Before Sealing Concrete
Pour water down the drain pipe and check for leak signs along the couplings to see if there are any leaks in your pipeline. The remaining dirt from the previous stage can be compacted on top of the drain pipe to form a new base.
Seal The Holes With Concrete
Replace the concrete around the drain, thoroughly hiding the flange and bolts. Then smooth the new concrete flush with the rest of the floor with a flat metal trowel.
After the concrete has had time to dry, remove the tape. Once you have sealed all the areas and tiles, you are set to use the new shower area in your bathroom. Make sure to dry the area completely before using.
When Do You Need To Replace Shower Drain?
The moment may come when your concrete drain needs to be replaced, much like many other home components. Here are a few signs of understanding that you need to replace your shower drain. Let’s discuss these signs in detail;
Rusted Shower Drain Pipes
Typically, rust and stains can appear in your shower drain. Small amounts of mildew or water stains can be easily removed using a bathroom cleaning product. The rust or stains, however, appear to be quite difficult to remove once they are severe.
Water Leakage
When you notice leakage and water spots, that’s another reason you could be wondering how to install a shower drain on the concrete floor for repair. Be concerned if you see damp spots on the walls or water collecting on your concrete floor, as these symptoms could point to a leak.
Prepare to learn about how to reinstall a shower drain in a concrete floor when you encounter some of the aforementioned issues so that you can assist with the replacement.
Benefits Of Installing Shower Drain In Concrete Floor
No Cracking And Leakage
Durability, effectiveness, and economics are all factors to consider when installing a shower drain in concrete. This choice is the best for homeowners who want their bathrooms to survive longer than other fixtures because of these features.
If you choose this fixture, you won’t need to be concerned about the tile breaking or splitting. It’s also one of the most practical solutions for fixing leaky showers because it’s simple to install.
An Affordable Way To Fix Cracked Shower Drain
Comparatively speaking, the price of this fixture is reasonable. One thing to remember is that home improvement stores do not carry this choice. To get services, you must speak with nearby plumbers. Since you won’t need to repair this fixture frequently, you’ll probably save money in the long run.
But let’s say you reside in a subzero environment. To stop moisture from seeping through, it might be essential to purchase specialized rubber caps. To make bathing comfortable, a shower drain is necessary.
What Is The Cost To Install A Shower Drain In Concrete Floor?
The overall cost to install a shower drain on a concrete floor depends on your floor and the drain pipe’s condition. However, installing a new shower drain will cost more than replacing an old one. The average cost to install a shower drain in concrete is between $50-$60 per drain.
If you hire professional drain installers, they might charge you more than this average cost or according to the condition of your concrete.
Conclusion
Overall, a concrete shower drain is one of the various alternatives for a new bathroom’s design. The utility, appearance, and cost of various gutter styles vary. Each choice works to keep your shower clean, even though it has advantages and disadvantages of its own.
This article explains How To Install A Shower Drain In Concrete Floor properly and how doing so will improve your bathroom. Just be sure you have the necessary tools before beginning this DIY project.


