Are you looking to upgrade your home and make it more comfortable?
Well, having a thermostat can be a good idea as it helps with temperature regulation in your home. It’s surely one of the best gadgets to have. However, some people wonder if installing a thermostat is worth the price or not. Let me answer this.
- Having a thermostat is good for your home for all the right reasons. These include:
- It saves you money on electricity bills especially when you invest in a smart thermostat.
- Modern-day thermostats are energy efficient.
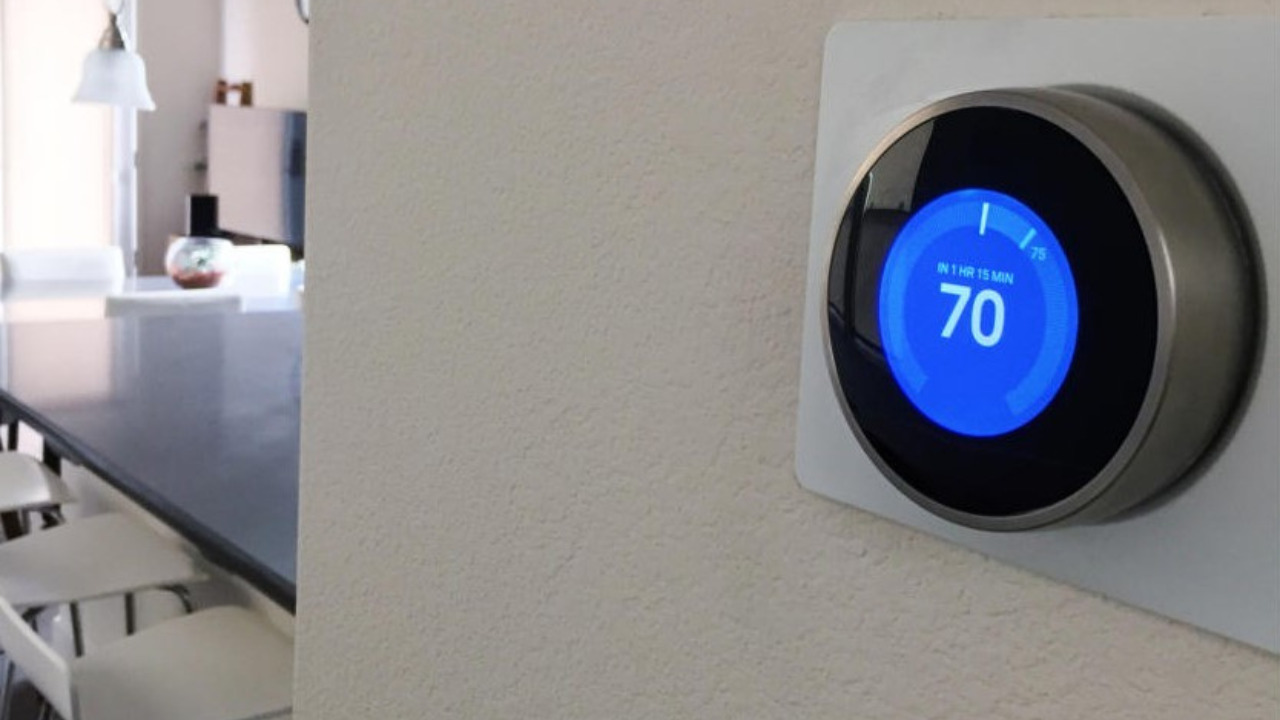
- A smart thermostat helps you control the temperature of your home using a wifi remote.
So, having a thermostat can be a wise decision as it’s crucial for the working and maintenance of HVAC systems. The good part is that you can even install a thermostat on your own.
Let’s dive deeper into the details and walk through the process of thermostat installation.
Table of Contents
How to Install a New Thermostat
If you are going to replace your old thermostat or going to install a new one, there are multiple steps involved in the installation process. Here is the step-by-step procedure for thermostat installation.
1. Turn Off the Power
The first step of the installation process is to turn off the power supply to your heating and cooling systems. For this, go to the main panel, turn off the respective switches, and discontinue the power supply.
2. Remove the Thermostat
Now once you turn off the power supply, it’s time to remove the old thermostat to install a new one. While removing it, make sure to leave the wall plate as it is to track the wires. Now take a circuit tester to make sure that the power supply is unavailable.
Be mindful to carefully remove the thermostat especially when the thermostat contains mercury.
3. Label the Wire
Once you remove the thermostat, the wiring on the wall plate will become visible. They can be two to five in number. Now label the wiring using the letter designation system. These pre-printed labels can be there in your thermostat box. If you don’t find these printed labels, then you can use the masking tape. Don’t label the wires based on their color, instead use letters for identification.
4. Capture the Wall Plate
Once you label the wires, don’t forget to take a picture of the wall plate. This will serve as your visual reference to the exact wire arrangements on the panel. This will help you to define which wire is meant to fit into which receptacle the wall plate.
5. Disconnect Wires and Unnecessary Wall Anchors
Now it’s time to disconnect the wires on your existing wall plate using a screwdriver. When you are disconnecting wires, make sure to also remove any old wall anchors. This will be unnecessary according to the shape and size requirements of your new thermostat. With this, you are ready to install a new thermostat.
6. Set Up a New Wall Plate
It’s time to install a new wall plate. For wall plate installation, first of all, mark the locations where you need to screw the plate. Now drill the holes and if necessary place anchors into the holes. After this, screw the plates to the wall, pass the wires through the wall plate, and secure them. In case your thermostat is coming with backup batteries, insert them before wiring.
7. Connect Wires
Now it’s time to connect the wires using letter coding. Your thermostat box usually comes with all the instructions on how to use the labels on the wire and establish a proper connection. Put each wire into its corresponding receptacle and secure them with screws. Check the thermostat manual for connecting the wire terminals on thermostats.
Sometimes, new thermostats come with a C wiring that requires a professional thermostat installation service.
8. Install the Thermostat
Once you connect the wires and place the batteries in place, it’s finally time to mount the thermostat on the wall plate.
9. Turn on Power
Once you have successfully installed the new thermostat, resume the power supply.
10. Configure Thermostat
After resuming the power supply, configure your newly installed thermostat. The instructions for configuration are already written on the panel.
Types of Thermostat
Though thermostat installation more or less follows the same steps, before you actually decide to install you need to understand the difference between different thermostat types. Here are some of the common thermostat types.
1. Remote Energy Management Thermostat
Just as the name suggests, this type of thermostat lets the user adjust and monitor the temperature changes using a remote divide such as a computer, tab, or mobile phone. You can simply access the thermostat settings over Wi-Fi even when you are not home.
2. Programmable Thermostat
This type of thermostat works by adjusting your room temperature automatically. You can program your thermostat by sharing your required temperature during different times of the day. Once you program it, then the thermostat will automatically work according to your set temperature.
3. Learning/ Smart Thermostat
These thermostats also work like programmable thermostats but you don’t need to program them.
Yes, these smart thermostats learn on their own and adjust the required temperature. Just like the remote-controlled thermostat you can also connect them over Wi-Fi networks.
4. Mechanical/ Manual Thermostat
In this type of thermostat, you manually control the temperature. This is best for the people who stay at home and prefer fixed temperatures.
Get Control Over House Temperature
The thermostat is one of the must-haves in modern homes. It not only makes your home energy efficient but also adds to the comfort. These thermostats are available in different varieties. The good part about thermostats is that you can easily install them on your own.
Thermostats come with user manuals that have detailed information about the installation and configuration of these devices. However, if you feel like you can’t install a thermostat on your own, then it is recommended to call for professional help.