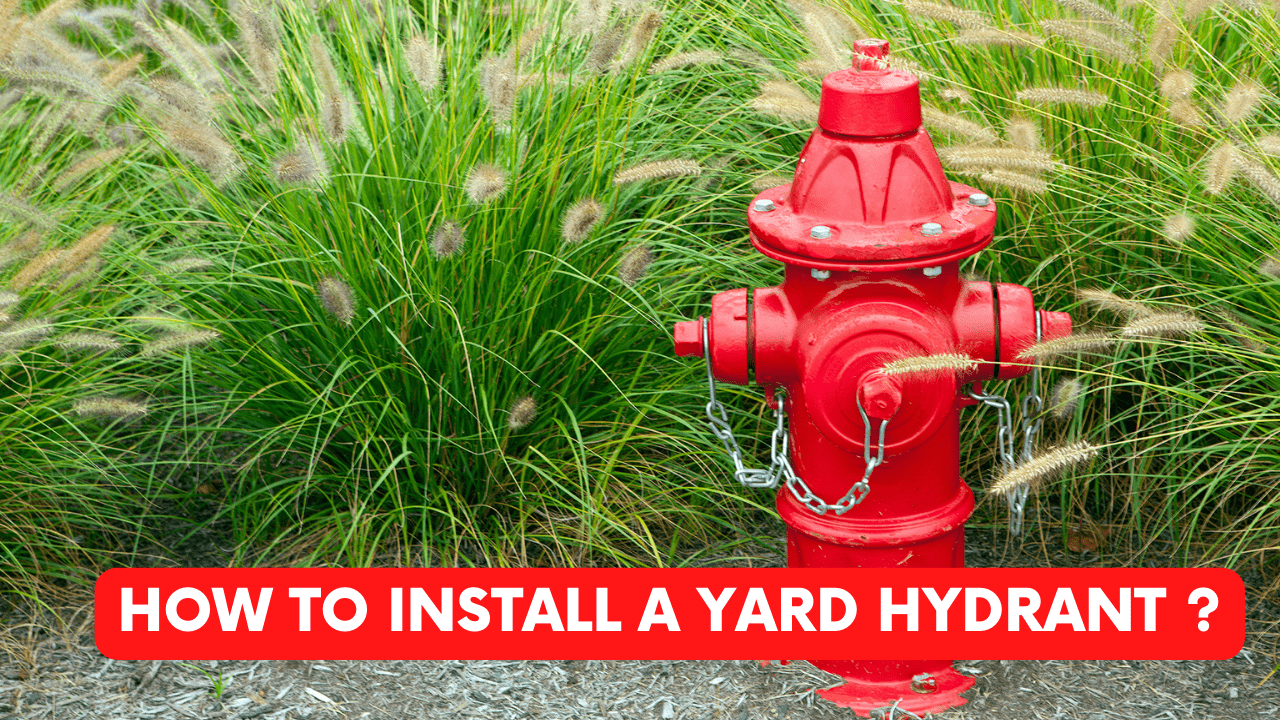
Installing a hydrant in your yard is an excellent approach to provide a convenient water source where it is needed. The beauty of a frost-proof hydrant is that it automatically drains when the water is turned off, keeping water from freezing inside the faucet in the winter.
Installing a hydrant in the yard, even one protected from the outdoors, is rather simple than installing a hose in your garden. A hydrant with a long enough standpipe to set the valve below the frost line.
If you can hook into an existing underground water supply line, installing a hydrant is simple. If you don’t have access to a water supply, you’ll need to run a new line to the nearest hydrant.
Table of Contents
The Working Process Of Yard Hydrant
To install a yard hydrant, you’ll need to dig a trench from your well to the hydrant’s placement. You’ll need to dig a hole for the yard hydrant once you’ve trenched to the desired location for the hydrant.
Make sure to place the yard hydrant in the frost line. In most areas, the approximate depth of the frost line is more than four feet. Backfill the yard hydrant and turn on the water once connected to the good line.
Steps To Install The Yard Hydrant
Collect Materials And Needed Supplies
The needed materials and supplies to install a yard hydrant are as follows:
- PVC pipes
- Tee fittings
- Yard hydrant
- 90-Degree Elbow
- Adapter
- Tape
- Shovel
- Metal rebar in scrap
- Gravel
- Pipe cutter
- Hacksaw
- Tongue and groove pliers
- Level
Determine The Location
The first step is to choose a location for the hydrant. Ensure it’s in a location where it’ll be useful for various reasons and won’t be hit by a vehicle like a snowplough, tractor, or truck. It should ideally be placed adjacent to a building’s south-facing wall, where it will receive the maximum sunlight.
You’ll also want to keep it safe from large animals, so place it on the outside of the pasture or corral if at all possible.
Shut Off The Water Supply In Existing Waterline
The next step is to find an existing water line that you can connect to. If you don’t have an external connection yet, connect to your house’s or shop’s cold-water system, then exit the basement or crawlspace below the frost line.
If feasible, turn off the water supply to the subterranean supply line. Otherwise, turn off the water to the house. Dig a huge hole near the hydrant, exposing enough water supply pipe to work with. To avoid damaging the pipe, only use a hand shovel.
Install 90-Degree Tee Fittings
Using a PVC pipe cutter or a hacksaw, cut a short part of the water supply line to make room for the 90-degree tee fitting. Install a small length of PVC pipe in the tee’s side outlet, but don’t glue it in place. Follow the manufacturer’s instructions for permanently gluing the tee into the supply pipe with PVC solvent adhesive.
Use a level to ensure that the glued tee is horizontal when positioning it along the short length of pipe.
Install Adapter
Using plumber’s tape, secure a 90-degree elbow and the MIP adapter to the bottom of the hydrant standpipe, then tighten the fittings with tongue-and-groove pliers. The MIP adapter comprises male threads connecting to the elbow and a smooth socket for solvent-gluing to the PVC water supply pipe.
Install a 90-degree elbow into the drain valve to point downward for further clogging protection. This prevents dirt from entering the valve from the sides, clogging it.
Cut Unnecessary PVC Pipes
To connect the hydrant to the water supply tee connection, cut the pipes and install extra fittings as needed. All fittings should be tested to ensure proper fit. Using solvent adhesive, join all of the PVC pipes and fittings together.
It’s a good idea to support the hydrant with a couple of pieces of metal rebar to keep it in place while the adhesive sets it’s heavy. Allow the glue to cure according to the manufacturer’s instructions. Turn on the water and check for leaks in all of the connections.
Fill Gravel In Bottom Of The Hole
Fill the bottom of the hole around the drain valve with gravel above the drain valve to ensure that the hydrant drains properly. Fill up the hole with soil, compacting it with your feet as you go.
Conclusion
Even during the hot season, it’s a good idea to unplug hoses after each usage to avoid contaminating your water system.
If you put the end of the hose in the stock tank and then turn off the hydrant when the tank is full, the hydrant may well suction water from the tank into the French drain system you placed below ground, believe it or not.
This wastes water and increases your chances of freezing in the winter.


