What makes a home truly comfortable? Is it the well-arranged pieces of furniture? The eye-pleasing wallpaper or the carefully-curated decorations? It’s all these and more, especially when kept together in a space with clean and smooth flooring.
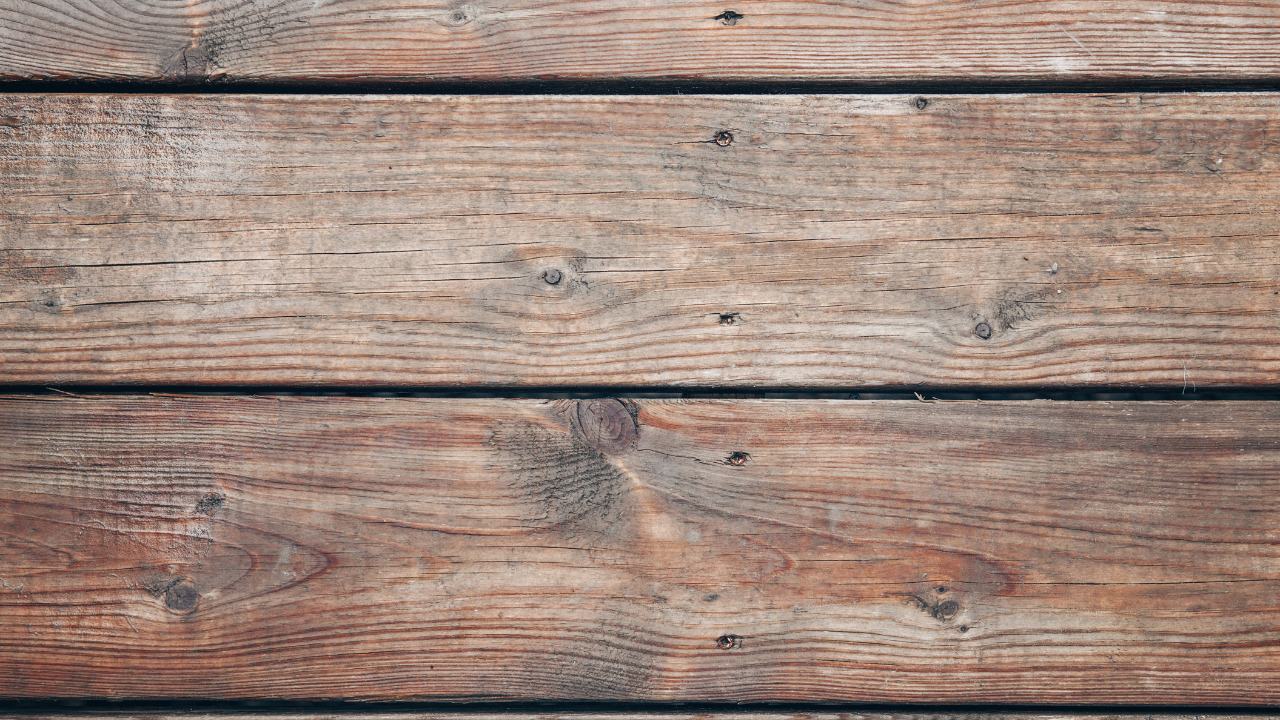
Most homeowners wouldn’t allow their floors to remain bare concrete slabs. Sometimes a carpet isn’t enough to beautify your floors. Many are turning to hardwood flooring because they’re low-maintenance, easy to clean, and a fancy addition to your home.
Moreover, with time, patience, and the right tools, you can install the flooring yourself. All you need to do is follow these steps:
Table of Contents
Is It Beneficial To Add Hardwood Floor On Concrete?

You may install hardwood flooring on concrete, but there are many things to consider beforehand. You shouldn’t experience any issues as long as the concrete is properly prepped and an expert installs hardwood flooring. It is possible to install hardwood flooring on concrete, but there are many things to consider beforehand.
You shouldn’t have any issues as long as the concrete is properly prepped and an expert installs hardwood flooring. It’s cold and uninviting to have concrete floors. You may make your space feel cozier by laying hardwood flooring over them to form a terrific new hangout area.
Hardwood flooring is worth the investment because of its elegant appearance and sturdiness. If you ever decide to sell your property, its popularity among prospective buyers may result in a higher price.
Considerations Before Installing Hardwood Floors On Concrete
Don’t forget to consider a few things before making a quick decision about hardwood flooring to cover a concrete slab. In the end, you don’t want to spend money on hardwood flooring to have it ruined later on from shoddy installation.
The grade level describes how close or far the slab is from the ground. You have three options for where your slab will be located: above ground, at grade, or below the earth. The grade level will help identify the optimum procedure for a good hardwood floor installation.
An unfinished concrete slab cannot have hardwood flooring installed over it. You will need to wait until the concrete has fully cured if you’re moving into a recently built home.
Hardwood flooring’s worst enemy is moisture. Hardwood floors may buckle or warp in the presence of high humidity or an abundance of moisture from the slab. Due to its extreme porousness, wood will expand and decay when it absorbs moisture.
A plastic sheet covered with waterproof tape at the seams is typically used as the moisture barrier. Any moisture that seeps in from the slab will be kept out of your flooring by this barrier.
Steps To Install Hardwood Floors On Concrete
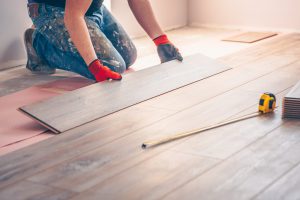
1) Prepare Your Floor
Before anything else, you can choose from various hardwood flooring available near you. If you prefer a home interior with timeless beauty, go for more vintage styles. Consider flooring made of engineered hardwood for easier installation.
Lay the planks out on your floor first to plan your pattern. The beauty of hardwood flooring comes in the direction of the planks’ grains and the shading of the wood. Grab a marker or pencil to mark which planks go where—for example, Plank 1/P1, Row 1/R1.
2) Clean Up
Once you’ve chosen your flooring, you can now remove your floor’s carpets, if any. Don’t forget to take off any nails, paddings, and tack strips you find. Grind the nails as much as possible, and remove and reuse your existing baseboards.
If your concrete floor has paint on, you’ll need to take these off, too. Doing this ensures your hardwood flooring sticks well once laid on the adhesive.
Remember to clean off any remaining debris. Use a vacuum cleaner instead of a broom to get every bit of dirt lying around. A clean surface is best for the seamless installation of hardwood flooring.
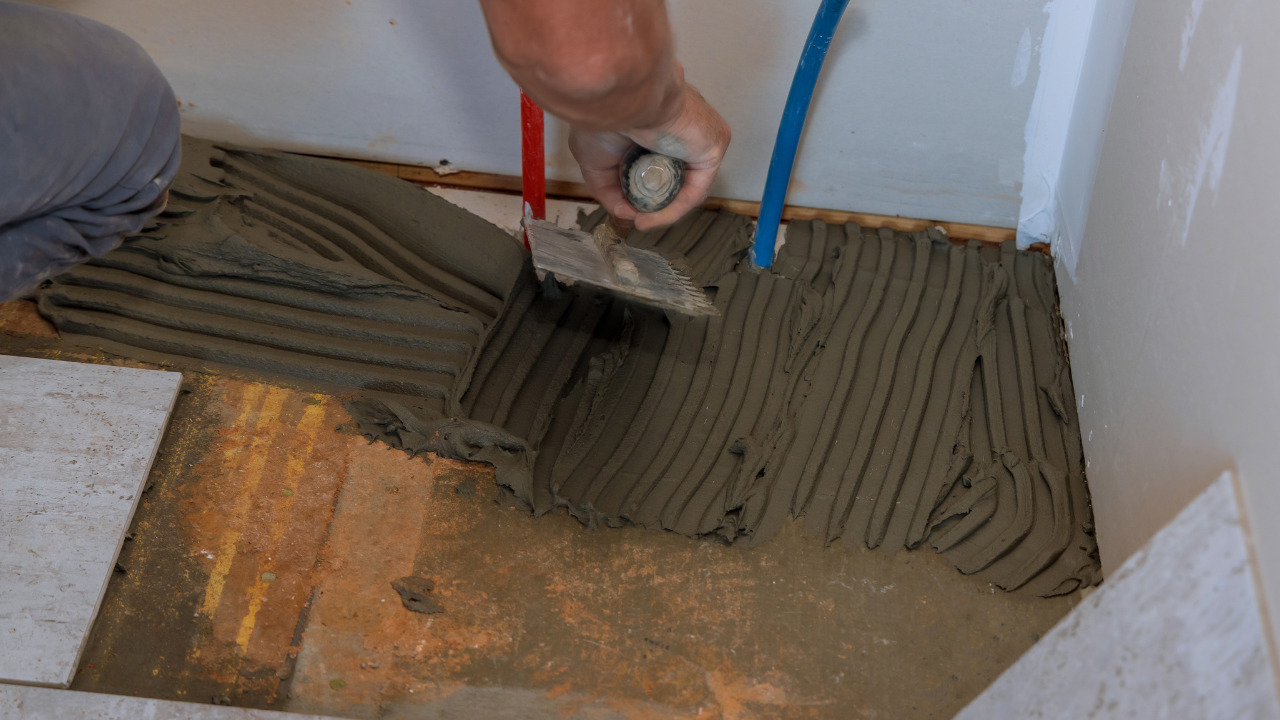
3) Apply A Moisture Barrier
Concrete floors need to be rid of any moisture before installing hardwood flooring. If your concrete floor contains too much moisture, you should leave this to dry first. You can speed up the drying with heat or ventilation.
You may apply a moisture barrier when the concrete slab is completely dry. Use a V-notch trowel. Begin at the farthest ends of your room going in.
While applying moisture barriers, make sure the room is well-ventilated. Open windows or doors and have a fan on to circulate the air. Liquid moisture barriers may release a strong odor.
4) Apply The Adhesive
Before you apply it, however, you’ll need to know if you’re using a suitable adhesive for this project. Some adhesives have different properties. You may pick your preferred glue, but it’s better to use the one recommended by the flooring manufacturer.
Also, check for the drying time of your adhesive brand. Apply this liberally but not too much, as some brands might take a long time to dry. Use a V-notched trowel, too, for this step.
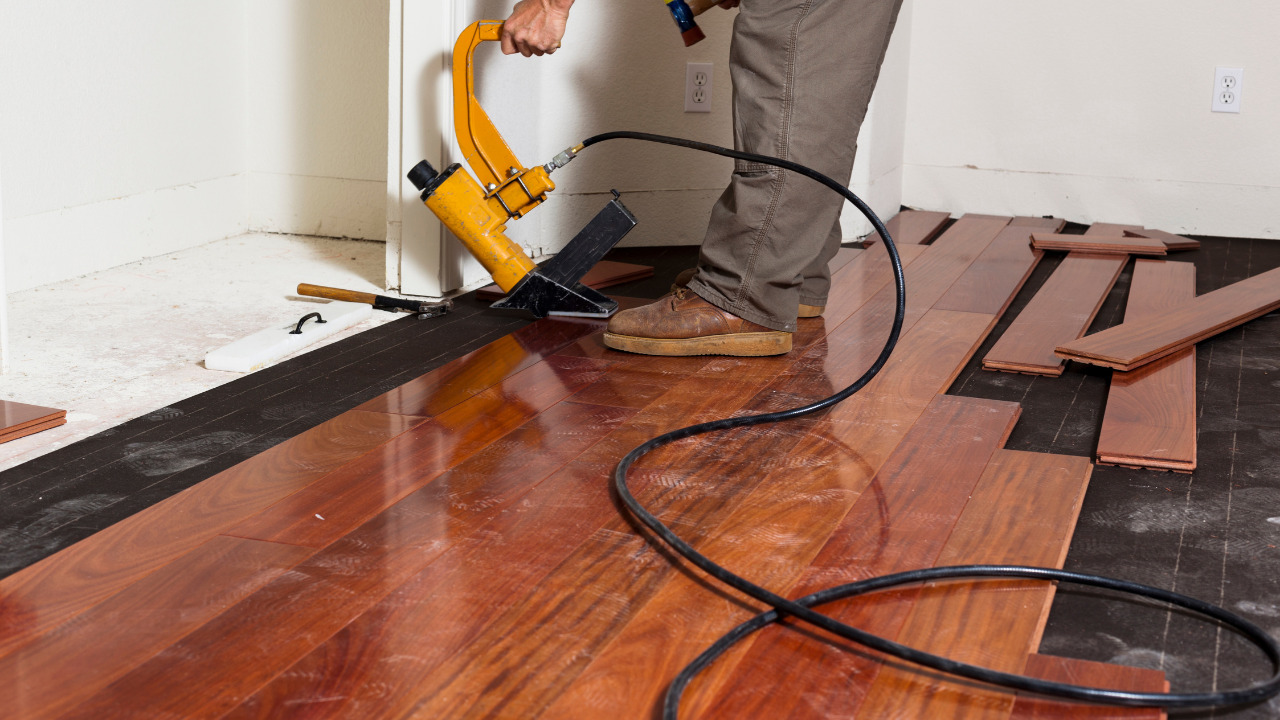
5) Install The Planks

Hardwood flooring installation will require a couple of tools on hand. Double-check if you also have these in your tool kit before installing any planks:
- Hammer or rubber mallet
- Tape measure
- Saw (hand saw, circular saw, band saw, or table saw)
- Tapping block made with either vinyl or plastic
- Nails
- Stapler with staples
- Filler to cover nails, screws, and staple wires as necessary
Always start with your straightest planks for the first row. Like when applying moisture barriers, begin installations nearest the walls first.
6) Secure The Planks
With a tapping block and a hammer, tap the edge of each plank to fill in every gap. Repeat applying adhesive, laying the planks, and securing them until you’ve filled up the floor.
If you need to, use painter’s tape to attach the seams. Don’t tap the top of the planks with your hammer or mallet to avoid damaging the outer finish.
7) Finishing Up
The job’s not yet over, even if the adhesive has dried. Using a floor roller, go over your floor to push down any planks sticking up. Don’t skip this step because doing this keeps the flooring from possible warping.
Remove any tape or spacers you may have left while installing the planks. Replace your baseboards if you need to.
8) Clean Up Again
Before you move your furniture back in, bring your vacuum cleaner for another cleaning round. Ensure your vacuum cleaner is strong enough to suck loose dirt and debris but weak enough not to move the flooring’s grooves.
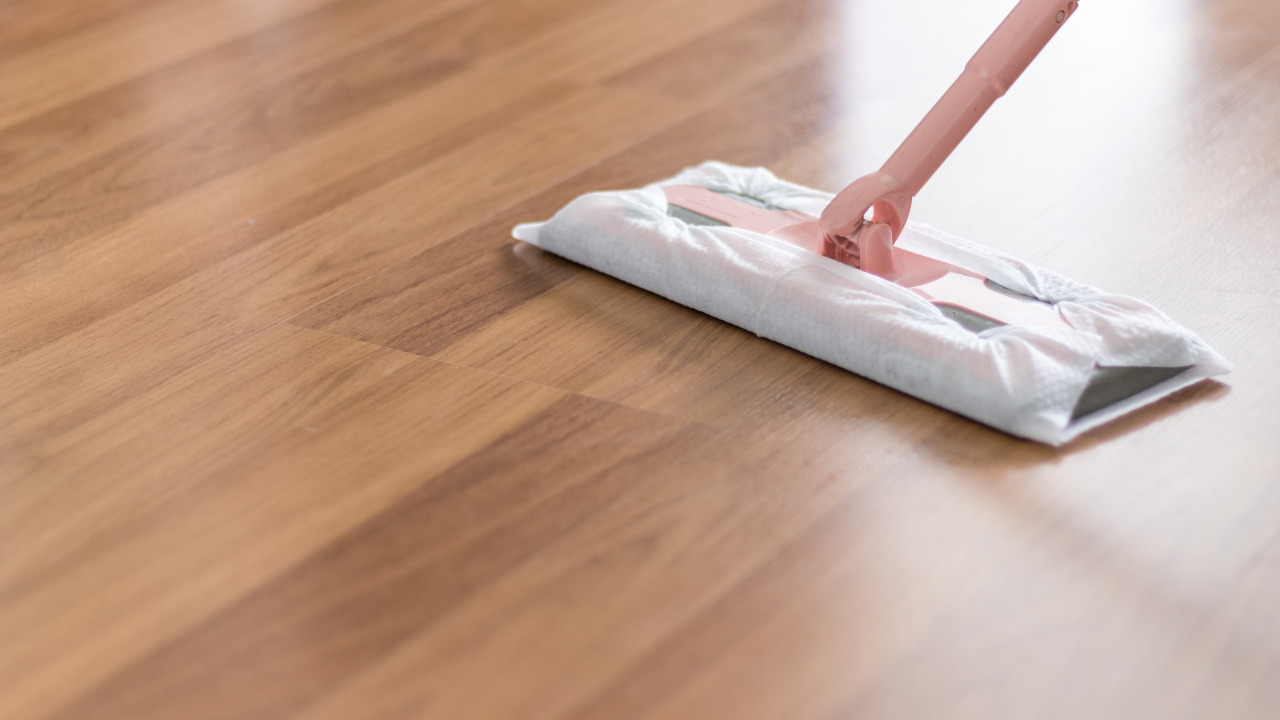
You can read these tips on adequately cleaning grooves of hardwood floors to ensure that all your hard work doesn’t go to waste.
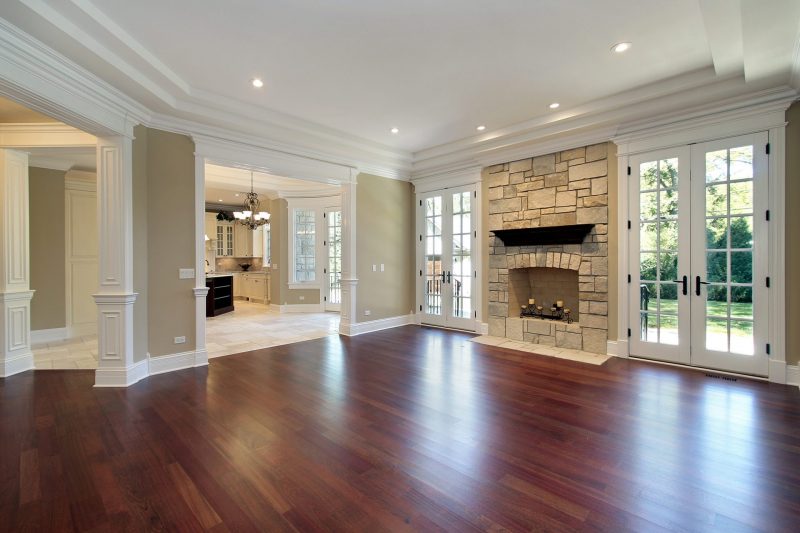
Step Into A Better Place
Hardwood flooring is also considerably cheaper than solid wood and resistant to warping over time. It’s water and heat-resistant, making it the perfect flooring choice for high-humorous homes. The cost of installation isn’t too bad either. You’ll get quality flooring for a lower price.
You and your family will enjoy seeing clean and smooth hardwood flooring when coming home. It’s lovely to look at and walk on and serves as another element of beauty in any room.
Conclusion
You can consider your installation alternatives now that you know more about installing hardwood flooring. A few options are available, but not all installation techniques are the same. DIY projects are never smart, and poor installation might destroy your hardwood flooring before you can even use it. Because of this, you should only trust an experienced staff with this task.