Preparing yourself for plumbing and installing a utility sink is a simple chore. Whether or not you’ve previously installed one, you’ll be able to do so fast, easy, and without needing a plumber. You’ll need plumbing skills to solve the “how to install utility sink in garage?” query.
Furthermore, these sinks require hot and cold water drain pipes to supply your utility sink faucets and a drain line to carry wastewater away. Installing a sink like this in your garage will allow you to put all your dirty clothes in the same place. On the other hand, a utility sink is often large and sturdy.
If that’s the case, now is the time to work on installing the greatest utility sink faucet on your own! You can set up a cleaning station in your garage with just a few tools, some strength, and a little patience.
Table of Contents
Things To Consider Before Choosing A Utility Sink For A Garage
Choose A Stainless Steel Or Stain-Resistant Sink
It must be durable for a utility sink in a garage. Scratch and stain resistance are required. Make sure the cabinetry is scratch-resistant if it is attached. For the tub or basin as well as the tap or faucet, stainless steel is the ideal material. Indestructible and long-lasting, this metal will serve you well for many years.
Make sure your utility sink’s plastic components are of the highest caliber and are built to last, if there are any. A commercial-grade sink is what you need if you care about durability.
Use A High-Arced Faucet For A Busy Garage

When choosing a faucet for your utilitarian sink, consider the potential uses. A high-arc faucet also needs a lot of clearance underneath it. Ensure your sink’s faucet is high-set and arched if you intend to place bulky objects. Unless you will only ever need to wash your hands, a low-set faucet is a hassle.
Be aware of the type of faucet you have so that you are prepared for future repairs.
Choose A Solid Sink’s Foundation
Stability is crucial if you think you might someday fill the basin with water. There should be no chance of the legs warping or buckling, and they should be made of sturdy stainless steel. The weight of the water in the basin shouldn’t cause irreparable damage to your sink or its foundation.
Go For Affordable Or DIY Sink Installation
Hiring a plumber is a good idea if you’re like many homeowners and lack the plumbing expertise required to install a sink. The professional expenses shouldn’t be excessive because this is a straightforward and straightforward task for someone who knows how to do it.
When setting a budget and selecting a utility sink, you should still consider this.
Steps To Install Utility Sink In The Garage
Whether you’re installing a new utility sink or replacing an old one, it makes no difference. You will be able to complete the installation using the advice provided here. You can put your useful sink in the garage using our options. All you need to do is follow the provided steps to complete the installation.
Gather Your Supplies
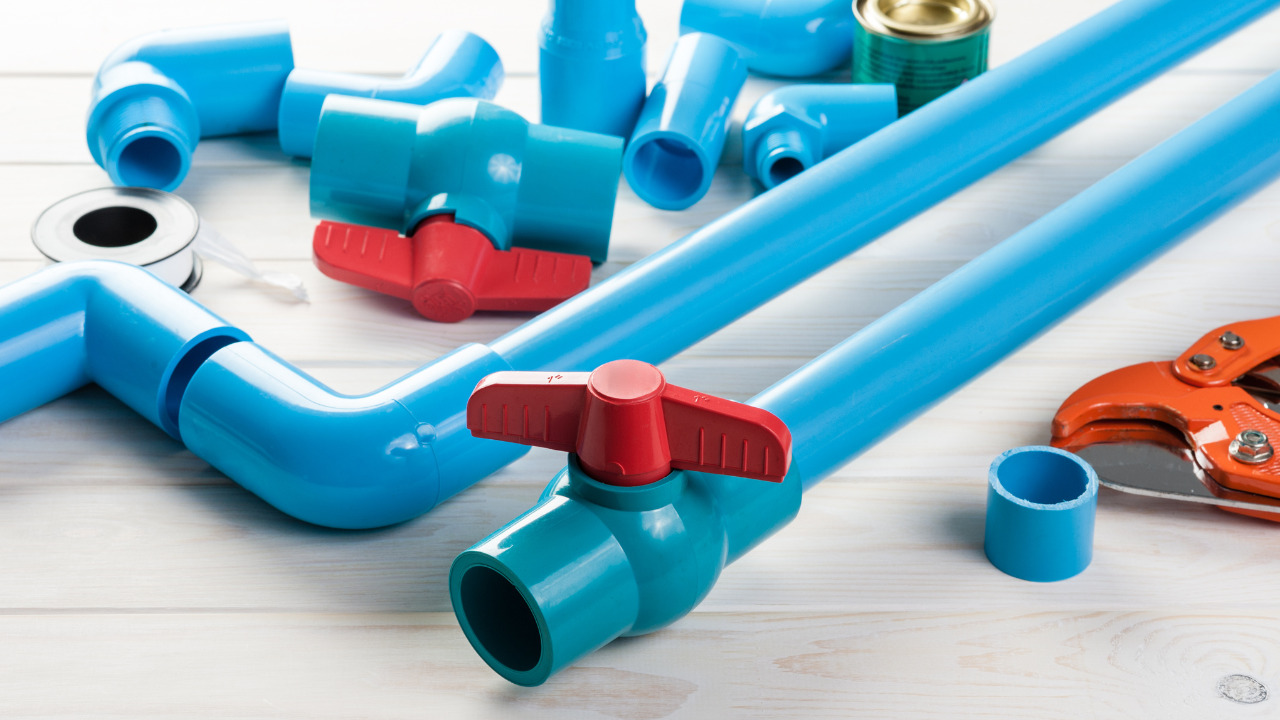
- Utility knife
- T-shaped fittings
- Compression coupling
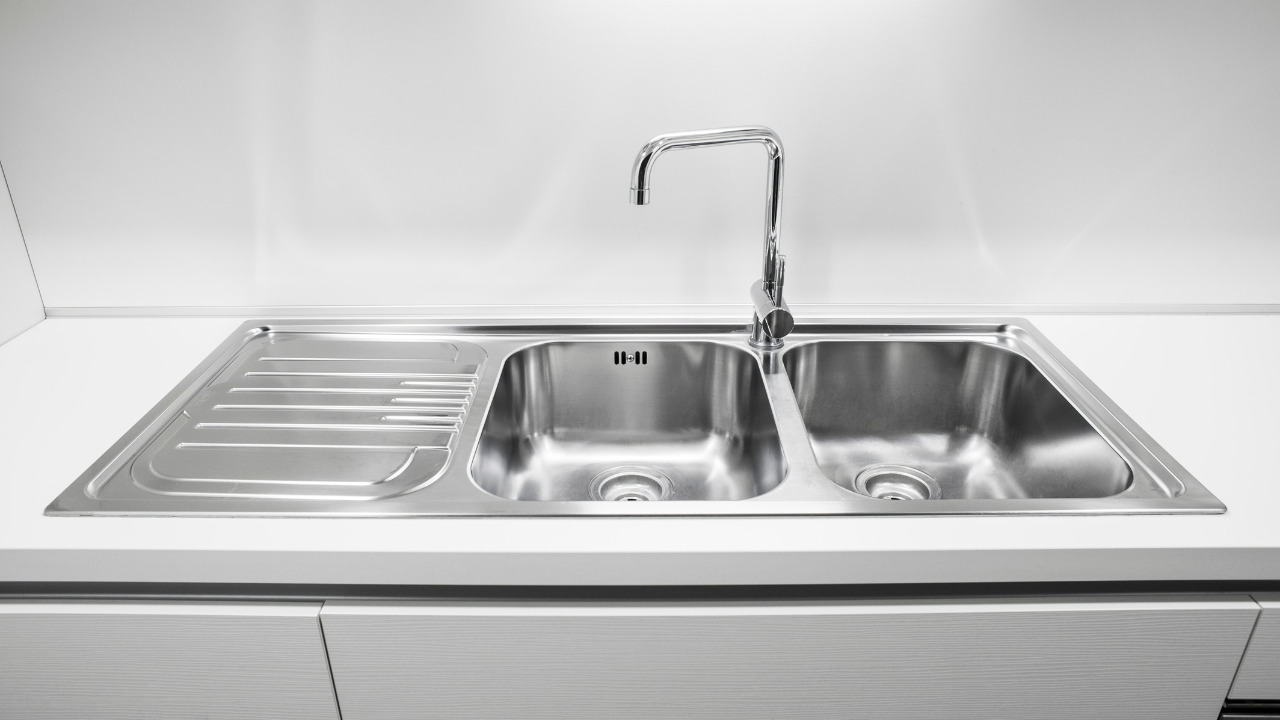
- Sink
- Vent pipes
- Connectors
- Faucet fixtures
- Plumber’s putty
- Wood nails
- Hammer
- Screws
- Power Drill
- Flange extender
1) Determine The Location Of The Sink
Make sure the water supply from the main water valve is turned off. When deciding where to put your utility sink, ensure it’s close to the hot and cold water lines and an appropriate drainage pipe.
Mark where the fittings will go on your drainpipe and hot/cold pipes so you can cut them correctly. Make sure to go for the Y-shaped fitting for the drain pipe and the T-shaped fitting for hot and cold pipes. These connections allow water to flow into the faucet via your home’s plumbing while maintaining a drainage path.
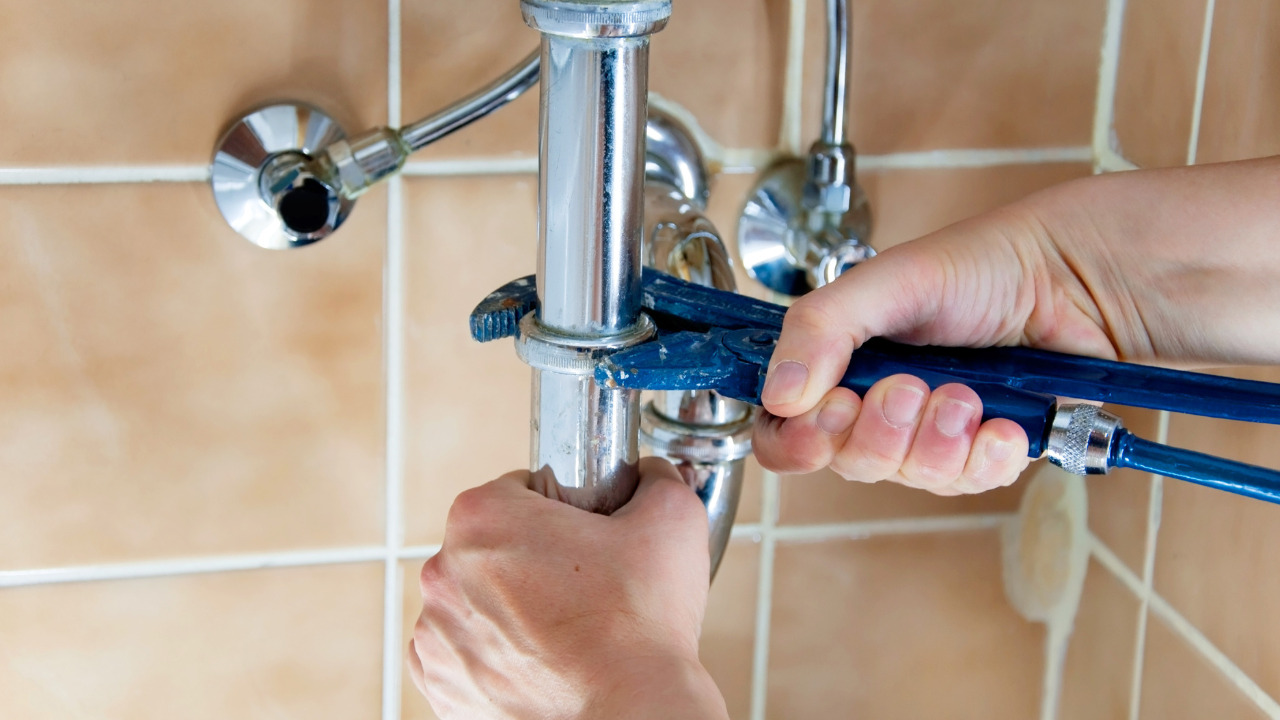
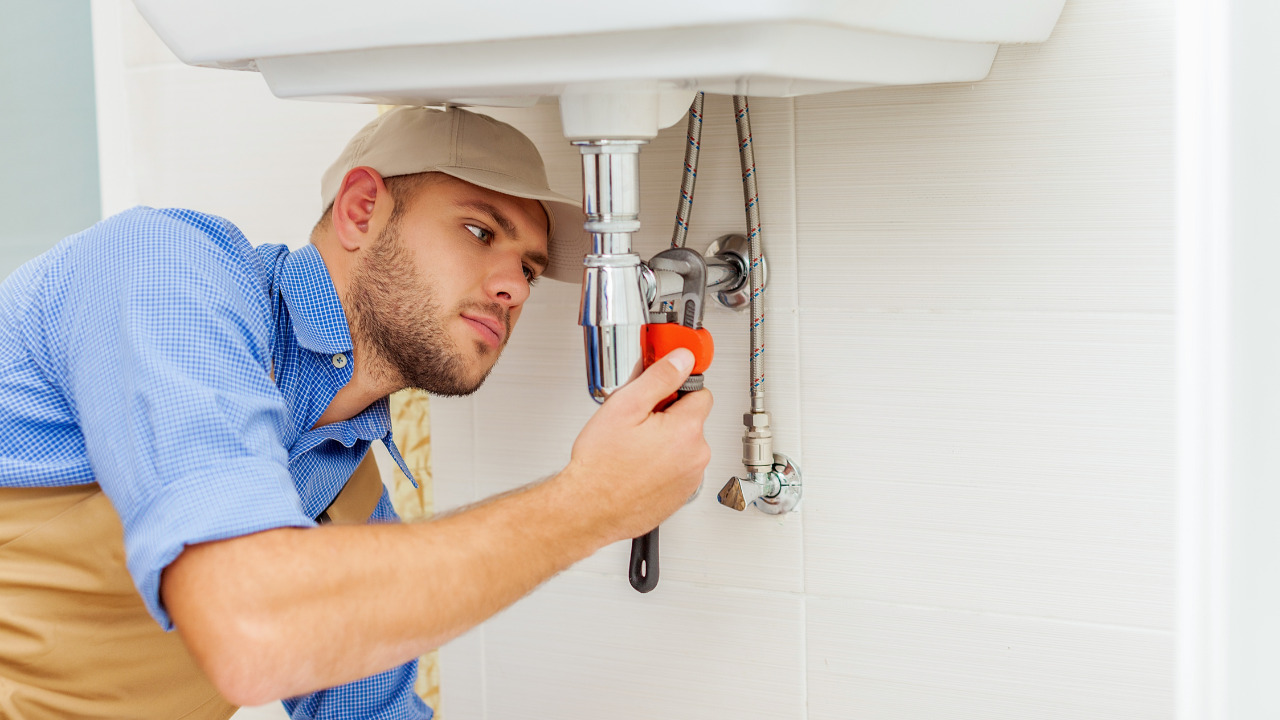
2) Install A Compression Coupling Along The Wall
Count the hot and cold water pipes that are visible on the wall. With your wrench, connect each pipe to a compression coupling. Ascertain that the coupling is secure and not slack.
Now is the time to take out your soft copper tubing. Connect the compression coupler to one end of a pipe. Similarly, continue with the other pipe. Using a compression fitting, join the tube and the coupler. Tighten the components with your crescent wrench.
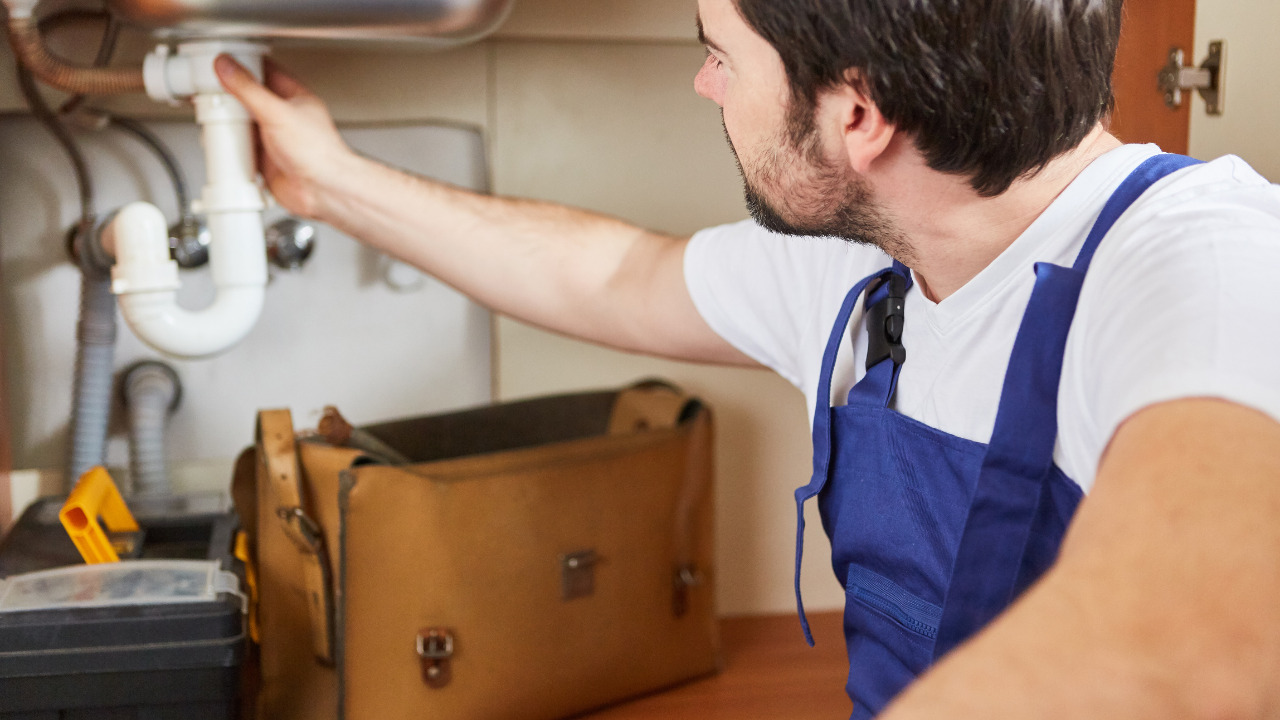
3) Install The Sink
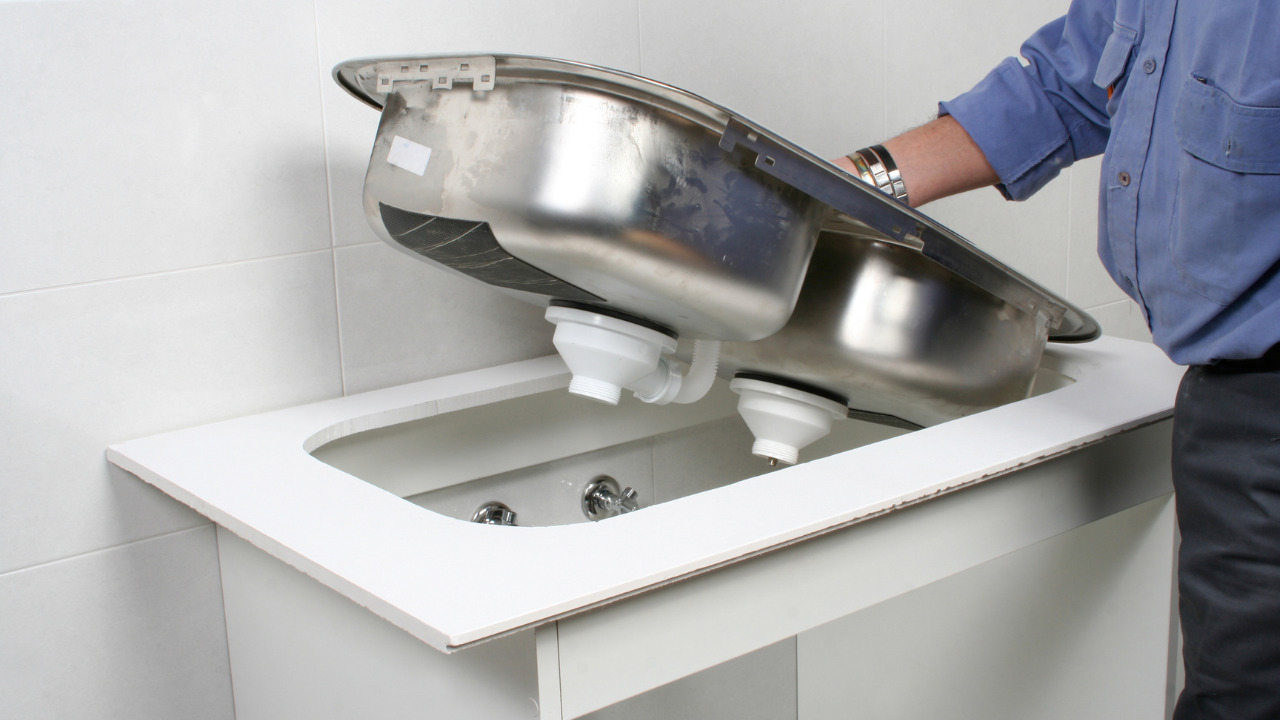
Place the sink under the new PVC trap you installed previously with the help of a compression nut. Before you install the faucet in the sink, place a liberal amount of plumber’s putty under it. For hot and cold water to flow properly through the arrangement, flexible hoses must be attached to the bottom of the faucet.
4) Install Connectors
Now is the time to look for the drain connector vent pipe. This is generally close to the ground and lowers on the wall. Putty the threads of this pipe well with the plumber’s putty. A screw will be used to secure the Y fitting’s end.
The seal should be watertight after the putty dries. In the upper location of the Y pipe, screw the drain assembly’s flange part. This also comes with a filter. When you buy a faucet, it usually comes with a drain assembly. Separately, they are also available for purchase.
You might now wish to consider putting in a garbage disposal system. You can get a flange extender to fill the distance in this instance.
5) Build Countertop To Support The Sink
First, measure the sink or utilize most sinks’ templates. Use these measurements as a guide. Cut a hole in a piece of plywood to match. Assemble the countertop using this component as the foundation.
This would hold your sink in place and secure everything with wood nails. Ensure the countertop is well-supported, considering the sink’s size and weight.
You might not need to create a full cabinet beneath your sink. To support your sink, you’ll still need a sturdy base. Make sure all surfaces of your sink are level to promote appropriate drainage.
6) Connect Water Pipes
When the countertop is finished, install the sink. Install faucet fixtures after connecting water pipes to each faucet handle. Ascertain that the faucet and sprayer head is connected to the appropriate lines.
You can skip this step if the sprayer is already within the faucet spout. Remove any accumulated dried silicone or plumber’s putty.
The water can now be turned on at the source. And then you’d have a ready-made sink. Allow the water to run for one minute now. Check behind the sink for any leaks. Examine the P-trap, the drain, and the faucet connections. Finally, you may use your utility sink.
Congratulations if the water runs smoothly and without any leaks. You’ve constructed your utility sink in your garage.
Frequently Asked Questions
Why do you need to install a sink in the garage?
Several factors could make life more convenient if you had a sink in your garage. There’s no need to use the restroom or kitchen to complete the task. A sizable, reliable utility sink in the garage is useful if you have a dog.
There is far less mess and stress when there is a sink in the garage. Shampoo for pets can be stored in a utility sink with a cabinet attached for storage.
What would be the cost for sink installation in the garage?
Probably, the sink’s purchase will be the most significant expense. Hiring a plumber shouldn’t be expensive because his knowledge will make installation a quick job. Homeowners frequently do utility sink installation with simple plumbing skills. You should expect financial savings if this applies to you.
Is it a good option to put a sink in the garage?
The installation of a utility sink in the garage is acceptable. One of the fantastic sinks we previously discussed can be installed if you have plumbing in the garage or are willing to build plumbing there. Your garage won’t have any issues if you install your sink properly.
If the garage doesn’t have plumbing and you don’t want to install it, you’ll have to use a portable sink.
Conclusion
To install a utility sink, you need the necessary equipment and the right methods; the rest will easily fall into place. Following the directions, you should use the sink for several years without problems.
Remember that this activity requires you to plunge into the garage with much willpower. The most important thing is to position it where it will be most useful, away from visitors’ eyes.
It’s important to remember that utilizing it inside the house can cause discomfort and clutter. This is because piling dirty clothes near the sink produces chaos and discomfort.