Whether you have a budding dancer in the house or need to brush up on your steps for a particular occasion, the carpet isn’t conducive to dancing. Fortunately, anyone with a case of boogie fever may create his own dance floor on a shoestring budget and in a small space.
In less than an afternoon, you can turn simple hardware store supplies into a portable dance floor with a bit of ingenuity.
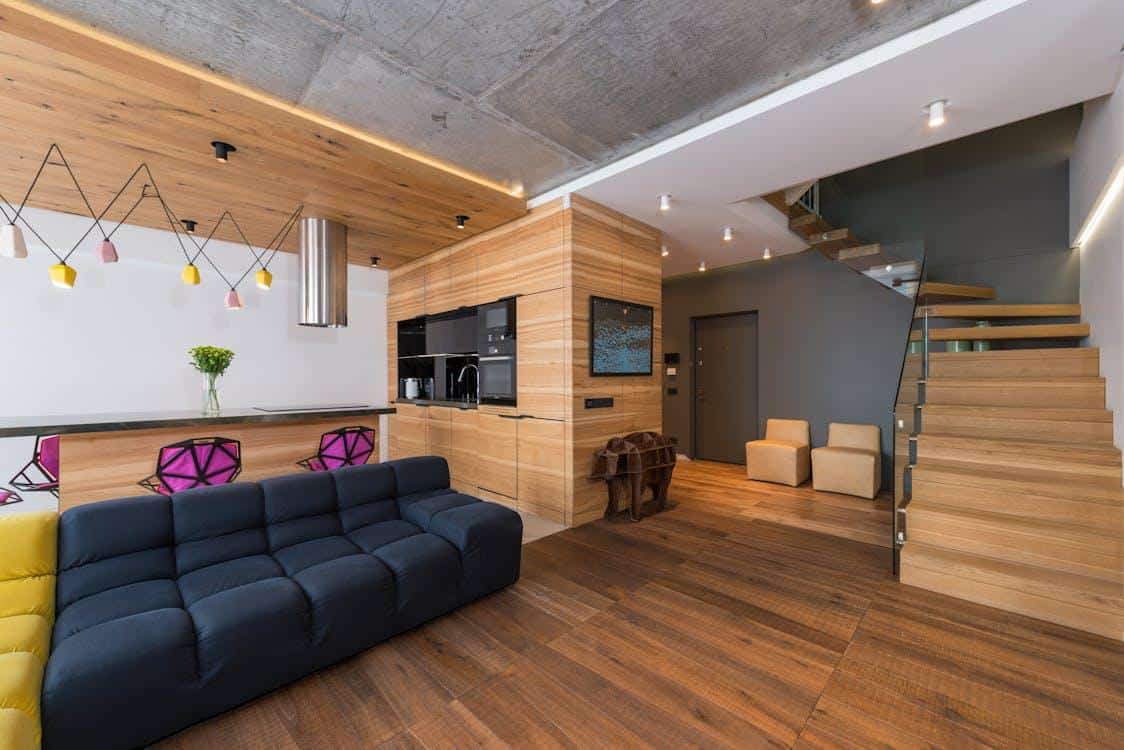
Professionals often install commercial dance floors, but you may quickly build a dance floor for personal usage. Plywood is a good choice for many homes dance floors, but it needs to be sealed to last longer.
Build a foldable dance floor for easy transportation and storage in a carpeted room. Multiple layers of flooring, including some form of impact-absorbing subflooring, will be required for a more permanent, cushioned surface.
Table of Contents
Plan The Event Layout
Place the dance floor in a prominent location and build the rest of your arrangement around it. Place your chairs on one side of the dance floor and the DJ or speakers on the other side, near the exit or bathrooms, to ensure that everyone gets up to dance.
Your guests will have to stroll by the dance floor this way, which will encourage them to join in. Place the less-important items closer to the layout’s edges. A photo booth or a coffee shop does not need to locate near the dance floor.
Choose The Plywood
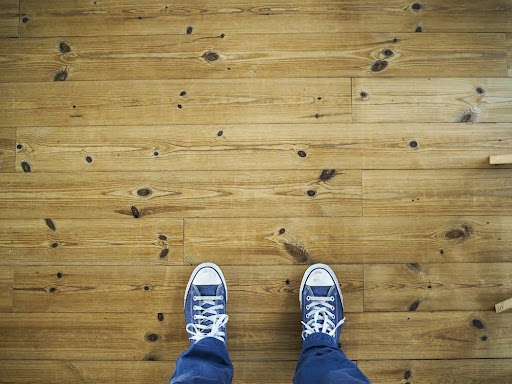
Plywood is available in many wood species and thicknesses. It doesn’t matter what kind of wood you use. A thickness of 2 cm is suitable, mainly if you live in an apartment with people living below you.
However, thick plywood will suffice if noise isn’t an issue. Similarly, 4×8 ft plywood boards are the most common size. A home dance floor typically consists of two of these boards placed side-by-side.
Pick A Location
It’s time to choose a site now that you’ve calculated the size of your dance floor. Choose a location that is level and large enough to accommodate the dance floor’s measurements. Remember that not everyone will be dancing at the same time. So, consider the table and chair spacing about the dance floor.
Once you’ve decided on a location, check to see if the ground is somewhat level. If there are any divots, holes, or bumps in the ground, you may inadvertently endanger people. Extensively search the region.
Choose another location if it’s not suitable for dancing. If you’re having a party at your house, the back or front yard is the best option. If you want to use a deck, make sure you’re not overloading it or putting it at risk of structural damage.
Seal The Dance Floor
Sealing your dance floor will help it stay longer and be more robust. Before putting together the dance floor, you’ll apply a sealer to the wood you’ll be utilizing for the surface.
Sealants can be found in hardware stores or on the internet. Placing the boards flat on a tarp is the most straightforward choice. You may also use a tarp on the ground to catch any dripping sealant if you have a pair of saw horses.
Use High-Quality Nails And Screws
Place the plywood on top of the base and secure it using screws or nails. Each support should have two nails or screws. Four along each side length will securely support your floor. Before changing the bases, sketch out the layout on a piece of paper.
Make sure the rectangle is entire. Finishing the dance floor can be done in several ways. You may seal and weatherproof the wood if you like the look. While weatherproofing isn’t required, it’s a good idea if your floor is exposed to the elements.
Protect The Dance Floor
Remember that the objective of your dance floor is to encourage people to dance. Paint is arguably the most cost-effective way to achieve the most personalized design. You can use glow-in-the-dark paint, write your initials, or even create a work of art.
Use vinyl floor sheets to make your dance floor look like it belongs in a professional dance studio. Simply roll it out on top of your existing flooring.
Take a peek at this look. The floor will need to be secured by binding it to the plywood or nailing the ends down. Consider utilizing peel and stick tiles if you want to ensure that all of the pieces come away quickly once you’re done.
Add Fun Décor To The Dance Floor
Make your dance floor sign or buy one from a party store to let your guests know what the space will be used for. You can also use stanchions to cordon off the area or string lights to create a dancing floor. This is crucial because your guests might not realize your dance floor isn’t reserved for something else.
Paint The Dance Floor
To build the dance floor, buy floor paints in any color you choose. Apply a coating of primer to each plywood sheet with a foam roller. Allow 24 hours for the primer to cure before applying the floor paint.
Allow another 24 hours for it to cure before adding a second layer if necessary. Continue adding new layers of paint until you’ve reached the desired hue and look.
A Few Things To Consider For A Budget-Friendly Dance Floor
No doubt, mentioned above method to build the dance floor and looks good. But you want to be kinder to your wallet? Nothing would be a better option than recycling the already available wood pallets in your collection.
Pallets can easily be found for free by looking through local classified ads. Moreover, you can also use the Pallets to build the base, eliminating any plywood board requirement! You may need to reduce part of your plywood depending on the size and quantity of pallets you can obtain. However, at a price, it’s worth a shot!