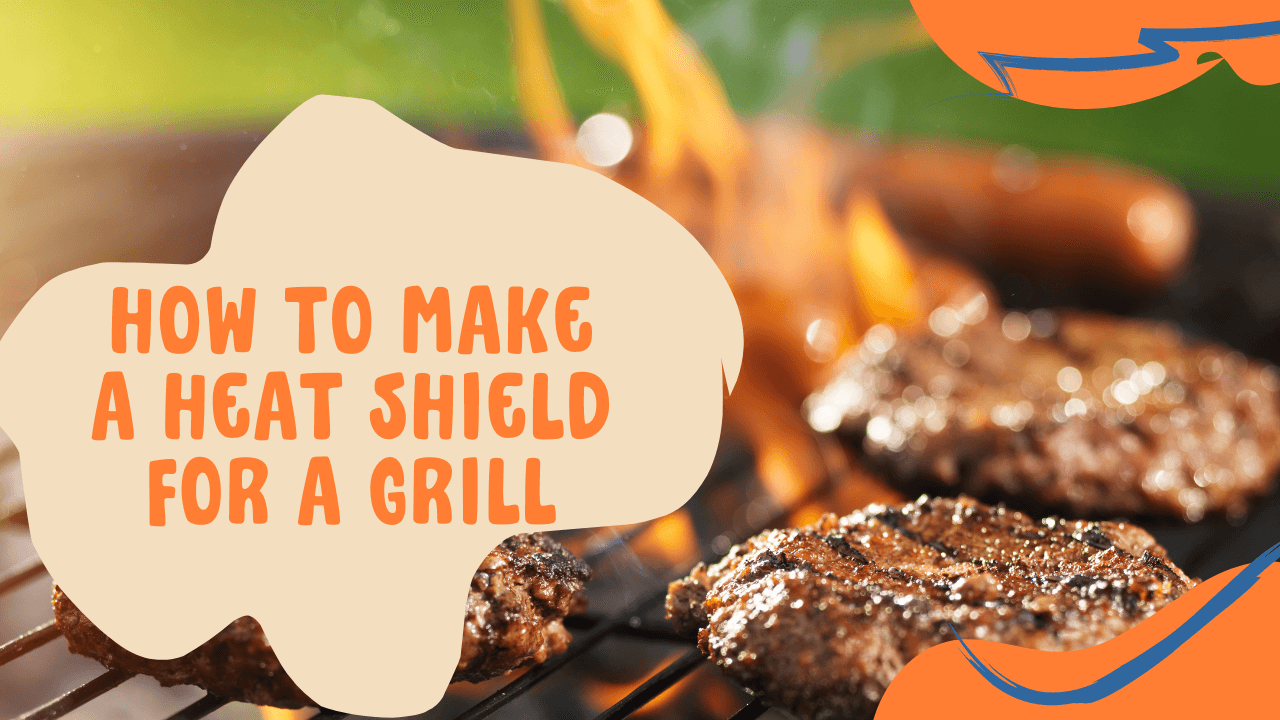
Do you enjoy grilling or eating items that have been prepared on a grill? If you answered yes, you can see why your grill would require a heat barrier. Grill burners are prone to cooking meat drippings since they are located at the bottom of the rack.
The drippings can cause the burners to corrode, shortening their lifespan and decreasing their effectiveness. You have every reason to use a heat shield on your grill as a result of this. Appreciate every step of the grilling process as much as you enjoy the items you’re cooking.
When you can construct heat shields at home, there’s no reason to spend much money on them. Measure the grill’s length, gather the necessary personnel and tools, and proceed with the steps below. Do not proceed directly to the steps. First, learn how to make the heat shield for a grill yourself by reading this article.
Table of Contents
The Type Of Heat Shield Material
Porcelain-encrusted cast iron. Cast iron is a material that is made up of iron and carbon alloys. It can be used as a heat shield since it resists melting even at high temperatures. Chrome-plated steel improves the heat shield’s corrosion resistance, ease of cleaning, and toughness—steel with a porcelain coating.
When combined with iron, the porcelain material becomes more resistant to chemical reactions. When put in the heat shield, it protects it from toxins that might fall on it.
Aluminum steel is an alloy of aluminum and silicon alloys. This material’s importance lies in its ability to maintain particular temperature ranges under specific situations. Ceramic is a substance created by layering hard soils such as clay on metals. Corrosion and heat loss are less likely with ceramic.
Steps To Make A Heat Shield Grill
You can easily make one behind the gas grill if you know how to create a heat shield for a grill. Make your own heat shield by carefully reading the instructions.
1) Clean Up The Grill Parts
Place your grill out in the open. Check to see if your grill is hot. If you just finished grilling, set aside for an hour to cool. Remove the grill plate from the oven. You must remove the grill plate regardless of whether the heating system is gas or charcoal. Using fresh water and detergent, clean the pieces. Cleaning with vinegar is an option.
2) Determine The Measurements Carefully
You’ve arrived at the most crucial stage of the procedure. Examine the burner using the measurement tape. The burner is protected by a heat shield, which evenly distributes the heat. You’ll need additional heat shields if you have multiple burners.
You can use a single heat shield to cover the smaller grill. It’s entirely up to you. Measure the length of the burner, including the height and breadth.
Mark down the materials according to the measurements to see if you’ve taken the correct measurement. You can’t change your mind once you’ve cut the material. Cut the materials using the circular saw according to the measurements. Make sure you don’t have any spare space.
3) Flat The Steel Material
The steel materials may appear flat after being sliced. You must bend them into the shape of an angel. Hold one side of the steel in the holder while bending the other. To bend hard materials, use a hammer. A welding machine can be used to fuse two materials. If necessary, weld the bent sections.
While welding the parts, make sure to use safety precautions. When you need to build a single shield cover for several burners, welding is required.
4) Place The Shield On The Grill
Make holes on the grill’s various sides with the drill machine. The holes should be the right size and distance apart. The heat shield must be screwed into the holes. With vinegar and fresh water, clean the freshly constructed heat shield. The air dries up. Place the heat shield on top of the grill now.
Examine the shield’s position to see if it can cover the entire burner. If everything appears to be in order, proceed to the next step.
The heat shield is messed up. For better results, I like to utilize screws. The shield is readily unscrewed able for cleaning. The shield, on the other hand, will be fixed if you weld it. You won’t be able to clean up the burner.
5) Heat Shield Is Ready
By now, it should be finished. Cover the heat shield with the grill plate. From below, the heat shield should shimmer. Test the temperature by lighting the burner. Check each side of the grill to see if the shield can distribute heat evenly throughout the entire grill.
Benefits Of Heat Shield On The Grill
Because they are open and easy to clean, heat shields, unlike rock, do not harbor microorganisms. They’re small and light, making them easy to transport, and they won’t harm your grill, whether it’s gas or charcoal.
Because the materials are inexpensive and readily available, heat shields are easy to replace. They can evaporate food drippings and add flavor to them.
Final Verdict
At any time, you can enjoy your favorite grilled dishes, which include vegetables and more. Making a heat shield at home will allow you to enjoy your summer barbecue moments.
Heat shields are easy to use and understand, and they’ll make your grilling moments the best and most memorable they’ve ever been. If you follow the discussed steps and guidelines, you’ll be able to grill drip-free and delicious heat shield foods.
Because you will be working with heavy tools such as a drill machine, hammer, welding machine, and so on, you should disregard any safety precautions. Hopefully, you will enjoy the heat shield processing to give a completely new look to your outdoor kitchen’s grill station.