Just like kitchens, bathrooms are a challenge to paint than other rooms. You may find yourself stuck planning a perfect paint job around the vanity, shower tile, light fixtures, or the wall behind the toilet. So, how to paint a bathroom?
Let’s walk you through a complete guide to painting your bathroom like a pro.
Table of Contents
12 Steps to Prep and Paint Your Bathroom
Bathroom walls get dirty over time. These falls frequently get exposed to moisture and chemicals from soap and hairspray. There must be water streaks on the walls or mildew. Water streaks occur on your bathroom walls due to surfactant leaching.
These are some of the things that can occur on the bathroom walls with time. You shouldn’t ignore these things or paint them over without cleaning the walls first.
Here is a step-by-step guide to paint your bathroom and do a perfect job:
1. Painting Supplies to Gather
You will need to gather:
- Hand masker with masking film
- Painter’s tape
- Mini roller and handle
- 3-inch paintbrush
- Patching compound
- Wall cleaner
- Bathroom paint (ensure picking anti-mildew paint)
- Screwdriver
- Drop cloths
- Drywall sanding sponge
2. Start by Cleaning the Bathroom Walls
If your bathroom has been heavily in use, the walls may get dirty over time. It’s a good decision to paint the bathroom walls for a newer and fresher look.
However, the water streaks and wall stains from soap residue won’t go away by painting over them. The same rule goes for mold or mildew on the bathroom walls.
You should clean the walls before painting to avoid any critical problems. Start by scrubbing the walls with a pre-paint cleaner. Avoid using heavy-duty cleaners as much as possible. Use regular dish soap first to clean the bathroom walls.
Scrub all the walls well, especially around the toilet, sink, and shower area. Turn the ceiling fan on and let the walls dry overnight before you start painting.
3. Don’t Ignore Mold and Mildew
To destroy the mold spores, vinegar works best, followed by mold-killing primer and paint.
Don’t ignore mold and mildew. Vinegar works great for destroying the spores, followed by mold-killing primer and paint.
Mold and mildew in a bathroom usually occur due to poor ventilation and infrequent cleaning. If the ceiling fan isn’t efficient, replace it, because the problem will eventually return.
4. Wipe Down the Baseboard
The bathroom baseboard is usually always dirty, especially around the toilet.
If you try to tape off the dirty baseboard, the tape may fall off. Just like the walls, cleaning the baseboard is essential if you are painting the baseboard as well.
You can clean the baseboard with dish soap or use a pre-paint cleaner.
5. Mask Off the Bathroom Before Painting
Remember! Your bathroom has several key areas that need protection before painting. It’s necessary to protect the walls and ceilings without making a mess.
Pay special attention to the areas like vanity, sink, shower tile, tub, floor, toilet, and wall fixtures. Protect anything and everything in the path of paint splatter.
6. Use a Hand Masker
The hand masker is a must-have tool for paint preparation. It’s extremely useful for masking bathrooms, kitchens, floors, windows, and other painting projects.
Use the matching film rolls to cover the areas in the bathroom exposed to paint. These rolls come in various lengths, choose one that feels suitable for your project.
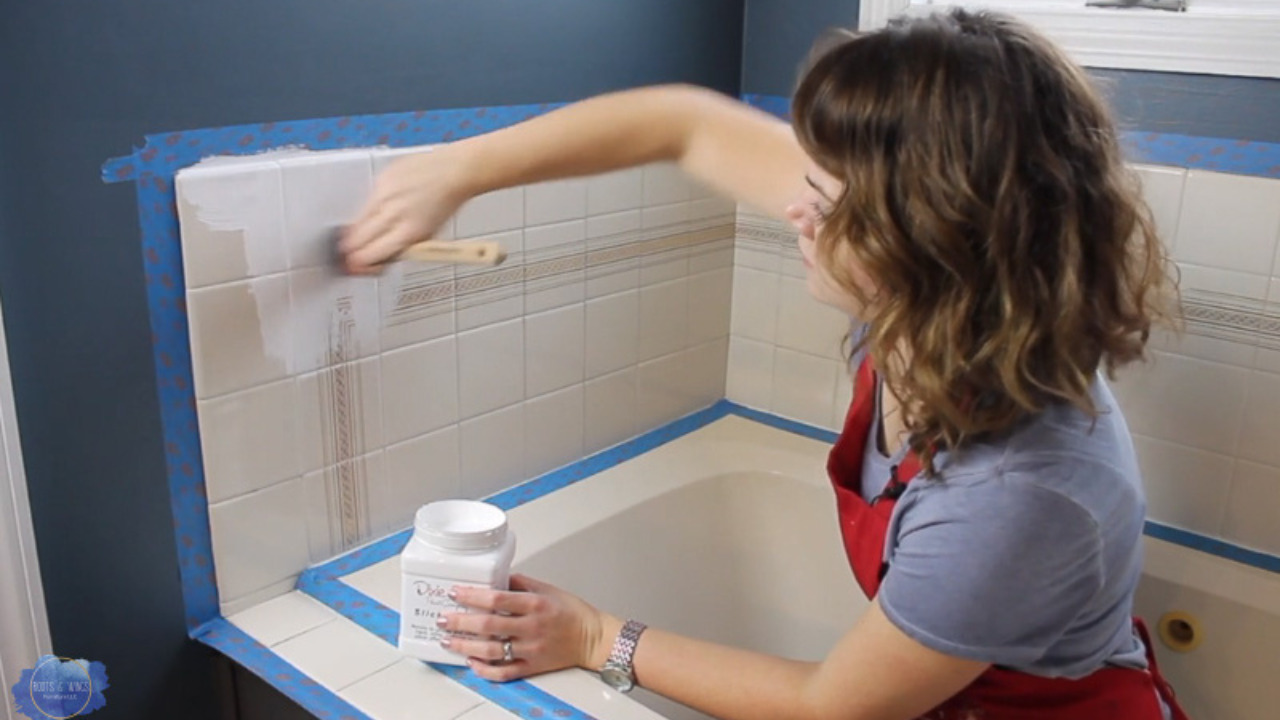
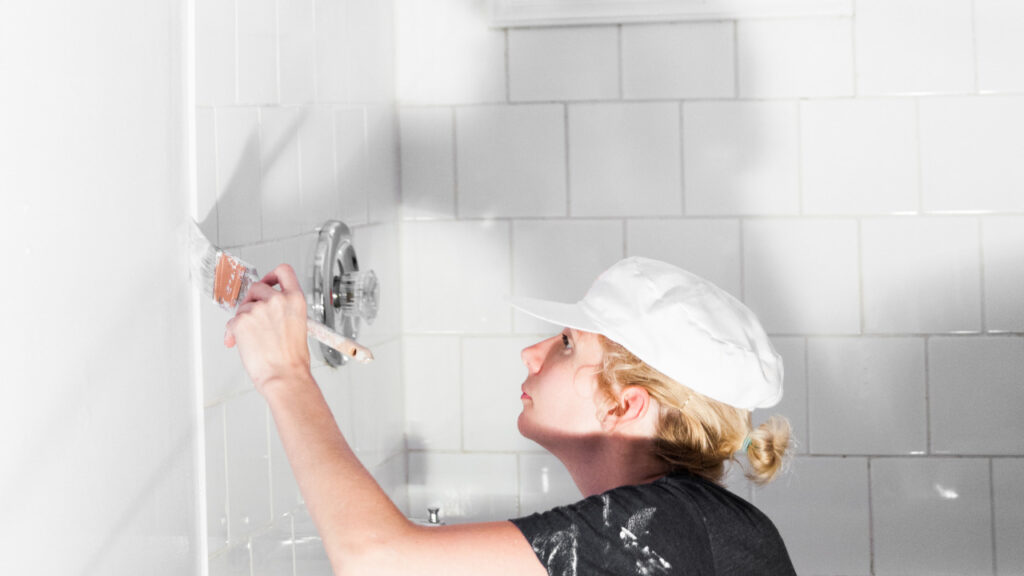
7. Cover the Shower Tile, Vanity, and Mirror
Use the 3M film and hand masker to cover the shower tile, vanity, and mirror in the bathroom. The best recommended lengths for the bathroom are 99-inch and 48-inch.
Cover the shower door, vanity, and tile using a 99-inch film and a roll of painter’s tape. Use the other film of 48-inch to cover the following around the toilet and the toilet itself.
Covering the flooring around the toilet is easy. However, avoid using a drop cloth. The space around the toilet is too small for the clothes to fit properly. Moreover, it’s gross wrapping a nice and clean drop cloth around the toilet.
The easiest way to cover the flooring around the toilet is using painter’s tape and the 3M plastic. Use the 48-inch film. Tape off the baseboard and attach the plastic to it.
You can use a drop cloth to cover the main part of the bathroom floor.
8. Paint the Walls and Ceilings
One rule of painting to remember: always paint the ceiling first. You can choose from different types of paint for bathroom.
If your bathroom has excessive moisture, use a glossy paint on the ceiling, such as satin, or even semi-gloss.
You should know how to paint a moldy bathroom ceiling because it may be a little tricky.
Glossy paint is highly recommended for painting the bathroom. It is more water-repellent and you can easily maintain and clean the walls with glossy paint.
9. Cut in the Ceiling Corners
When you paint the walls after the ceiling, you don’t have to cut precise paint lines.
Fill the corners with paint. If you don’t want to repeatedly climb up and down the step ladder to paint the ceiling corners, we have a trick for you. Use an extendable paintbrush on a pole. It will also save you a lot of time.
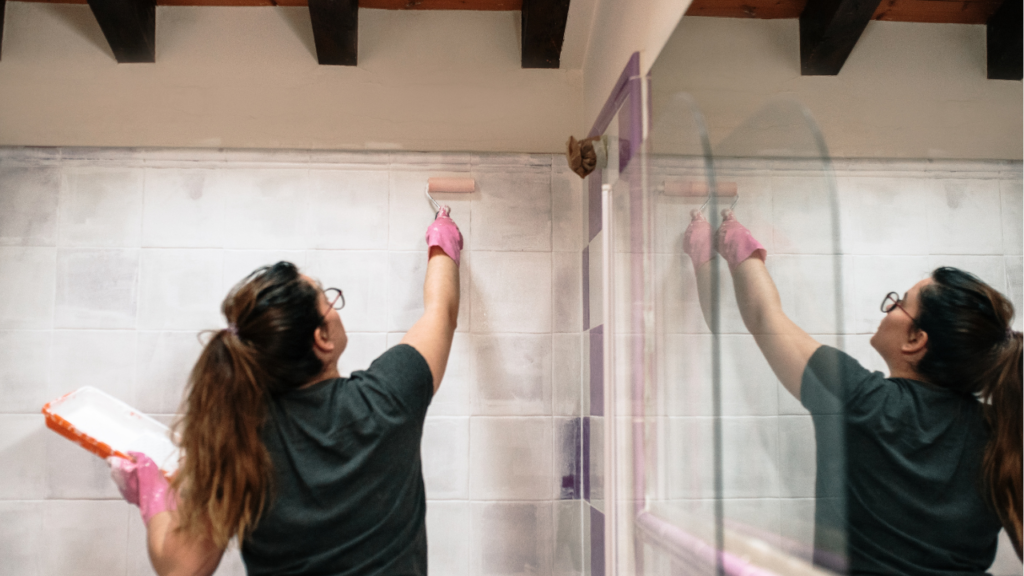
10. Use the Paint Roller
Use a paint roller that’s 9 inches in length and lint-free, as it’s the best choice for bathroom paint. Lint-free fabric rollers are a good option as well. An ½ inch nap can lay on more paint without leaving a heavy stippling texture.
11. Paint the Trim
You should paint the trim after the ceiling and before the walls. You can do this step after walls too. However, it’s easier to paint it first, tape it off, and paint the walls quickly.
Use a waterborne trim enamel in a semi-gloss finish for bathroom trim. A glossier paint can help you easily clean the bathroom, as it gets dirty due to constant use. This kind of paint is a little more durable than regular acrylic.
12. Now, Paint the Walls
How to paint bathroom walls? Finally, we have arrived at answering your question.
Firstly, use painter’s tape to tape off the baseboard. You can also consider using the frog tape to get a neat paint line and less leakage under the tape.
After you are done with painting the ceiling and rolling the wall, cut in the bathroom walls carefully. Using two coats of paint can successfully increase the gloss of the paint and retain durability. Now, to paint behind the toilet, remove the lid and use a 4-inch paint roller.
If the gap between the toilet and the wall is too narrow, use the paintbrush around it for complete coverage.
Enjoy Your Newly Painted Bathroom!
Remove the painter’s tape after the paint has dried. Remove drop cloths, and properly dispose of any plastic sheeting.
Replace faceplates, the toilet tank, towel bars, and any other hardware and accessories that you removed earlier.
Enjoy your newly painted bathroom with a fresh look.