There is no good time for plumbing issues; however, it’s better to deal with small problems than big emergencies. Major leaks, broken pipes, and backed-up sewage can leave you and your family, along with any belongings, at risk. When left unaddressed, plumbing damage can result in costly repairs that are both time-consuming and difficult to deal with.
In these situations, your best line of defense is knowing how to respond, and what steps can be followed to minimize any destruction. Of course, some plumbing problems are difficult to notice until it’s too late. Preparation beforehand, though, ensures you will react quicker when needed.
The following guide provides some basic tips and tricks for tackling plumbing maintenance during an emergency.
Table of Contents
How to Locate the Shut-Off Valve
The main water shut-off valve is extremely helpful during plumbing emergencies because it controls water flow throughout your entire home. In the event something goes wrong, it’s essential you know where the main water shut-off is and how to use it.
If you don’t already know where to find the main water shut-off valve, try looking in one of these three places:
- Home interior
Often, the water-shut off valve is stored inside your home for easier access. Typically, you should expect to find it along the perimeter of the house where water initially flows from.
Focus on looking at the street-facing side because water mains begin outside before heading in a straight line toward the building. Once located, you can turn the handle or valve into the off position, interrupting water flow for the whole house.
- Property inspection report
If you have trouble finding the water shut-off valve around your home perimeter, then you may need to resort to a different solution. Checking the property inspection report—which should have been completed when you purchased your home—should give you an idea of where to look.
In the report, there should be a section dedicated to plumbing. Here, you will find the shut-off valve and a picture of what it looks like. No matter what status the water system was at during the original inspection, the location of the main water shut-off will still be noted in the final report.
- Street side
If the previous two solutions fail, there is one final step you can take to find a water-shut-off valve. The beginning of your water main (located by the street) could have its own separate shut-off valve. This can be located usually at the boundary of your property line, near either the street or along the sidewalk edge.
Generally, a curb valve is meant for staff from the water company to use when completing work or other related activities. That said, in an emergency, you can call the number listed and they may instruct you to manually shut off the water yourself or wait for an emergency dispatch team. In this case, the response depends on the severity of the situation.
Tools Required in the Case of a Plumbing Emergency
Stopping water flow is the first thing you must do when a plumbing emergency occurs. You cannot start to resolve the situation until the water has been properly turned off. As soon as you locate the main valve and turn the switch off, the issue can then be addressed.
In order to complete some DIY plumbing maintenance, there are a few essential tools you’ll want to have available, including the following:
- Plunger: A plunger is designed to use suction (and a little brute force) to remove both small and larger obstructions. Keeping one in an easy-to-access location is ideal for several different types of plumbing-related issues.
- Adjustable wrenches: In the case where piping joints need to be tightened or valves loosened, it’s a good idea to have a set of adjustable wrenches on hand.
- Oversized bucket: This is a simple yet effective tool when it comes to water spillage. It’s important to keep a large bucket nearby when completing any plumbing. This helps capture any remaining water without causing further damage to your home.
- Teflon tape: Also known as plumber’s tape, this is a great tool for sealing pipe joints and joints to taps that may need a quick repair until they can be properly dealt with. This specialty tool helps create a lasting seal that acts as a barrier between the flowing water and the leak.
- Caulk and caulk gun: These are two very useful tools to keep handy. They can be used to reseal a variety of different areas, including the seams in a shower, or the edge of a new/pre-existing ceramic sink.
- Tools for CPVC, galvanized, or copper pipes: Every building has a different type of piping. This often depends on when it was built, the materials used, and where you’re located. Having the right tools for the specific type of piping inside your home makes it easier to complete standard maintenance when needed.
If you are unclear on how to fix a plumbing issue in your home or want further clarification on the type of piping you have, reach out to a plumber in Toronto.
How to Unclog a Drain During an Emergency
- Try a simple approach
When it comes to plumbing solutions, sometimes the smallest issues can be resolved in the easiest of ways. If you have a clog, the first thing you should do is look down the drain—you may be able to pull the blockage out from the top.
Depending on how far down the blockage is, you can also check the built-in stopper and remove any buildup that could be causing problems. The stopper is typically found inside the top pipe underneath your sink.
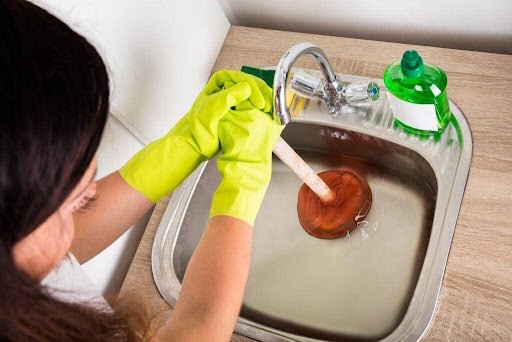
- Plunge it
A plunger requires some water to help create the necessary suction. So, if the clog is located where there isn’t any water already (for example, a sink), add at least 2 inches before starting. The overall idea is to break up the clog through added air pressure, allowing it to pass more easily through the pipes.
The basic plunging guidelines involve the following:
- Fill the space with enough water to cover the plunger.
- Cover the drain hole entirely with the plunger bell, making sure there are no openings.
- Plunge lightly the first time to allow excess air in the bell to escape safely.
- Once the air is forced out, plunge repeatedly with consistent force without breaking the seal. If the seal breaks, start again; otherwise, you won’t have enough airflow going back and forth.
- If the water spills out or begins to gradually go down, add more as needed until the clog is removed.
- Get the snake
A plumbing snake can be a great option for clogs or blockages that are deep inside the pipes. Extending upwards of 20 feet, these flexible metal tools make it easy—yet time-consuming—to remove those hard-to-reach buildups that happen in drains. Although they are effective, be prepared for the entire process to take between 20 to 30 minutes before you see results.
Some simple snaking guidelines include the following:
- Remove the P-trap underneath the sink.
- Lay the snake out on a flat surface.
- While twisting, push the snake into the clogged drain.
- Once you feel the obstruction, twist the snake clockwise so it continues to latch onto the problem. If you feel resistance, start pulling it out.
- After you begin to feel like you’re making progress, don’t stop.
- Be sure to clean the snake completely after the clog has been successfully removed.
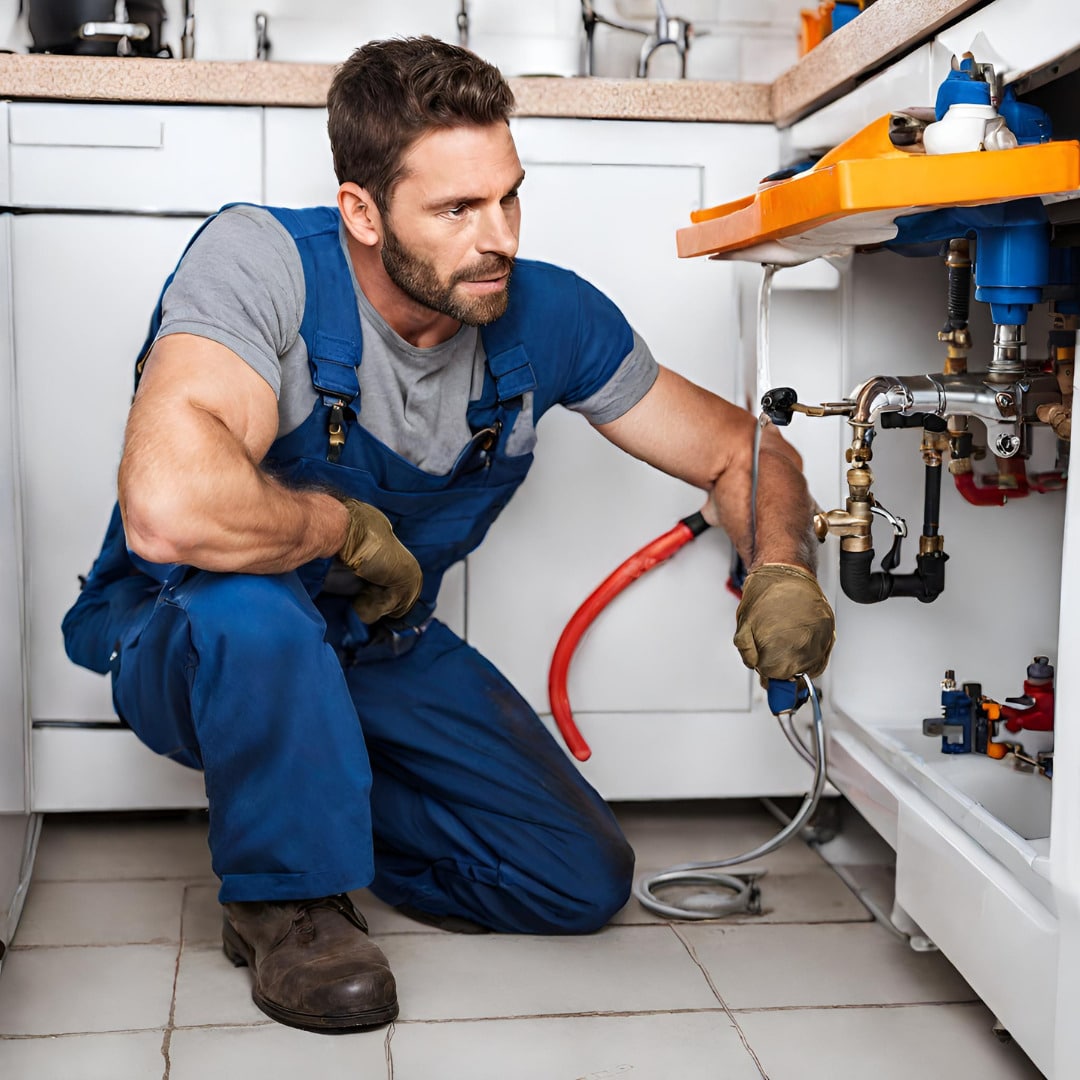
How to Handle a Leaking Pipe During an Emergency
- Find a container (such as a bucket) to catch the leaking water, minimizing any future damage while you work on finding a solution.
- Locate the main water valve and switch the system to drain down. This means opening all the faucets within your home and having them drain to the main shut-off valve instead of their usual location.
- Once the leak is controlled, immediately clean up any remaining or excess water around the source, as you don’t want to promote mould growth.
- Begin assessing the source of the leak, and implementing the appropriate repair protocols for the particular issue:
- Use a wrench to tighten loose nuts or braces in the pipes.
- Replace a broken or worn-out pipe completely.
- Remove any blockage from inside the pipe.
- Reseal the edging between the pipe and counter/floor using caulking or proxy putty.
- Return to steps 2 and 3, turning back to the main water source and cleaning up any remaining mess left over from the repair.
What safety protocols should I take during a plumbing emergency?
- Have a clear health and safety plan in place should any medical or other emergency occur during your plumbing issue and/or maintenance process.
- Create detailed job orders for each step of the process, allocating different tasks where applicable.
- Consider taking formal health and safety courses from a trusted source to remain up to date on the latest recommendations/requirements.
- Before opening any drains, take time to think about the situation and determine a safe, effective solution to resolve the issue.
- Shut the water off before you do anything else in order to avoid further damage.
- Be aware of any building and/or plumbing regulations surrounding your particular situation.
- Protect yourself at all costs; wear safety goggles, gloves, and masks.
- Follow proper tool safety, and understanding the recommendations for use prior to starting any project.
- Always read labels and instructions before using any chemicals or machinery.
Why does plumbing matter?
Accidents can happen anytime, anywhere, and to anyone, especially when you least expect it. It’s better to be prepared in the event something goes wrong than to be left with damaged fixtures and personal possessions that are beyond repair.
Knowing how to approach a plumbing emergency safely and with confidence will not only help keep you and your loved ones safe, but could also protect against any future damage caused by overflowing water.