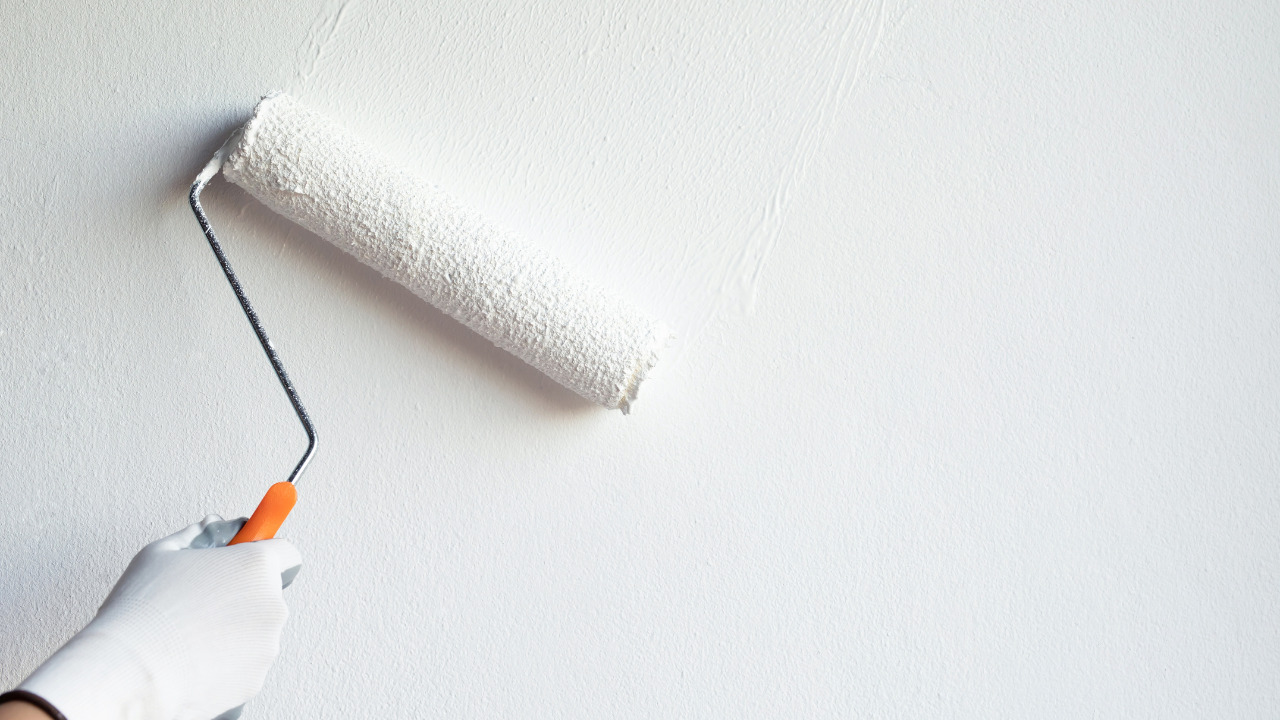
While a lot of people may feel like prepping the wall before painting is a lot of work, avoiding this step may eventually be evident when you’re done painting. So to avoid spending so much time on painting without getting the result you need, you can just spare some time to do the needful. Prepping is an important step to carry out before painting.
Table of Contents
Why
It helps to remove dirt
Needless to say that having dirt on the wall surface can affect your painting. So getting rid of the dirt before starting is a good way to ensure that the result is satisfactory. Dirt can be removed by dusting, wiping with a damp or dry napkin, and in extreme cases sanding.
The paint stays on the wall
Proper wall prep ensures the paint sticks to the wall, allowing it to stay for a longer time. Dirt acts as a barrier between walls and paints preventing the paint from sticking properly to the wall. The paints eventually peel off as time goes on. When the wall is properly prepped, the paint pigment will be much harder to blemish, and the quality of the paint color stays for a much longer period.
The colors are evenly distributed
To have a clean, perfectly painted wall, you shouldn’t underestimate the importance of prepping the wall. Priming is one major aspect of wall prepping and it helps to protect the wall and also makes it easier for the pigment to soak into the wall.
You may find that without priming some part of the wall looks bright while the other part looks too dull. So, to ensure that you have a flawless look all-round, you need to prime before you start painting.
Asides from creating an even appearance, priming also helps to cover dark spots so they are not obvious after painting. In the same way, removing bumps, blemishes and other wall irregularities will give the wall a smooth appearance.
These defects are usually from wall accessories and nails used for hanging, so you can’t help but find some of these irregularities on your wall.
Now that we know why prepping is important, let’s see how it is done. First thing is to get your materials ready. You’ll need a plastic sheet, a putty knife, sandpaper, and tape. You can easily find this in a hardware store. That being said, here is the step-by-step procedure.
How to do it
Step 1
Before starting anything, remove furniture and appliances in the room. Disconnect appliances from the wall and move them out of the room. Alternatively, you can just cover them with a sheet.
This will help protect your furniture from paint stains. Also, you may need to protect your floors as well. This will help you avoid doing a lot of cleaning after the prepping. Once this is done, you can proceed to the next step.
Step 2
Check the walls for cracks, holes, dents, bubbling, or peeling. Also, clean off any dirt that is on the wall; this could be from dusty wall frames or wall accessories.
To make things easier, use a spray mixed with water and a little detergent. Spray the mixture on the wall and wipe off the dirt with a cotton cleaner. Note that, you may not get all the dirt out at once, so it’s okay to still have stains or some dirt on the wall after cleaning, the paint will cover that.
Step 3
Now it’s time to correct the wall defects. Fill in holes on the walls, and scrape off any peel or bubbling from the previous paint that was used on the wall. For the holes, you need to press in any sharp angle around the hole in a way that you have a level surface.
You’ll need a wall primer and a putty knife for this step. Using the putty knife, take some primer and apply it over the hole till it fills it up. If you find dried paint drips, usually from old paintings, you can remove this by running over it with sandpaper.
Step 4
Once the wall defects are out, it’s time to begin sanding. You can do this with sandpaper, but make sure to wear eye protection and a nose mask. This is to protect you from the dust while sanding, after which you can use a damp napkin to clean up.
Before you start painting ensure you remove wall outlet covers, light fixtures, and wall plugins. However, note that when you have removed the covers, use a tape to cover the holes on the outlets so the paint does not get into them, this is a lot better than painting around the outlets with the covers: you may be unable to get a perfectly clean painting around there.
If there are areas where you don’t want the paint to get on, such as window frames and baseboards, it is best to tape them, this will keep off the paint stains. When this is done, you’re ready to start painting.
By following these steps you can easily prep your wall. But if you find it too tasking you can employ the services of an expert instead. The importance of wall prepping cannot be overemphasized and that is why professional painters ensure that they do not skip this step.
No doubt, this can be a very tedious process and will take your time but it will be worth it in the end. Likewise, it can save you a lot of stress and expenses in the future. So instead of spending double, it is better to get it right the first time. Painters usually spend as much time as required in prepping the wall surface before they eventually start painting.
Note that, there are different types of wall defects and each requires different methods of correcting them. Therefore it is important to properly examine your wall in order to determine what type of defect is on the wall and how you can correct them.


