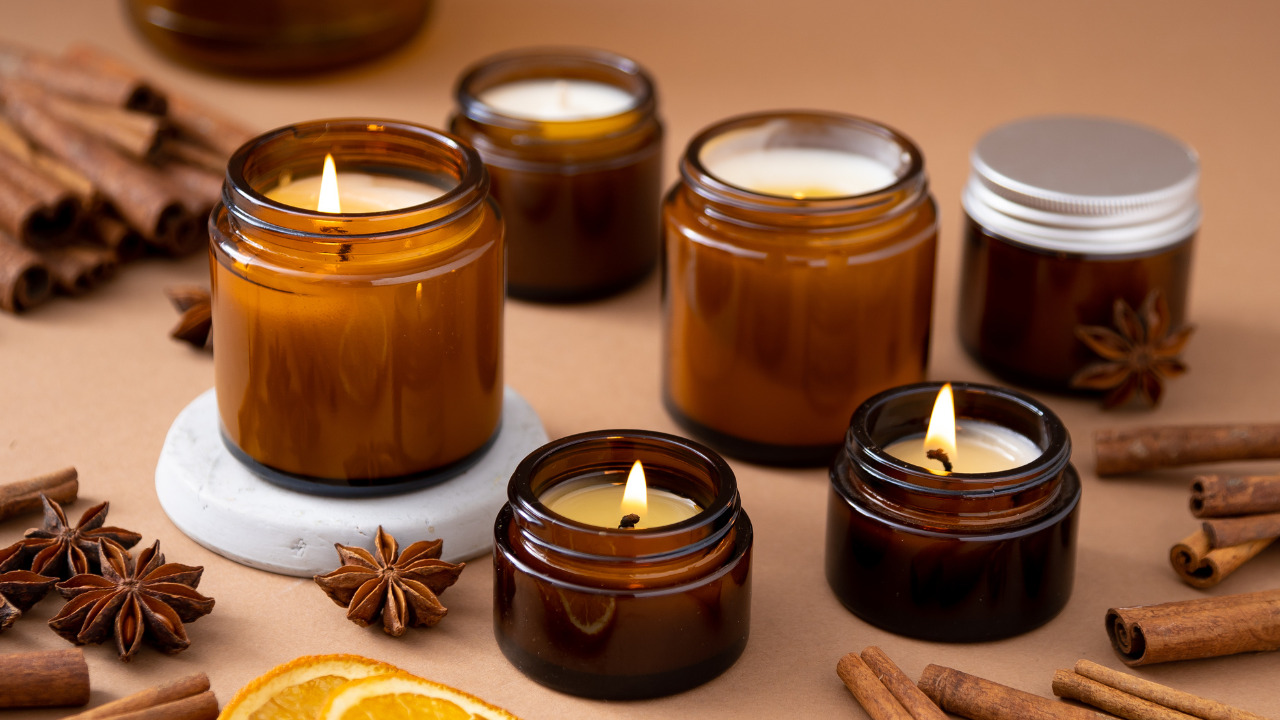
When it comes to aesthetics and visual appeal, candle jars are usually the stop-by solution for the majority of homeowners. They come in various shapes, sizes and materials and this diversity allows you to choose the type that provides the desired ambiance. From cylindrical glass jars to tumbler jars and tea-light cups, the options in stores are often exciting.
Candle jars made from glass, plastic, metal and ceramic can be reused once the wax is consumed. You can use them by storing various items such as craft supplies, jewelry, etc. All you need to do is remove wax from the candle jar. This article will serve a helping hand for you to get rid of wax from the jars so that you can convert them into storage containers.
Table of Contents
Method #1: Use Hot Boiling Water to Remove Wax

Using hot boiling water is the easiest way to get rid of hardened wax around the jar corners. Over time, the wax residue hardens which is hard to remove. Be it large containers or small glass jars, boiling water is a recommended method to remove wax from candle jars in all cases. This method of wax removal is extremely simple. However you need to be careful while dunking the candle jars in boiling water due to high temperature. Start by melting the wax which floats on the top of water. When cooled, it can be removed easily.
The complete procedure entails the following steps;
Step 1: Boil Water in a Pan and Pour it Into the Candle Jar
Take a pan and add ample quantity of water in it depending upon the size of the candle jar. Bring the water to boil. You may also use a tea kettle for this purpose.
Place your candle jar in a tray or dish to avoid any spillage. Pour the hot water into the candle jar and fill it close to the top rim. Wait a few minutes. You will see the hot water melting the wax and it will pull the wax up to the top of the jar.
Step 2: Cool the Candle Jar Containing Wax and Water
Let the candle jar containing water cool for 3 to 4 hours or you may also keep it overnight. Once cooled down, wax will be solidified on top of the jar.
Step 3: Pull the Hardened Wax Layer on Top of the Jar
When wax solidifies and gets hardened, it will float on the top of water. Use your hands or any kitchen utensil to pull the wax layer off gently, leaving the water in the jar.
Step 4: Clean the Candle Jar
We recommend washing the candle jar with a mild soap and warm water. Gently scrub the inner sides using a sponge and let the jar dry. Use this as a storage container for your kitchen stock or for whatever purpose you need a container for.
Method #2: Use a Candle Warmer or Hair Dryer

Candle warmers are easily available in craft stores at an affordable price. You can buy one and use it to warm the wax inside candle jars and ultimately to get rid of it. The following steps can serve a sequential guide for you;
Step 1: Melt the Wax in a Candle Warmer
Place your candle jar over the warmer for two to three hours or an ample time until your wax gets melted. Depending on the size and the material of the candle jar, the melting time for the wax may vary.
Step 2: Transfer the Molten Wax in a Dish
When you see that the wax has melted, remove it from the candle warmer. Using a towel, carefully hold the candle jar and transfer the hot wax in a dish. Be careful while performing this step because the jar itself will be too hot to simply lift it with naked hands. You can wear oven mittens to avoid any burns.
Step 3: Clean the Candle Jar Using Soap Solution
Once you have removed or transferred all the wax from the jar, the next step is to clean it using soap and warm water. This way you will get a container that can help store your small accessories.
Alternative to a Candle Warmer
If you do not want to invest in buying a candle warmer, a hair dryer would suffice too. Hold the candle jar in one hand and blow hot air at the rim. Doing so for an ample time will cause the wax to melt and you can proceed with removing it from the jar. Finally, use warm water and soap to deep clean the candle holder. It can take longer for the wax to melt when using a hair dryer depending on their capacity.
Method #3: Place the Jar in a Freezer
Freezing the candle jar is a great way to get rid of the wax. However, this technique should be adopted preferably when there is some good quantity of wax in the jar that can be scraped. Follow the steps below for this method;
Step 1: Place the Candle Jar in a Freezer
In order to get rid of candle wax, place the candle jar in a freezer for a couple of hours. The wax upon freezing will get solidified. This will make it easier to scrap it.
Step 2: Scrape the Wax Using a Butter Knife
Using a butter knife or any blunt-end utensil, scrape off the wax from the jar sides and bottom but be gentle while you do so. This step might take a little more time depending upon the jar size and the quantity of wax that needs scraping.
Step 3: Pour Hot Water into the Jar
Once the scrapping process is over, fill the jar with hot water and wait for the remaining wax to melt. Once the wax melts, it will float on top of the water. Remove the remaining wax and use a paper towel to clean the inside of the jar.
Step 4: Clean the Candle Jar
If you still see some residue in the jar, use a mild dishwashing soap and gently scrub off the sides of the jar with a sponge. Rinse with clean water and wait for the jar to dry. Use the jar for whatever storage purpose you want it to serve.
Method #4: Melt the Wax in an Oven

This method of wax removal should only be opted for heat-resistant glass jars and in no case plastic wax containers be placed in an oven. In addition, melting the wax in an oven to get rid of it is pretty much an effortless method and can be opted if multiple glass candle jars are to be restocked for storage purposes.
The following steps will serve a guide for you to begin with;
Step 1: Preheat the Oven
Set your oven at a low temperature (preferably lesser than 200 degree Fahrenheit) for 15 to 20 minutes. Since glass is intrinsically a brittle material, going for higher temperatures may lead to cracking of the jars or even shattering.
Step 2: Prepare the Candle Jars and Tray
While your oven is being preheated, you can work side-by-side with preparing the candle jars. To do so, remove the plastic and paper label stickers from the jars so these do not burn in the oven when heated.
Take a baking sheet and place it over a heat-resistant tray. Place the jars upside down on the tray with their open ends facing the baking sheet.
Step 3: Place the Jars in the Preheated Oven
After 20 mins of preheating, place the tray inside the oven and allow the wax to melt for 15 minutes. Depending upon the quantity of residual wax in the candle jars and the jar size and thickness, this may take even a little longer. You can place uniform sized candle jars together in one tray at the same time to avoid overheating.
Step 4: Remove the Jars from Oven
When all the residual wax is melted, remove the tray from the oven carefully using oven gloves. Set aside the jars and you will see all the wax accumulated on the tray. Let the tray cool and then discard the hardened wax.
Step 5: Clean the Containers
When the jars get cooled, clean them using soap solution and warm water. Gently scrub the inner sides using a sponge and let the containers dry before you reuse them for your accessories.
The Bottom Line!
Any of the above 4 techniques can be used to repurpose your candle jars. You can reuse them as storage containers, pencil/brush holders, vases, or any DIY gift. So, don’t toss your candle jars! Reduce waste and reuse them creatively.