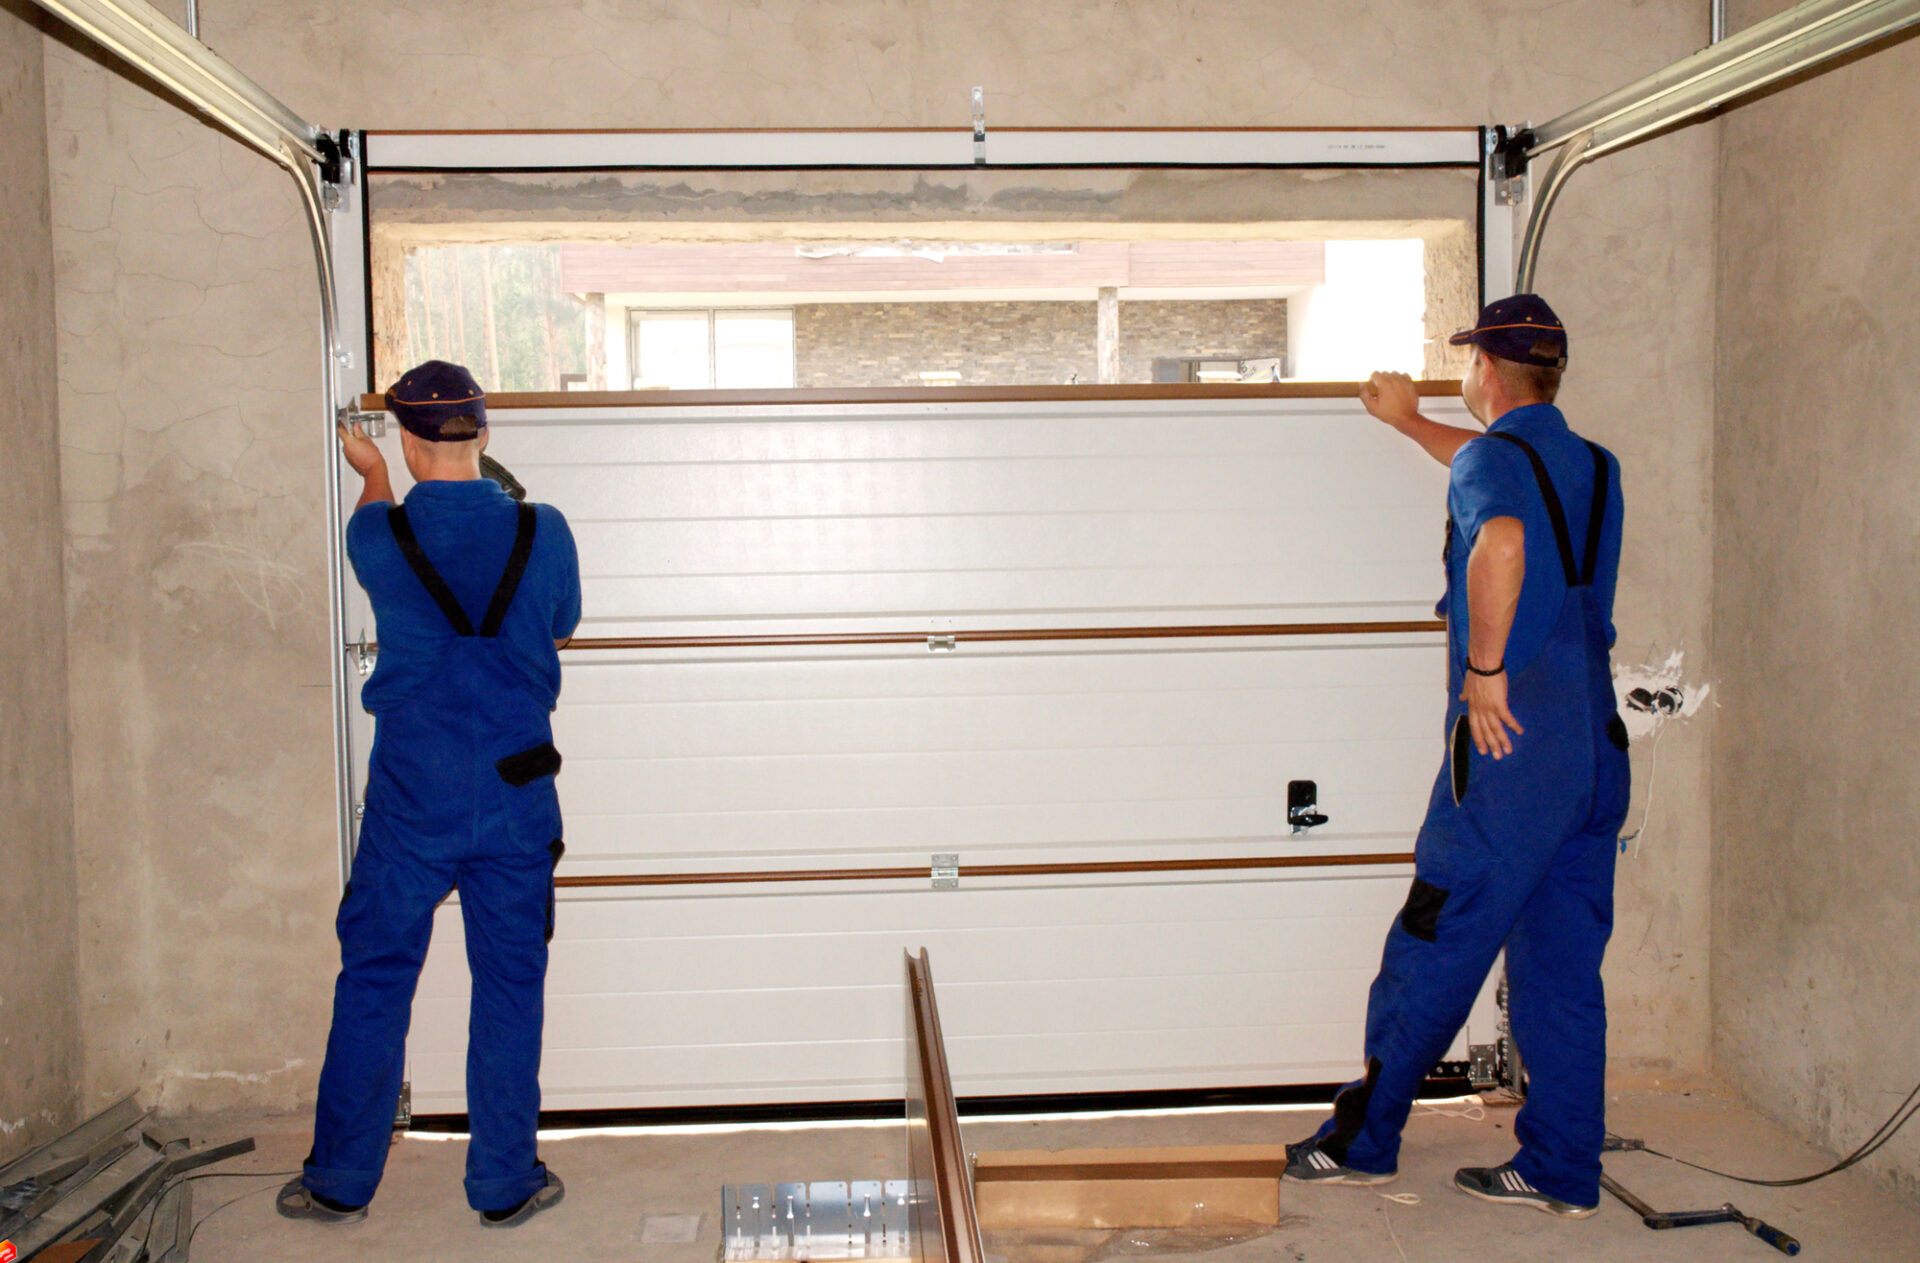
Due to barriers such as patios or roads, running underground electrical connections to a detached garage can be a pain. Running overhead wires is a frequent and effective solution to this problem. Most residences will have an attached garage with power and electricity already installed.
If your home has one, you’ll have to run power to a detached garage or shed separately. Running an overhead electrical cable from your house to your garage is a common option.
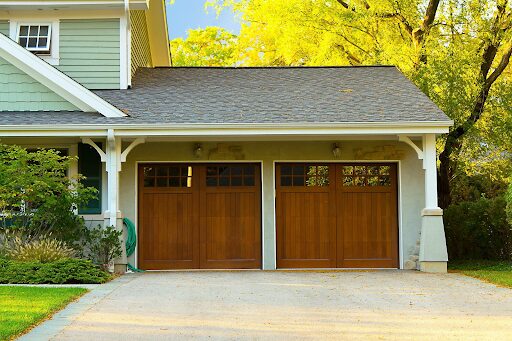
The overhead wire is a viable option for powering detached garages for homes where underground wiring is problematic. We’ll show you how to run overhead electrical wire to a garage today and the procedures you’ll need to take to power a shed or detached garage.
Table of Contents
Why Do You Need To Wire A Garage?
Regarding electrical work, garages don’t receive the same level of care as the rest of your home. As a result, you can discover that your garage doesn’t have enough outlets for your needs, is too dark and needs more lighting, or was delivered unfinished, and you can wire it any way you choose.

However, there are some unique needs for wiring your garage, regardless of your situation. Check to see that the main service or the panel providing the circuits to the garage has a sufficient load capacity. This will assist you in organizing the garage so that it has enough electrical outlets for workbenches and any other stand-alone equipment that will be required.
Steps To Run Overhead Wire To Garage
Needed Tools And Materials
- Drill bit set
- Screwdriver
- Hacksaw
- Duct seal
- Electric tape
- Fish tape
- Electric wires
- Two conduit strips
- Switch
- Pipe bender
- Electric boxes
- Spade
- Pliers
Seek For Legal Permit
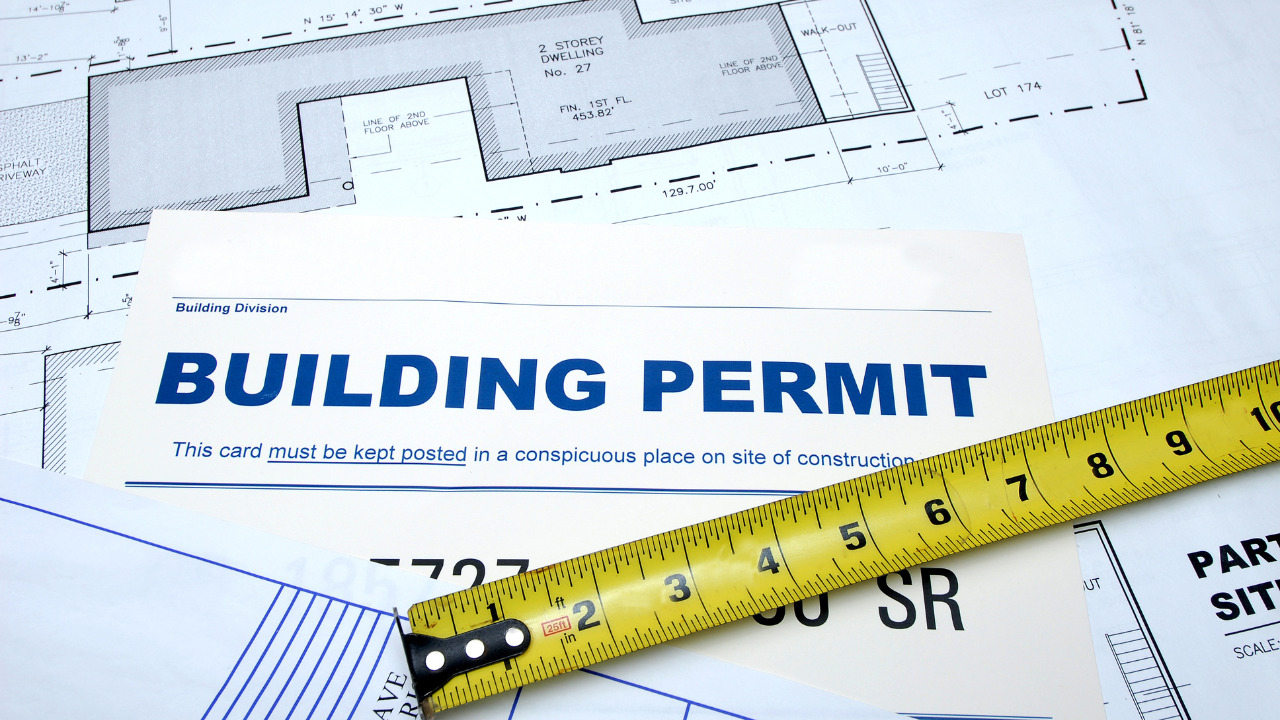
Any modification or new electrical connection in the residence necessitates inspection and clearance from local government utility services and compliance with applicable codes. As a result, before you begin wiring your detached garage, you should check with the local office to see what codes and laws apply to overhead wiring.
Furthermore, many localities prohibit or have unique standards for overhead wiring. As a result, you’ll need to inspect your home and obtain authorization to install overhead wiring.
1) Use Metal Conduit

Wiring inside a rigid metal conduit costs more than burying an underground feeder cable (UF), but it saves time. This is because the top edge of the RMC must be just six inches below the ground’s surface.
It may not seem like the extra six inches of trench depth is a huge concern. However, having rocky soil, hard clay, or many tree roots will add hours of backbreaking effort.
2) Clear The Surroundings Before Installing Wires
The overhead wires should be kept far from the house’s public spaces, such as the entryway, patio, and garden. Overhead conductors should be away from porches and windows in the open state.
Trees and electrical poles should be kept safe from overhead cables. Water sources, such as swimming pools and spas, must be kept from the overhead wires. According to utility standards, they should keep a safe distance horizontally and vertically.
3) Dig A Trench
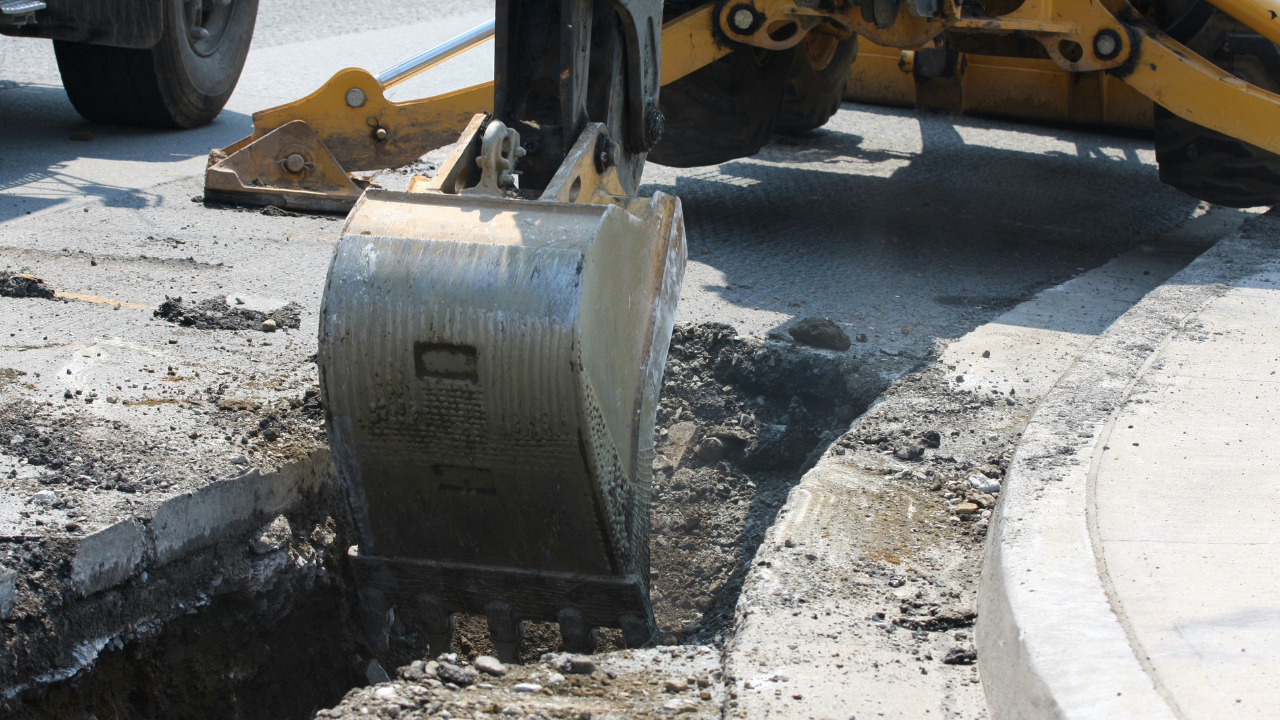
To dig the trench, use a mattock. Because the head is narrow, there is less dirt to remove and less to replace. With a spade, cut out strips of sod so you may properly patch the lawn afterward.
When planning the route from the home to the shed, various aspects are to consider. Begin by identifying a power source: your main panel, a ceiling box, an outlet, or another electrical box.
It’s a good idea to drill the hole into the house before digging, just in case you run into a problem and need to move. Dig a trench from the home to the shed once you’ve determined the exit point. So, you don’t have to scrape the dirt out of the lawn later; pile it up on plastic tarps.
4) Run The Wires Through The Electric Boxes
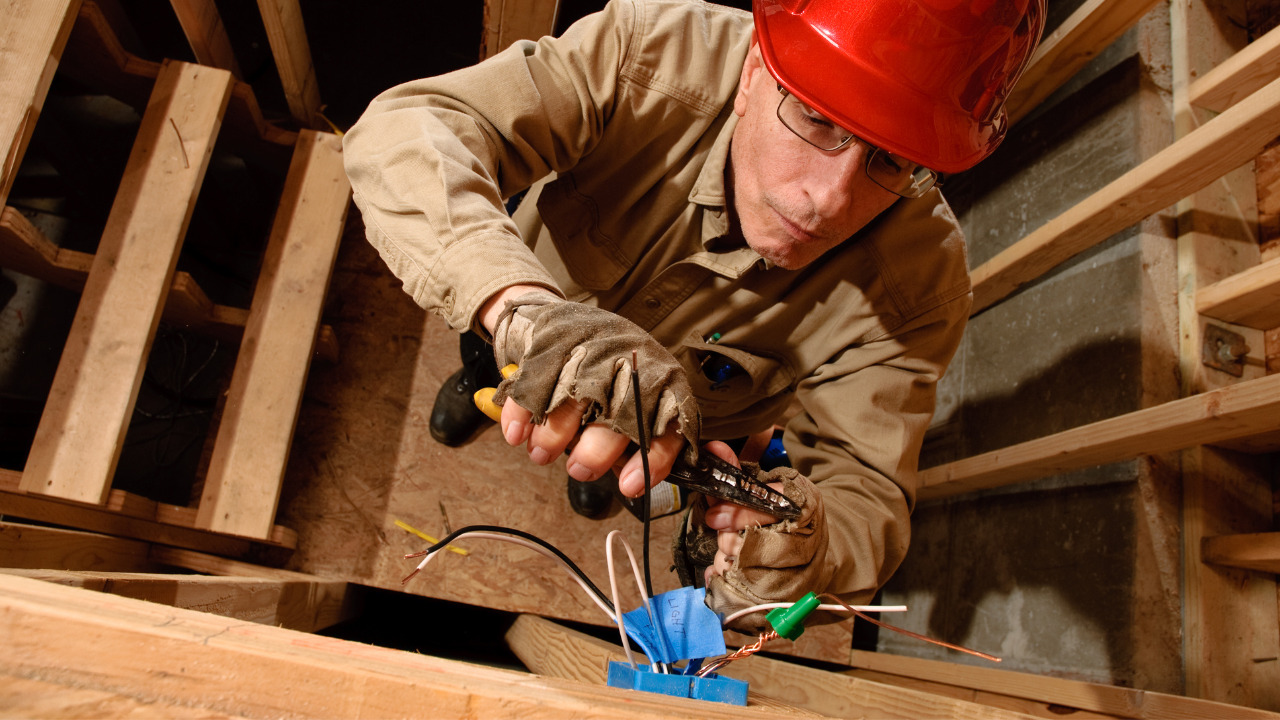
The most challenging phase is running the conduit through the wall to an inside box. Then, one by one, thread the pipes together until you reach the other end, where you’ll cut and bend the final piece of conduit to fit, then join it to the LB using a compression connector.
After that, run a guy-wire to bolster the power cable because it can’t sustain its weight. To connect the guy wire, remember to set up additional supports. Because wire length varies with temperature, run the guy-wire with some slack.
5) Add A guy Wire

Install a guy wire between two independent supports, such as your home’s and garage’s conduits. Because electrical cabling and wires can’t hold their weight, you’ll need to employ a guy wire to provide some mechanical support.
Ensure the guy wire is adequately insulated and sturdy enough to sustain the weight of the cabling. Allow for slack in the guy-wire, as it will shrink and expand depending on the weather outside. When it gets too cold, the wire will rip itself out if you’re not careful.
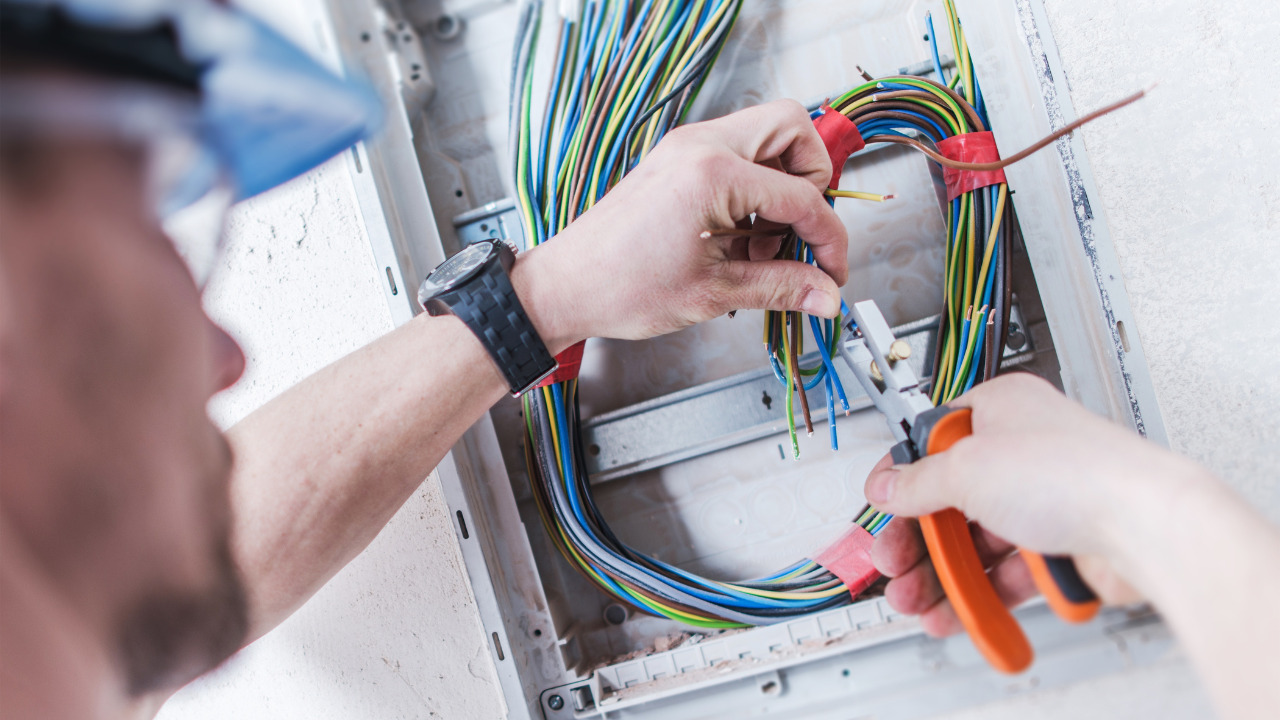
6) Use Fish Tape To Tie The Wires

Remove the fitting’s covers and secure the conduit with fish tape. Fill the conduit with fish tape and feed it through. After threading the wires through the fish tape, wrap them in electrical tape. To protect the hook from snagging, wrap it around the fish tape. Use stranded wire instead of solid wire.
Grasp the wires and pull them through the conduit. You’ll need two wires for one white and one black circuit, or more if you want to wire a three-way switch from the house or add extra circuits.
7) Install A Switch For To Turn On And Off The Power Supply

The wires require disconnecting the electricity entering the shed, such as a single-pole switch. Connect a switch to the cables inside the shed. Run cables from the switch to the receptacle, then to the rest of your shed’s outlets and lights.
You must know everything about running an electrical wire above the ground outside. You’ll be able to run outside lighting and power tools with your new direct aerial cable to the garage.
Frequently Asked Questions
Which is the best material for garage wiring?
As a general rule, you should utilize copper conductors of 12 AWG and a 20-amp breaker and copper conductors of 14 AWG with a 15-amp breaker. The outlets must be GFCI protected because they are in a garage. A GFCI breaker or GFCI receptacle can offer this protection.
What is the average amp required for a garage?
The typical residential garage should have 50 amps. It allows for the concurrent operation of several electrical devices and illumination.
Conclusion
You now know how to install overhead cabling in a detached shed or garage. Remember to verify with your local building codes to confirm that you can run overhead cabling – the rules and restrictions vary by neighborhood.
Finally, remember to call professionals if you require assistance with the conduits. Finally, don’t run cables over water features like swimming pools to save yourself from any risk and damage.