Running security cameras through the attic or elsewhere is the most difficult component of establishing security systems, but security cameras can be mounted in various locations. Whether you want to run the central hub from the attic or your study area makes no difference.
These guidelines allow you to conceal the cables completely, reducing exposure and jeopardizing the efficacy of your system.
We’re all aware that security wire allows you to pull nearly any trick out of your bag. Installing a security camera in your home isn’t for the faint of heart, and exposed wires are unsightly, to say nothing of the security danger.
There are many options for running security camera wiring through your attic, and you may pick the one that best suits your needs.
Table of Contents
A Few Considerations Before Installing Security Camera Wires

Setting up the wires for security cameras is quite simple if you are installing them during your home construction. All you have to do is contact the security camera experts, who will take care of everything. You won’t feel the burden of an extra hundred dollars because you’ve already spent so much on the construction.
If you have a finished home and want to install a security camera, you’ll have to run the wiring via your attic.
You may need to manage connections for new lighting, cables, and computer networks in addition to security camera wiring, and the wires will most likely go through the roof. The wires would have to be run via the attic in this situation. This article will cover how to run security camera wiring through the attic.
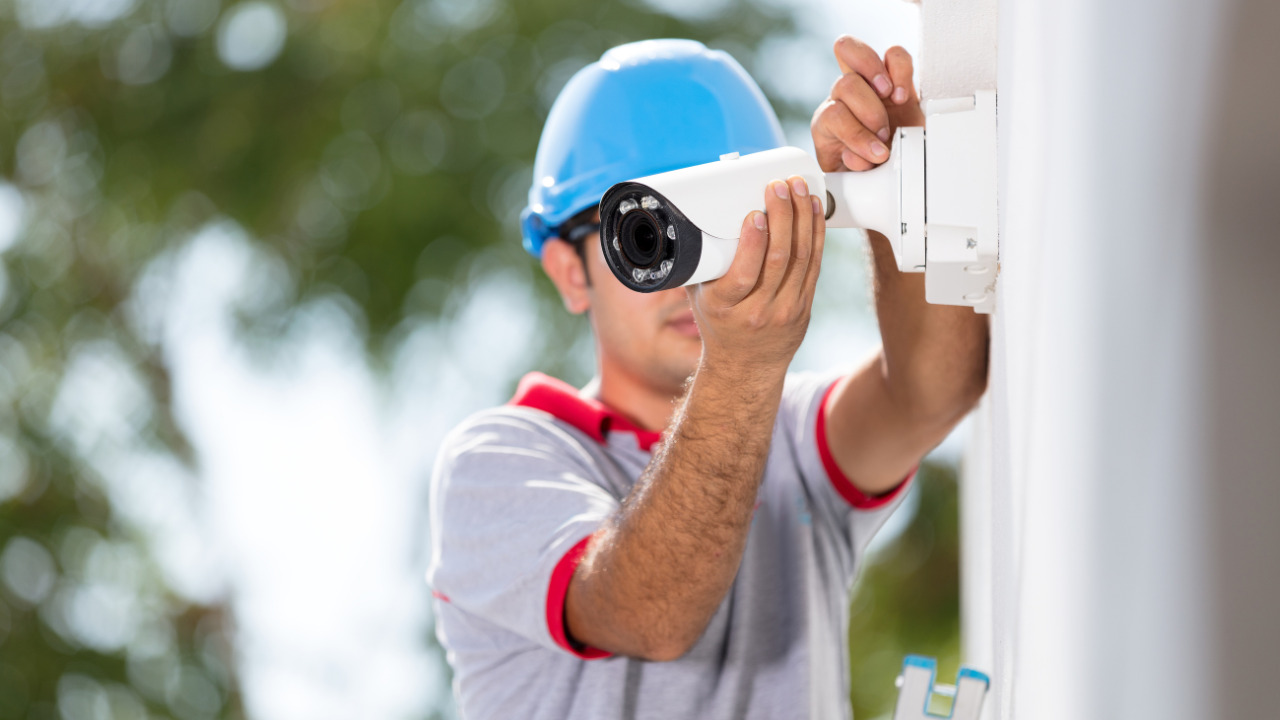
Determine The Camera Installation Location Carefully

Regarding security camera installation, the most important step is choosing a site. When you place a security camera too high, you see heads. Instead of picking a random location, think about where you can readily work during the installation procedure.
If this is your first time installing the camera, make sure the cameras are connected to the table and working properly. Then, if all goes as planned, you can disconnect the wiring process and run the procedure. Before you begin, you must first determine the ideal location for your security system to be installed.
Steps To Install Security Cameras Wiring
Needed Materials For Installation
You’ll need a drill for this because you’ll be drilling multiple holes in the wall and ceiling. This method can be used on any material, including vinyl and aluminum. First, gather all the tools and cords you need and prepare them. The needed materials and supplies for this installation are:
- Camera wires
- Screwdriver
- Flashing light
- Power drill
- Electric tape
Measure the Camera Wires According To Vertical Distance

The wires must first be measured. The easiest method to achieve this is to consider the vertical distance up and down and attic spaces. Choose your camera point first, followed by the display point. Start calculating the cable from there and then to the camera’s location if you want your camera display placed in any area of your home.
Carry out this procedure for each camera you wish to install. Add extra wire for any miscalculations or adjustments once you’ve completed all the calculations. Make sure you go into your attic and calculate the length of the camera cables based on the wires’ path.
Mark The Safe Points For Wiring On The Attic
Obtain access to your attic. Examine the ground conditions and indicate your safe zones. For easy footing, planks can be laid over the trusses. Make sure that the new wiring doesn’t interfere with the old. Wear a face mask, gloves, and protective eyewear in the attic.

Using a nice set of screw-together wiring rods in a suitable tube is an excellent alternative. First, drill a hole in the appropriate location, such as the eaves near the wall.
Continue by putting a rod through the hole and using a torch to see where the rod truly passed through in the loft space. Understanding where and how the rods and attached cable should be passed is critical.
Drilling Through The drywall
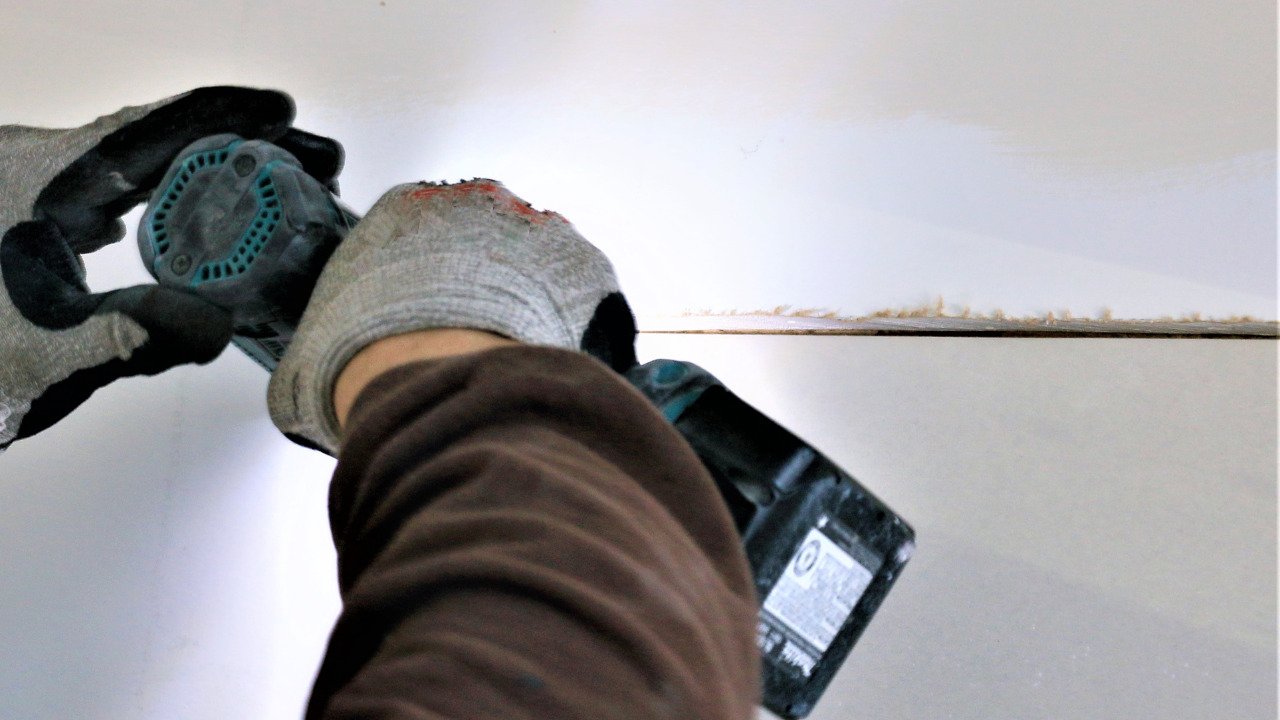
Drill in the holes at the appropriate locations once you’ve determined the new wring’s course. Drilling through the drywall is the best option.
An emergency light will come in helpful throughout the drilling procedure if your attic does not have lighting. The majority of security cameras come with two wires. It’s recommended to tape their heads to make it easier to pass through the openings. Start passing the wires after you’ve finished drilling the holes.
Ensure that all cables are securely attached with tape or hooks and that no component of the wrings is free. It would help if you dispersed the cameras and recorder equipment wiring through the attic by the end of this stage.
It’s Time To Install The Camera!
Drill camera holes now. It’s better to stick to the camera’s user manual’s directions. Connect the cameras to the TV or display device using the wires.
Turn on the power and inspect the results once all the connections have been made. There is no problem with your wiring layout if your cameras and control box are on. The wiring has nothing to do with video quality, camera movement, or recording issues. Weak connections or other setup issues could be the cause.
Connect All Cables Together

The other end of the wires can be connected to the DVR once they have been entirely routed through your home. Using those specialized adapters, the connections ought to be rather simple. Attach each cable to the appropriate port on the DVR box before attaching the external monitor, mouse, and keyboard.
Also, leave a USB drive connected if you ever need to export any film in the future. The setup procedure is most likely the same regardless of your camera system. The user interface setup consists of setting the date and time, creating a password, and going through a brief lesson on how everything works.
You may be able to tweak the video settings on your machine to improve the image quality somewhat.
Frequently Asked Questions
is installing security cameras a DIY project?
You can install the majority of cameras by yourself. If not, a professional is always available to assist—either from the security firm itself or from a third-party source.
Can you operate security cameras without Wi-Fi?
Uninterrupted camera installation is possible. A micro-SD card or hard drive is often the only local storage available for recording with many cameras.
Is there any difference between DVR and NVR?
In contrast to an NVR, which normally only works with digital material, a DVR can convert analog video into a digital version. NVR systems encrypt and process data at the camera before delivering it to the recorder for storage and remote viewing, whereas DVR systems process data at the recorder.
Conclusion
The installation process is undoubtedly difficult, especially when the cables cross through the basement attic. As a result, you may require the assistance of a partner or friend. Overall, installing security cameras in the attic is a simple task.
It takes time and commitment instead. Professionals should get them set up if they are unfamiliar with electrical systems.