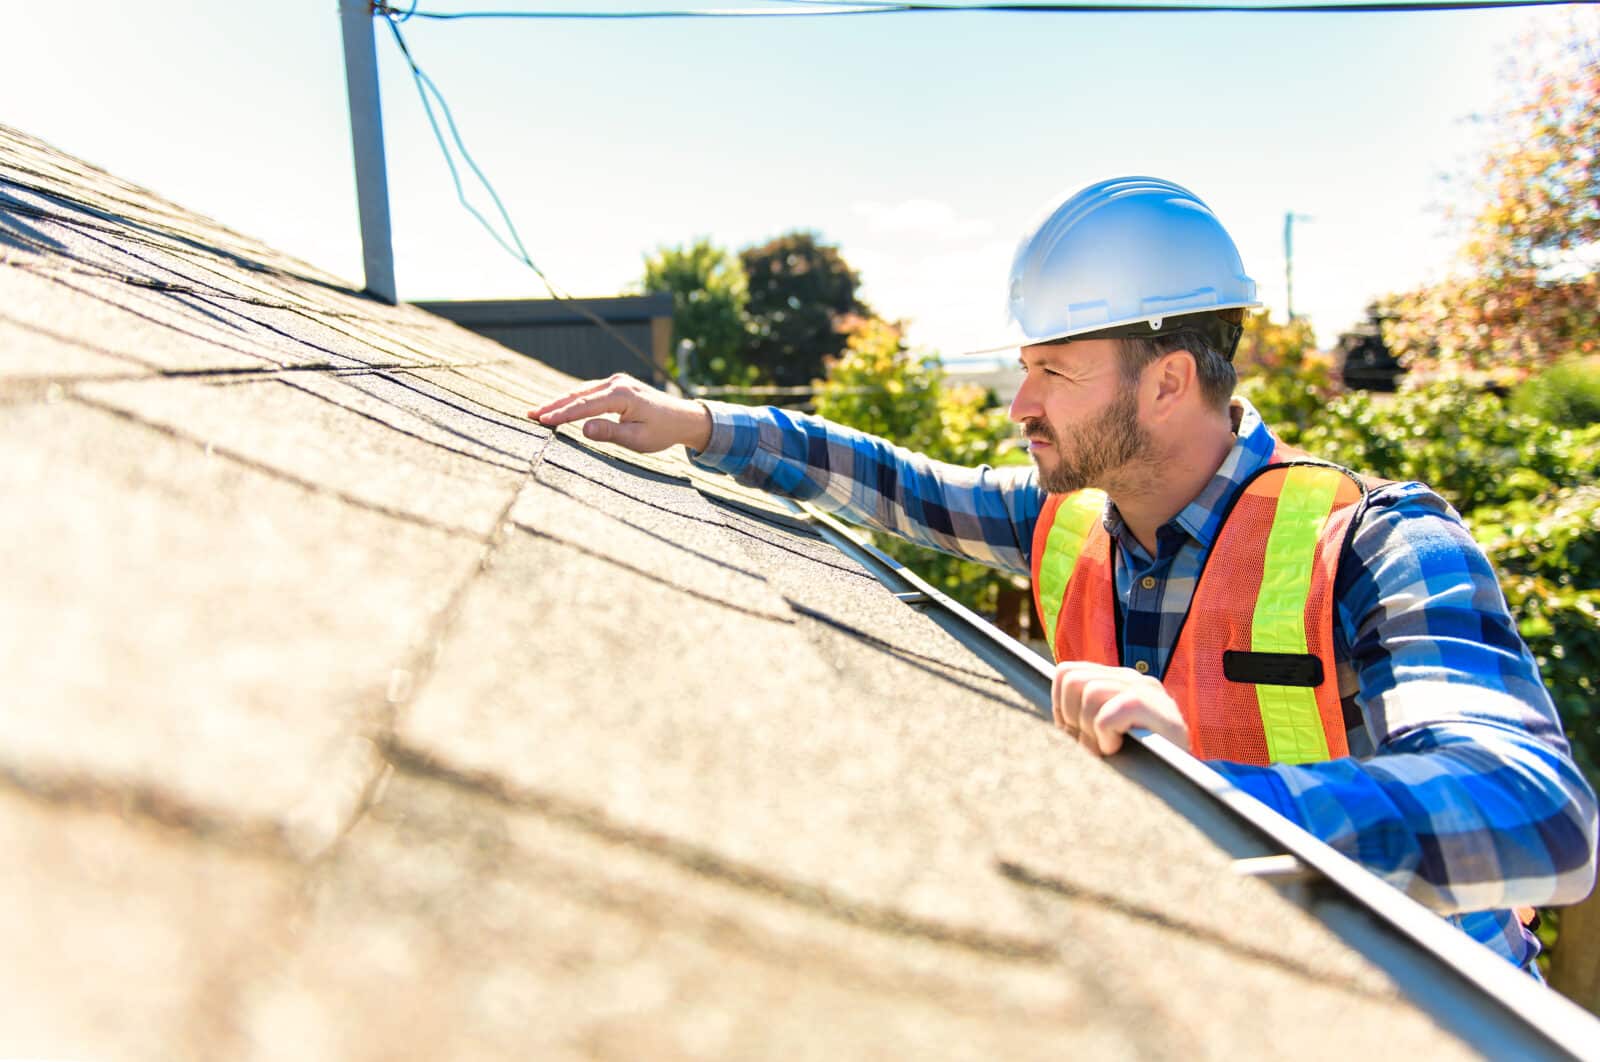
Roof jacks provide a steady work area, making roofing installation easier and safer. Working on a roof can be risky due to steep slopes and unpredictable conditions, so take care.
Roof work necessitates using a roof jack, which is a board that creates a flat, sturdy surface for you to stand on. Roof jacks are helpful for a variety of roofing operations since they are simple to install and dismantle.
Roof jacks are popular safety equipment used in various roofing projects. A metallic hook curve on one end and a J-shaped curve on the other are used to make them. You can join shingles to massive planks or boards with this tool. This position allows you to stand and move around the roof safely.
If your roof is built with full shingles, however, it may be challenging to use. Do You want to know about using the roof jacks? If yes, continue reading:
Table of Contents
How Many Roof Jacks Do You Need To Use?
Use two to three roofing jacks if your roof has a 45-to-50-degree pitch. If your roof has a higher inclination, though, you’ll need a lot more jacks to keep your balance. To maintain perfect balance, you will also need a flat and straight board. The first step in using the jacks is to locate a flat and clean spot on your roof.
Keep in mind that most shingles are prone to deterioration and can easily break. As a result, you’ll need to put your jacks in the fourth or fifth shingle course at the very least. With precision and ease, you can use the dead area with a jack roof coating to move about on top of the roof.
After you’ve decided on a location, you’ll need to drive the nails in. Keep in mind that the nails should not overlap. Place the roofing jacks to the side of the original jack, with at least four feet of space between them. Test the jacks after you’ve attached the planks or boards.
They are safe to use if they can support your weight. Additionally, make sure you’re standing on solid ground. Check to see whether the board is swaying and if it is, just adjust the jacks.
The Usage Process Of Roof Jacks
Roof jacks are helpful for a variety of roofing operations since they are simple to install and remove. Follow the discussed below steps to utilize roof jacks to get it fitted and appropriately working while you’re repairing or installing the shingles.
Attach The Jack To The Rafter
Roof jacks make it easier to install shingles and provide a more stable platform for you to work on. Underneath the sheathing, you should look for the rafter first. Make sure to use a wide nail to fasten the tool to the rafter.
Set The Plank Firmly
By putting a board into the jacks, you can find any size according to your requirements. Make sure the plank is six feet long on each side than the jacks. To keep the board from tipping over, fasten the plank.
A lengthy attachment strap with three or four teardrop-shaped holes or diagonal slots to drive nails into is found on roof jacks. Because of the form of the holes or slots, you can remove the jacks without removing the nails later:
Simply tap the jack upward to release the nail heads. Allowing the jacks to move upward during removal is possible if you hang them low enough while installing them; otherwise, the plank support leg would damage the shingle’s butt edge.
Move Out The Jack
Once you have done the installation, it’s time to release or move out the jack carefully. For this, you can use a hammer to move out the nails efficiently. Drive the nails so that they don’t poke your roof, then slide the pry bar over the nail head and beneath the shingle before pounding it down.
Alternatively, if the tab is already flexible enough, you can lift the nail. Place a scrap shingle between the rear of each roof jack and the roof shingle for added protection. As a cushion, you can alternatively use wood-siding shingles.
A Few Considerations While Using Roof Jacks On The Metal Roof
If there is a substantial disadvantage to using a metal roof, it risks falling through it. Metal is a slick substance, especially when wet or snow-covered. When the roof is in either of the above conditions, avoid climbing on it.
Another time you’ll need roof jacks is if your roof is at an exceptionally steep angle. If you need to replace shingles or repair damage, this tool will help you get a firmer footing. Shingling is physically demanding and potentially dangerous work. Obtain as many roof jacks as you may require, depending on the length and steepness of your roof.
Final Thoughts
Above all, If the space is simple to walk on, two or three roof jacks will suffice for a rough measurement. Install this equipment and the board as discussed above to utilize the roof jacks to avoid falling. Luckily! You can also use the ladder or attic to reach the roof without falling and effortlessly.


