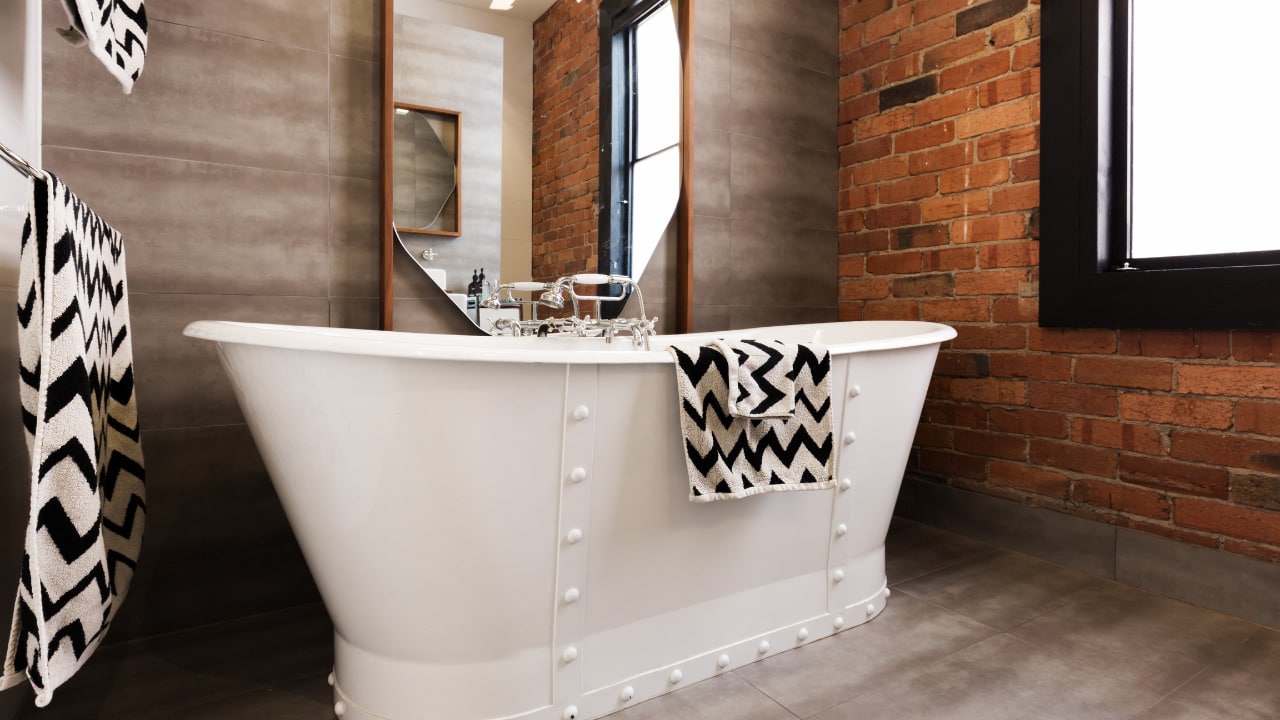
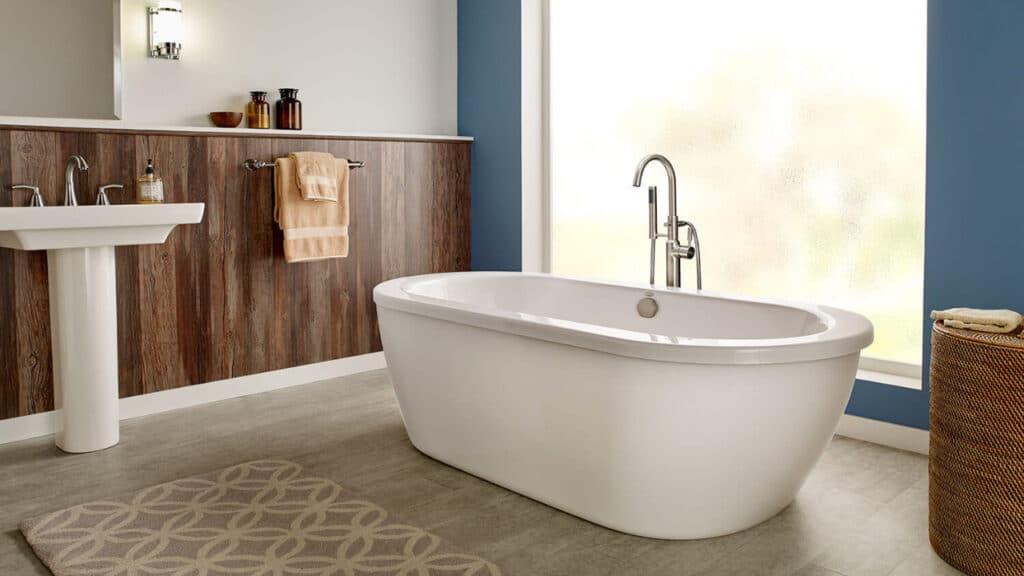
Building or remodeling a bathroom means you get to choose new amenities that are super functional and match up to the trends. If you didn’t have a bathtub before, now is the perfect time to install a freestanding tub. It’s a unique fixture that can be easily installed. So even if you are renovating or adding a new fixture in the bathroom, a freestanding tub can change the look of the space.
Mostly these are used as centerpieces and come in a variety of sizes, colors, and designs. However, if you get the water and drain pipes fitted correctly, installing a freestanding tub is a piece of cake. We have enlisted easy steps for installing freestanding tubs, the materials you will require, and the maintenance tips.
Table of Contents
What is the Best Floor to Install Freestanding Tub
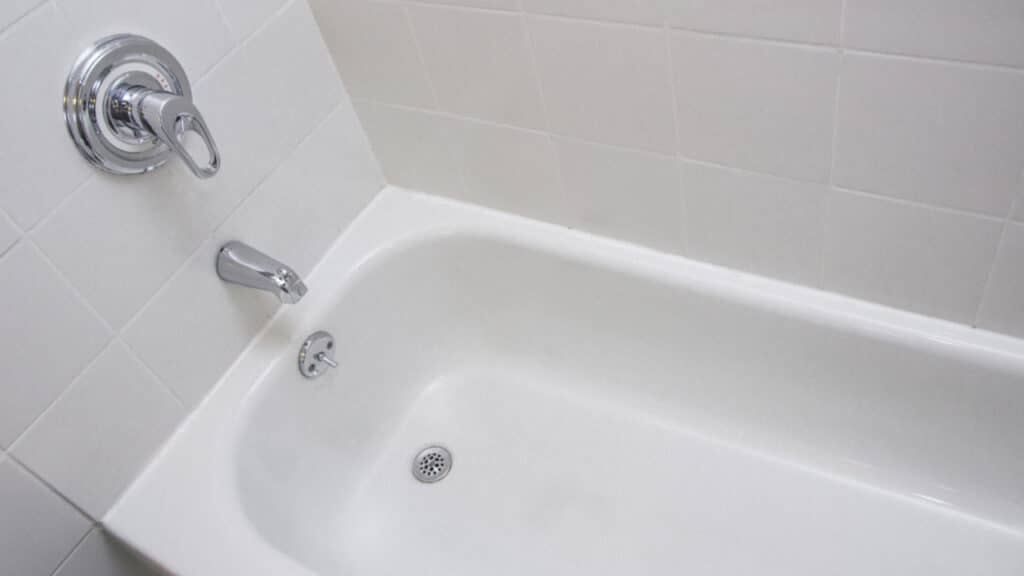
Most people have acrylic freestanding tubs installed on the tiled floor. However, an acrylic bathtub can be installed on concrete flooring as well without any hassle. It has minimal damage and is fixed relatively easily.
Things You Need to Install Freestanding Tub
It is recommended to take the help of professional experts to install the freestanding tub. However, if you are an expert DIYer you will need the following tools and materials.
- Level
- Blanket
- Bathtub
- Items for cleaning
- Caulk
- Plumber’s putty
- Damp cloth
Things to Do Before Installing Freestanding Tub
Once you’ve gathered the tools, follow these steps before installing the tub.
Checkout the Slope
Ensure the slope in your bathroom is appropriate. A lack of slope in your floor will prevent water from flowing to the drain, which can result in a clogged drain and additional expenses. The level gadget allows you to observe both the vertical and horizontal aspects of your bathroom. After you have the information, you need to do the following.
Decide the Positioning
One distinctive feature of a standalone bathtub is that it can assist you in adding elegance to your bathroom. There are several sizes and designs of freestanding bathtubs that are appropriate for different kinds of bathrooms.
Choose a bathtub that complements your style and the aesthetics of your bathroom based on the data you obtained from the level device. A freestanding bathtub can be positioned almost anything, including in the middle of your bathroom, next to a wall, or in a corner. But before you install the tub, make sure the plumbing is in working order. If not, you need to give a plumber a call.
Clean the Floor
To prevent dust and debris from building up underneath the bathtub, you must clean the entire bathroom floor after determining where to put it. It just needs a quick clean, and you’ll do it again after the installation.
4 Steps to Install Freestanding Tub in Bathroom
1. Place the Bathtub
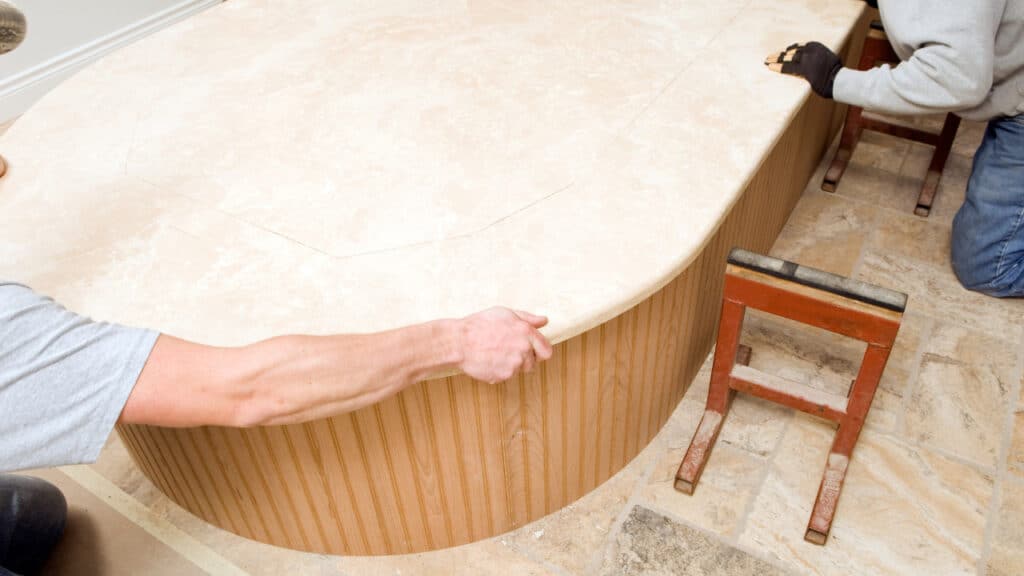
Place the bathtub in the location of your choice after taking great care to choose the precise location for the bath.
For protection, place cardboard on the ground.
Using a spirit level, make sure the bathtub is level longitudinally, widthwise, and diagonally.
If there are any noticeable variations in level, tip the bathtub onto its side on the cardboard and use the movable feet to raise or lower the bath.
Reposition the bathtub and make sure the level is correct once more.
Use a pencil or piece of chalk to trace around the bathtub’s base. If you are installing a standalone bath with feet, this step is not required.
Use a pencil or piece of chalk to trace around the bathtub’s base. If you are constructing a freestanding bath with feet, you may skip this step and just trace around the feet after the bath is in place.
Reposition the bathtub on its side to complete the installation.
2. Attach the Trap and Overflow
Gather the components needed to install the overflow and trap, together with the assembly instructions.
Make sure the rubber seal is inserted on the outside of the bathtub before screwing the overflow onto it. If necessary, remove all plastic packing. Allow the overflow hose to hang in its current location.
Install the seal at the bathtub’s base, where the waste is supposed to be installed. Verify that the seal is level and that its lips are firmly pressed against the bathtub on both sides.
Position the trap such that it faces the drain pipe when it is installed. From the inside of the bath, screw the waste onto the trap.
Attach the overflow hose to the trap, making sure that the two parts are separated by a washer.
After ensuring that every component is correctly put together, tilt the bathtub upright.
Verify that the trap is not in contact with the earth. If the trap is in contact with the floor, use the adjustable feet to raise the bathtub’s height and recheck the bath’s level.
After that’s finished, turn the bath back over.
3. Attach the Drainage Pipeline

Using a flexible plastic waste pipe is typically the best choice when establishing a standalone bath. This gives you greater installation flexibility and makes it simple to tip the bathtub on its side in the event of a problem or to reach the trap.
Make sure the bathtub trap’s drain pipe is long enough to reach your bathroom’s waste pipe if it comes with one.
First, attach your trap to the drain pipe. Verify the washer’s placement.
Measure the flexible pipe’s length while the bathtub is still on its side. The pipe shouldn’t be bent or pulled excessively tightly.
There are two options available to you in case the pipe is too short. Either swap out the flexible pipe for a longer one with the same diameter or use a stiff plastic pipe to lengthen the bathroom’s current waste pipe.
Make sure that the rigid pipe and the flexible plastic pipe are compatible in all scenarios. If not, join the two pipe sizes with plastic reducers. Take care to connect everything in the correct order. The hard drain pipe should be attached to the flexible line that goes from the trap, not the other way around.
After connecting everything, you can set the bathtub back in an upright position.
Utilize the mark you created on the ground to determine the precise location of the tub.
4. Place the Caulk
Around the bathtub’s lower border, apply the caulk. Carefully lower the bathtub to the floor after removing the lumbar support.
After covering the floor and tub drains with plumber putty, wipe the excess caulk and debris with a moist cloth.
To ensure that the caulks and lubricants adhere properly and stop water leaks, you must now thoroughly clean the area, store your tools, and wait a full day.
After a full day, run some water through the tub and look for any leaks. When there are none left, you can treat yourself to a soothing bath as a thank-you for all your hard work.
Type of Tub You Can Install in Bathroom
It’s best to consider the bathroom space and layout before installing a freestanding tub. There are two common types:
Functional and Decorative
The ideal freestanding tub needs to be both ornamental and useful. This indicates that it is lovely and alluring. It should therefore fulfill its purpose as a bathtub in the bathroom. In addition, the tub ought to be elegant and luxurious. The standalone tub is actually a striking and audacious work of art.
You should do some study before purchasing a freestanding tub if you don’t have any experience with them. You can also go to the bathtub store and go over the merchandise personally. You’ll be spending more time in the bathroom. Attempt to purchase the finest.
Compatible for Bathroom
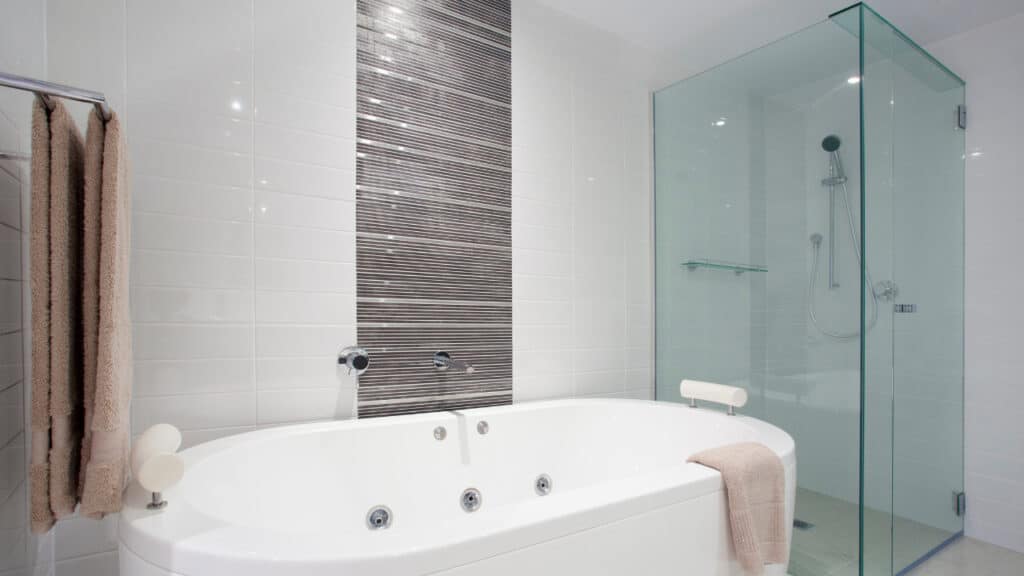
The attractiveness of a freestanding tub illuminates your bathroom. Freestanding bathtubs come in a range of sizes and shapes. The tub’s material composition is just as diverse as its shapes and fashions. Copper, cast iron, stone, acrylic, and stainless steel are among them. Acrylic tubs are more elegant and visually appealing with a brighter surface than other materials, but they may endure less impact.
Alternatively, you may mount it directly onto the floor using some conventional legs. The styles of freestanding tubs are incredibly flexible. You’ll adore the egg-like, cocoon-like, or claw-foot styles. Your bathroom area will dictate the type and form you choose.
Easy Maintenance Tips for Freestanding Tub
What is the routine for maintaining a standalone tub now that you know how to build one? You can maintain your freestanding bathtub or other bathtub kinds by using the following advice.
- Examine your drain to determine whether hair clogs it. Grab a little stick and remove the hair.
- To polish and get rid of any minor scratches, use a gentle cleaning solution.
- Create a bleach solution by combining bleach and water in a 1:10 ratio. Cover the tub’s exterior with the solution. To get rid of the stains, give it a good ten minutes.
- To get rid of the more stubborn stains and scratches, use fine sandpaper. An ancient freestanding bathtub can have some of its broken surfaces repaired using sandpaper.
- Sand the surface with sandpaper rated at 800 grit. In order to see the smooth finish, dry the surface and polish it.
- Grease, ink, oil, and paint stains can all be removed from the tub by rubbing it with alcohol.
- Your water has rust and oily materials in it, which suggests a heater issue. After cleaning the water heater, you’ll clean the bathtub.
- Follow the instructions of your freestanding tub’s manufacturer on installation and maintenance.
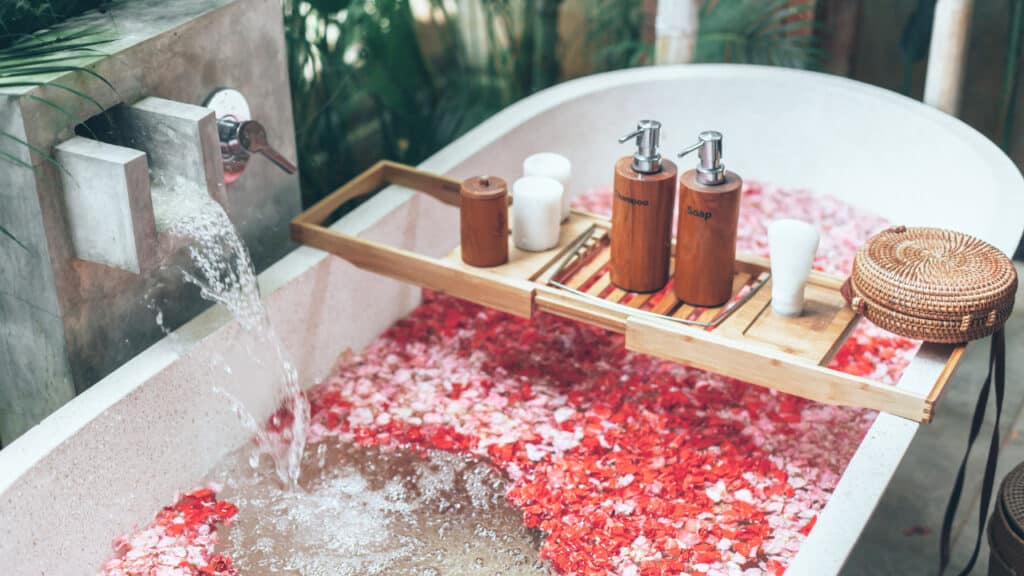
Enjoy the Tub!
Installing a freestanding tub is a success on your part as a DIYer. You will not only recreate the bathroom layout but also make it more functional and decorative with modern amenities, like the tub, installed. However, do take proper measures to maintain the tub so that you can enjoy a long relaxing bath for many years to come.