How to create an LED-backlit mirror is the main topic of this essay. It’s understandable why backlit mirrors are slowly gaining popularity because they are practical for daily usage and add drama to the room. The fact that you can quickly create your LED-backlit mirror is fantastic.
We frequently use the bathroom mirror to check that we are dressed appropriately for life’s big occasions. If mirrors are crucial for personal grooming, excellent lighting is even more crucial because it enhances visibility, aesthetics, and, consequently, the degree of attention to detail.
You always look your best in the bathroom when mirrors and lighting are used together because they strike the ideal balance between utility and aesthetics. A distance between the mirror’s glass and the wall should exist when mounted. After that, a power supply is attached to the LED lighting setup.
Table of Contents
Steps To Install LED Light Strip Behind Mirror
Backlighting is a technique that involves directing the light toward the back of an object to cast a glow that may be seen on the surfaces directly behind the object. As a result, backlighting is a special technique for emphasizing beautiful surfaces in any environment and establishing an opulent ambiance.
As a result of their small size and great brightness, LED strip lights are perfect for backlighting mirrors of any size or form. A large selection of white color temperatures ensures the lighting matches the bathroom design when coordinating bathroom decor.
To improve both the utility of the mirror itself and the aesthetics of the space, mirror backlighting with LEDs also creates a sophisticated manner of fusing reflection and light. LED strip lights are made with an adhesive backing, which makes them exceedingly simple to install behind mirrors.
Because of this, strip lights are a sleek, easy-to-install lighting solution that can add beauty to any object or place and superb illumination.
Collect Needed Tools And Supplies
- A tape measure
- LED strip lights
- Screws
- Power drill
- Strong glue
- Scissors
- A utility knife
Mark Locations For Lights
Making sure the location where the mirror will go can be done as a first step. A power outlet must be present nearby as well. If there isn’t, it’s suggested that you work with an electrician who can provide you with the necessary power.
The mirror’s location should be marked, and the area should be measured. The size of the mirror you’ll need to buy will become clear to you as a result.
Use Right LED Strip Lights
Yes, an LED light strip is the only thing that separates your beloved makeup mirror from a regular mirror. LED strips are inexpensive, and a few dollars worth of strips should be adequate to suit your demands.
You must first consider whether it is in a humid space, such as a bathroom or a bedroom. Make sure to use a waterproof LED light strip if you’re installing it in a bathroom. However, you won’t need to think about this if you’re mounting it on a bedroom makeup mirror, which will allow you to save some money.
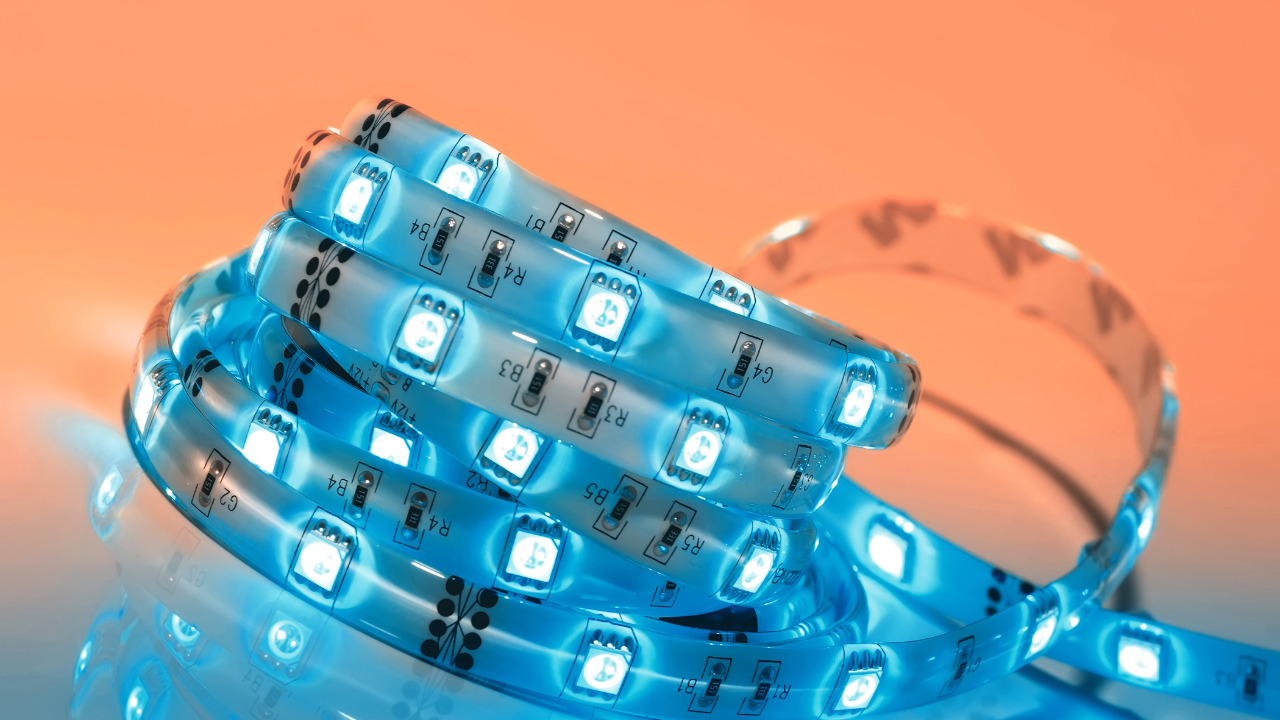
The purpose of the light strip is another thing to think about. Using RGB color light strips, you may choose the ideal hues to suit your mood and alter the ambiance you wish to create. Despite their seeming simplicity, the cosmetics mirror as a whole can be enhanced by your choice.
To change the brightness to suit your mood, you can, if necessary, select an LED light strip with a dimmer function. Applying makeup while looking in the mirror can be enjoyable.
Prepare Work Area
You must purchase all the necessary supplies. LED strip lights and a mirror are the two most crucial supplies. Furthermore, having a toolkit on hand might be beneficial. Put safety first because you’ll be handling anything breakable.
Ensure your workspace is uncluttered and has enough room to move about comfortably.
Install LED Strip Lights
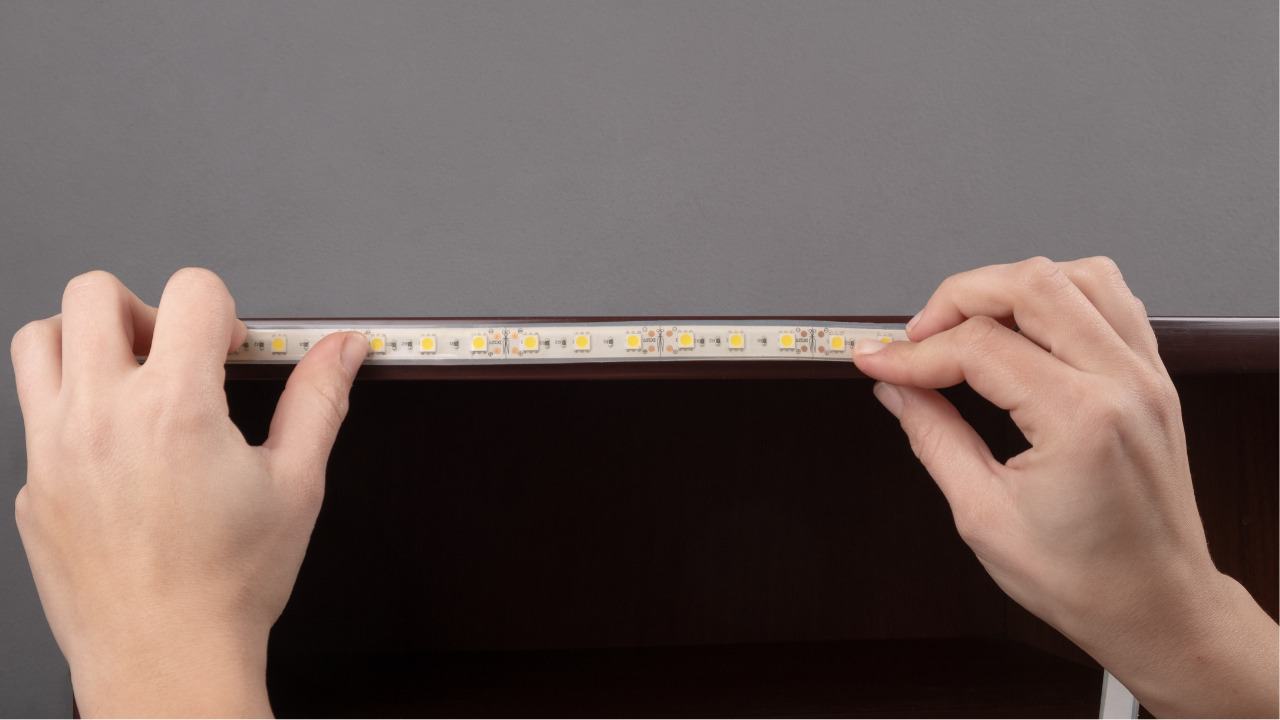
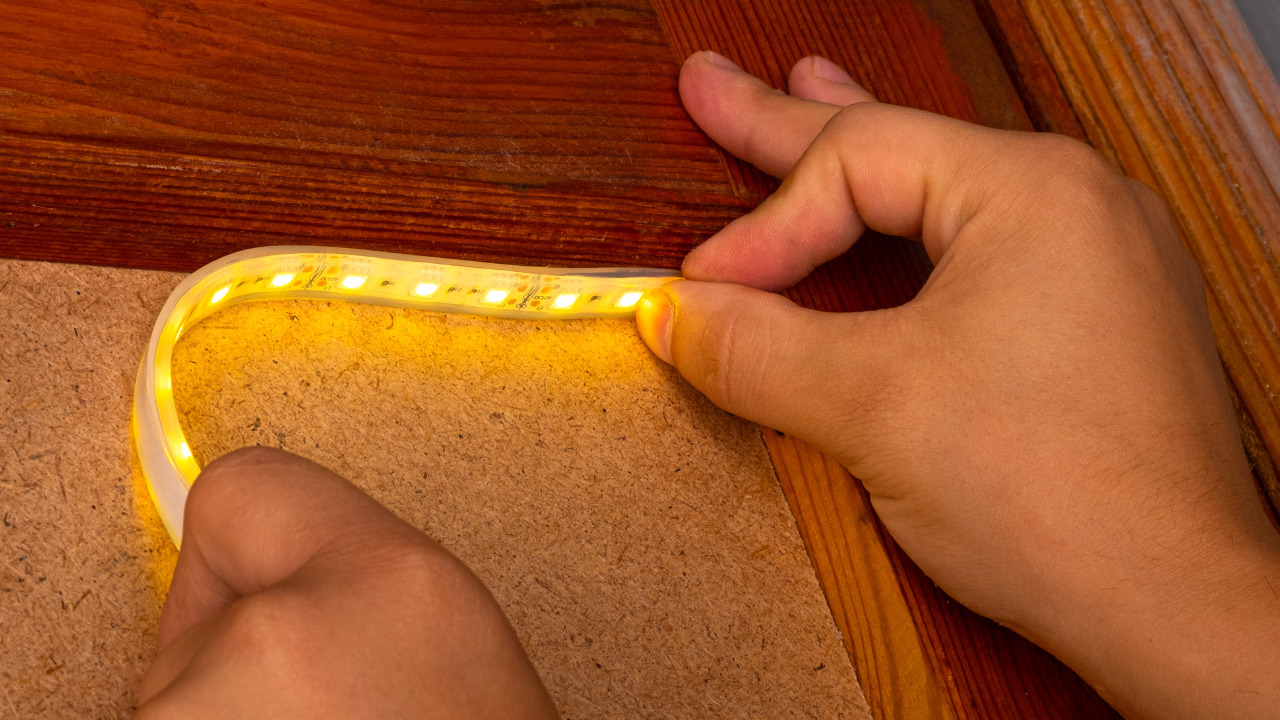
Clean the area around the mirror before applying the light strip after purchasing it. The LED light strip generally looks more appealing when wrapped around the mirror. On the back of many LED light strips, there is 3M strong glue, allowing you to stick them right to the mirror.
If there is water on your mirror, even 3M Super glue won’t stabilize the light strip. Therefore, make careful to avoid it when gluing. To connect the light strip to the controller, remove the matching LED light strip connector.
The LED strip can then be lit up by inserting the power supply.
Install The Mirror Back
The manufacturer’s installation instructions must be followed to attach the backlit mirror to the wall. The installation procedure may vary from one mirror model to another because mirrors come in various styles and constructions.
This is why it’s crucial to keep the mirror’s instruction manual close at hand and refer to it when mounting the mirror on a wall. You ensure the mirror is installed properly and adheres to the specified instructions.
Plug the mirror in after installation is complete to inspect your work. You can easily add a row of LED lights to make the light a little brighter. Due to their small size and great brilliance, LED strip lights are perfect for backlighting mirrors of any size or form.
Frequently Asked Questions
Is It Easy To Install LED Strip Lights Back Mirror?
Finding a mirror and some LED light strips, carefully calculating where to attach them, and connecting them to a nearby power source will allow you to illuminate a mirror for your home. Additionally, you’ll need a few home improvement store supplies to begin this enjoyable project.
Is It Worth Installing A Backlit Mirror?
Yes, backlit mirrors offer the ideal illumination level for your mirror needs. You can see your reflection in the mirror thanks to the lights behind it. For any work requiring a well-lit reflection, backlit mirrors offer adequate illumination.
How To Maintain A Backlit Mirror?
A microfiber cloth is the most popular and efficient cleaning tool for LED bathroom mirrors. This substance is absorbent and lint-free. They also dry rapidly, making them simple to use to clean mirrors. Rubber alcohol and glass cleaner are some additional materials you can utilize.
Bottom Line
An easy method for creating an LED-backlit mirror was covered in this article. To install the LED lights and mount them back on the wall, we gave step-by-step instructions that covered everything from choosing the best location for the mirror to gathering the necessary components.
It is full of fun and incredibly fulfilling DIY projects. You must maintain a high safety standard as you will be working with electricity and breakable glass. If you need assistance, do not be afraid to approach a professional.


