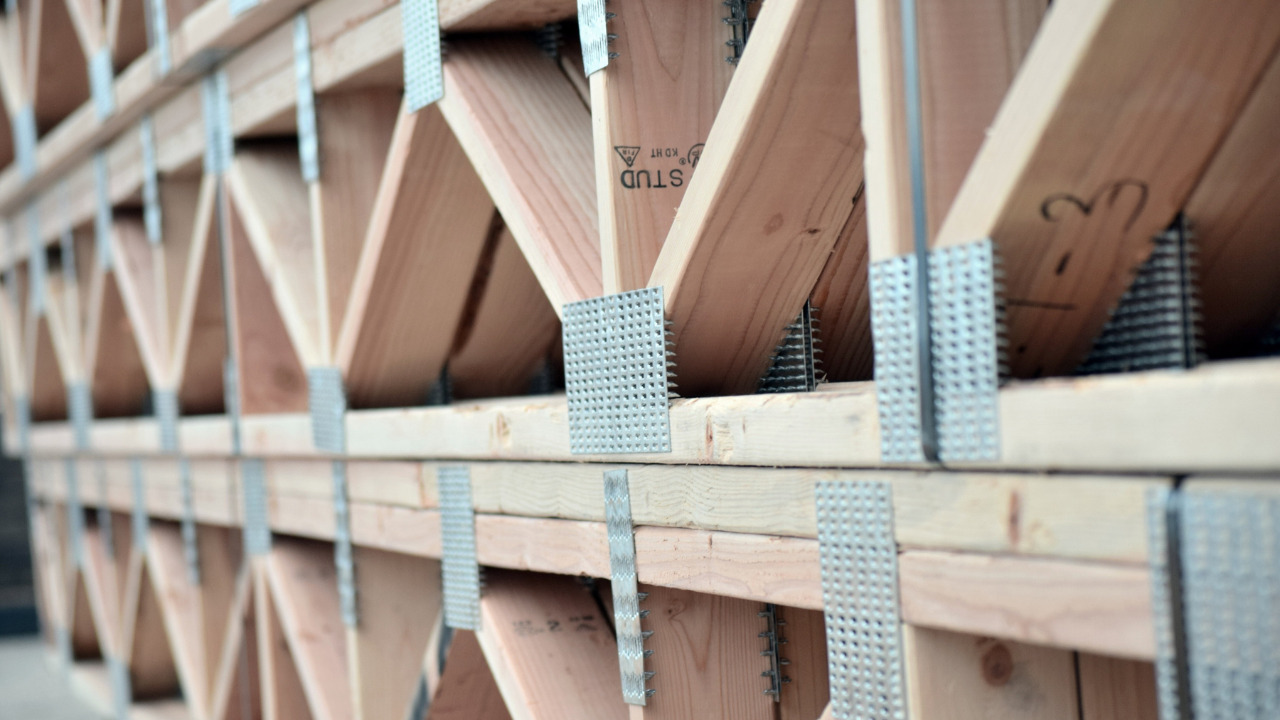
The connecting boards in a truss are held together by truss plates, which can be constructed of metal or plywood. Metal truss plates are available at your neighborhood hardware supply store, or you can make your own. For stability, trusses must have truss plates at all front and back connections.
Mending plates are really simple to install. When making a new connection, arrange the components in the locations you want them to be before making the usual connections. Then, mark the screw holes with a pencil after positioning the mending plate.
These plates come in two varieties. They are both made of stamped flat sheet steel. One kind is designed so that each nail may be driven in one at a time. A press tool can be used to repair the second one.
Table of Contents
Truss Mending Plates: An Overview
The purpose of the truss mending plates is to offer heavy-duty reinforcement for a range of joints, seams, and cracks. It can also offer the best compatibility with slots for carriage bolts. The best applications for mending plates are minor fixes and substantial remodeling.
They are made of steel plates and reinforce joints on furniture, shelves, gates, and housing frames. They have diverse sizes and are flat L or T forms that are plated and coated in various materials.
Things To Consider Before Installing Mending Plates
A mending plate is very simple to install. If the connection is new, arrange the components in the appropriate configurations before connecting them as usual. Make sure the clamps stay in place until the glue is dry while making glued connections.
Never should using mending brackets exclude using the project’s generally approved attachment method. When creating an L-shaped connection, adhere to the corner joint using glue, nails, or screws.
Types Of Mending Plates
It’s exciting to renovate a home. You have the opportunity to build shelves, nail down decks, and knock down walls. While it can be entertaining, ensuring our modifications are secure is crucial. Family members sleep in your house, friends congregate, and pets run around.
The proper reinforcing brackets and reinforcing plates must be used. Let’s now discuss their use in home renovations, including how and when to employ them.
Straight-Shaped Mending Plates
For connections from side to side and end to end, use plates with a straight shape. Split wood can also be joined using a straight mending plate. Use glue and multiple mending brackets to patch a split sideboard when mounting it on a bed.
Then, to safeguard against the following jump, put mending plates on the other side. This repair is done by aligning the plates parallel to the split and drilling an equal number of holes on either side of the damage.
L-Shaped Mending Plates
A corner connection, such as the corner of a kitchen cabinet, is where the L-shaped mending plate is most often used. Additionally, they are used to fasten bookshelves, entertainment centers, and cabinets to the wall so that one arm is attached to the wall and the other to the piece of furniture.
T-Shaped Mending Plates
This kind of plate is utilized to join two, or even three, intersecting pieces of material. It can be utilized where the horizontal panel links to each side rail in the middle of a screen door or gate. In a variety of uses, mending plates join wood together.
The use of these items in structures is not intended. There are no assigned load ratings. The truss assembly process does not call for the usage of these plates.
Steps To Install Truss Mending Plates
Measure Plywood
The truss elements are placed in a specific order on the ground. With the help of a 16-foot steel tape, measure and cut out the plywood needed for the truss plates.
Depending on the size of the truss, the plates’ dimensions vary, but typically they are made of the top, bottom, and side plates, as well as rectangular plates, depending on the construction material.
Lay Truss Plates On The Plywood
At each truss connection, place the plywood truss plates. As much of each connecting element should be covered by the truss plates. H hammer five 6 D nails on each connecting member into the truss plates to secure them.
Connect The Truss Plates On Each Side
On one side of the truss, repeat the process for each connection. Repeat the layout and connection processes after flipping the truss over.
Place the first truss flush with the wall’s outer end at the wall end. To ensure that the ends overhang equally on both sides, center the truss from side to side. To secure the truss, drive an angle-cut nail through the bottom horizontal board into the top plate of each wall.
You can construct sturdy fences and, more significantly, keep your house safe and structurally sound during remodeling with the proper reinforcing brackets and plates.