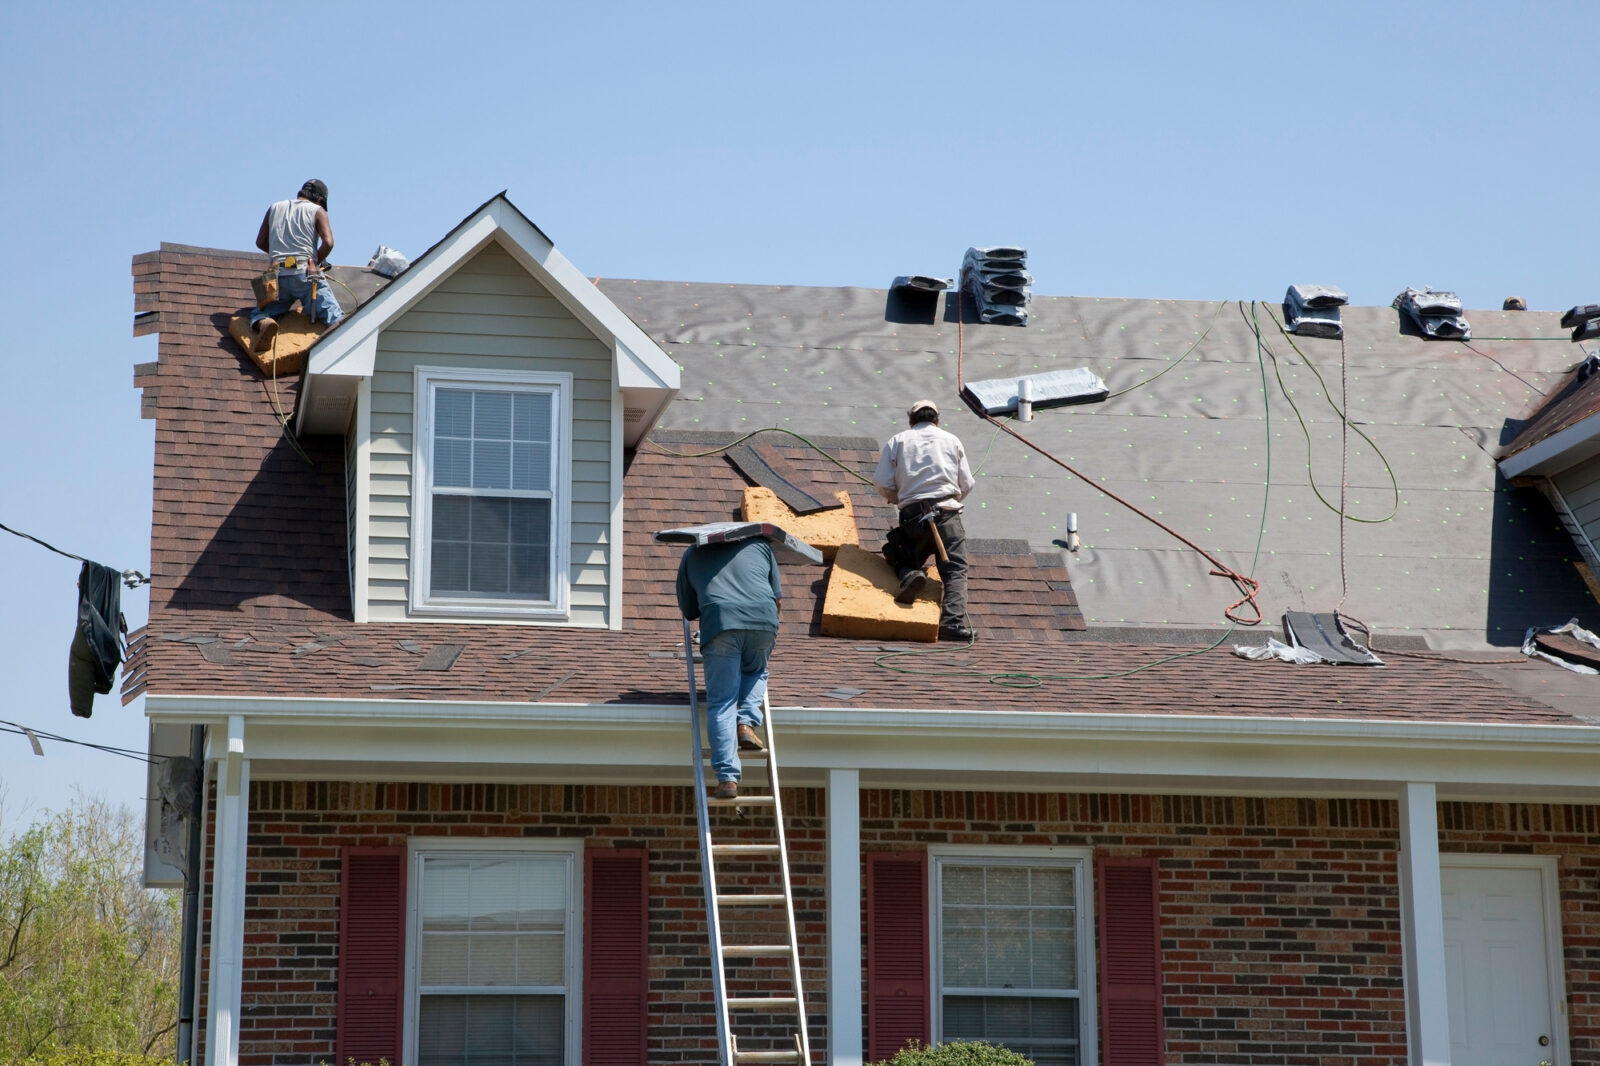
Water intrusion is one of the most common and costly problems contractors and homeowners encounter during renovations. Whether you are adding an addition, finishing a basement, or replacing a roof, the risk of water finding its way into the structure is real at every stage of the project.
The good news is that most water intrusion problems during renovations are preventable with the right planning and sequencing. This checklist covers the key points where water protection decisions need to be made and what to look for before, during, and after a renovation project.
Table of Contents
Before the Renovation Starts
Inspect the Existing Foundation and Basement
Before any renovation begins, inspect the foundation and basement for existing water issues. Look for cracks in the walls or floor, white mineral deposits (efflorescence), staining, peeling paint, or any signs of past moisture. A renovation that disturbs the soil around the foundation, adds weight to the structure, or changes drainage patterns can worsen pre-existing conditions if they are not addressed first.
If there are signs of water infiltration, consult certified basement waterproofing and foundation repair professionals before breaking ground. Addressing drainage and waterproofing at the start of a project is always more efficient than trying to fix it after framing and drywall are in place.
Assess Site Drainage
Check how water moves across the site after rain. The ground around the foundation should slope away from the house at a rate of at least 6 inches over the first 10 feet. If water flows toward the foundation, it will eventually find a way in, especially once excavation disrupts the existing soil compaction.
Review the Scope for Waterproofing Details
Make sure the renovation drawings include specific waterproofing details at every transition: where walls meet slabs, where additions attach to existing structures, around all penetrations, and at any below-grade walls. These transitions are the most common entry points for water and the most often overlooked in renovation plans.
During the Renovation
Protect Exposed Areas from Rain
When a roof is open, walls are exposed, or excavation creates below-grade openings, temporary weatherproofing is essential. Even a single heavy rainstorm can saturate framing members, delay the schedule, and create mold risk if wet materials are enclosed before they dry out. Keep tarps and temporary drainage plans ready.
Install Drainage Layers Before Backfilling
If any excavation is happening around the foundation for an addition, underpinning, or utility work, this is the ideal time to install or upgrade exterior drainage. Adding a drainage membrane, weeping tile, and gravel layer before backfilling is dramatically less expensive than excavating again later. Once backfill goes in, that window closes.
Seal Every Penetration
Every pipe, conduit, and structural anchor that passes through a below-grade wall or floor needs to be properly sealed. These penetrations are among the most reliable water entry points in finished basements and crawl spaces. Use the appropriate sealant for the specific application, whether hydraulic cement, polyurethane caulk, or a pre-formed gasket product.
Do Not Rush the Drying Process
New concrete, mortar, and parged surfaces need adequate drying time before they are covered or subjected to load. Enclosing materials that are still releasing moisture is one of the leading causes of mold growth in renovated spaces. Use moisture meters to verify that concrete and wood framing are at acceptable moisture levels before closing walls.
After the Renovation
Test Drainage Systems Before Finishing
If a sump pump, interior drainage channel, or exterior weeping tile was installed as part of the renovation, test it thoroughly before the space is finished. Run a hose along the foundation for an extended period and confirm that water is being collected and discharged correctly.
Inspect Caulking and Flashing
Walk the perimeter of the renovation and check every transition point. Flashing at roof-to-wall intersections, window and door head flashing, and caulked joints at exterior penetrations should all be inspected before they are covered by cladding or interior finishes.
Monitor the First Rain Season
The first full rain season after a renovation is a critical observation period. Walk the basement and any new below-grade spaces after every significant rainfall for the first few months. Catching an issue when it is still minor, when all the contractors are still familiar with the project, is far easier than tracking down the source a year later.
The Broader Lesson
Water protection is not a single task in a renovation project. It is a thread that runs through every phase, from initial assessment through final inspection. The contractors who deliver watertight projects are the ones who treat water management as a first-principle concern rather than an afterthought.
When in doubt, overspecify the waterproofing details. The marginal cost of an extra layer of protection during construction is always less than the cost of remediation after the fact.