Embarking on the DIY journey of installing your own flooring can be an exciting adventure that not only enhances the beauty of your home but also imbues it with your personal touch. This guide walks you through each step of the process, making sure that what might seem like a Herculean task becomes a manageable and rewarding project. So, roll up your sleeves, and let’s dive into the world of DIY flooring, where precision meets creativity.
Table of Contents
Preparation Is Key
Before diving into the installation process, it’s crucial to prepare. This means choosing the right type of flooring that suits your space, lifestyle, and design aesthetic. Next, measure your space carefully to purchase the correct amount of materials. Remember, it’s always better to have a little extra than to run short. Finally, ensure your subfloor is clean, level, and ready to go. This initial step is your foundation, quite literally!
Gathering Your Tools
No warrior goes into battle without their armor, and no DIY enthusiast should start their flooring project without the right tools. Essential tools include a tape measure, utility knife, chalk line, and not forgetting safety gear like gloves and goggles. Depending on your flooring choice, you might also need specific tools like a trowel for spreading adhesive or a flooring nailer for hardwood installations.
Cutting to Fit
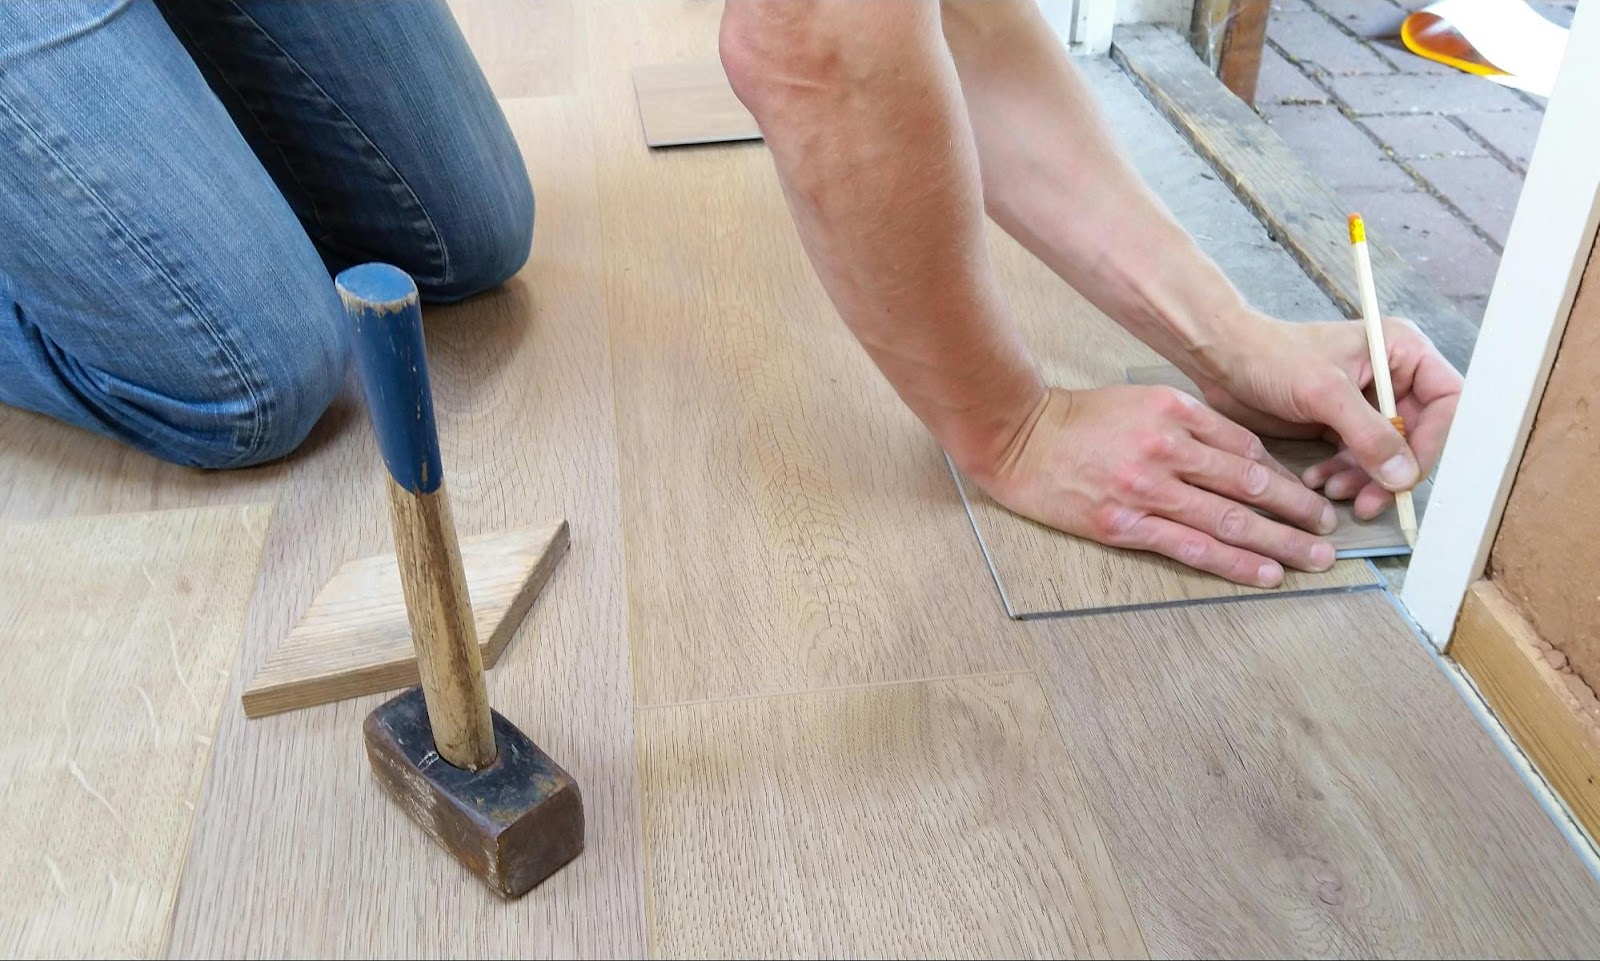
Every space is unique, and you’ll likely need to cut your flooring to fit around corners, doorways, and other obstacles. Precision is key here, so measure twice and cut once. Whether you’re snipping vinyl, sawing wood, or scoring tile, make sure your tools are sharp and you’re cutting in a safe, controlled environment.
When considering your aesthetic options, don’t overlook the unique charm and personality that patterned floor tiles can bring to a room. Beyond their visual appeal, these tiles offer versatility and durability, making them a suitable choice for various spaces in your home. Exploring their patterns and designs can inspire a creative and personalized approach to your flooring project.
The Installation Dance
Starting from the corner of your room, begin laying your flooring according to the manufacturer’s instructions. For wood and laminate, remember to leave a small gap around the edges to accommodate expansion. This is where your project starts to come to life, as you see your flooring spread across the room, transforming it before your eyes.
Finishing Touches
As your flooring installation nears completion, it’s time to add those finishing touches. Install baseboards or trim to cover the expansion gaps and give your project a polished look. If you’ve opted for tile, this is when you’ll apply grout, sealing the deal on your DIY success.
Laying the Groundwork
With all your tools and materials at the ready, it’s time to lay the groundwork. Begin by ensuring your subfloor is perfectly level and free of debris. Any imperfections can cause issues down the line. For those installing tile or laminate, consider using underlayment for added moisture protection and comfort underfoot.
Dealing with Challenges
Even the most meticulously planned installations can encounter obstacles. Unexpected issues like uneven subfloors, damaged underlayment, or even defective materials can arise. It’s important to stay calm and address each issue methodically. Use self-leveling compounds for minor subfloor issues, replace damaged underlayment, and consult with suppliers immediately if you encounter defective materials. Remember, patience and persistence are your best tools for overcoming these challenges.
Maintaining the Right Attitude
Last but not least, maintaining a positive and persistent attitude throughout your DIY flooring installation project is crucial. There will be moments of frustration, but remember that every challenge is an opportunity to learn and improve. Celebrate your successes, no matter how small, and don’t hesitate to seek help when needed. With the right mindset, your DIY flooring project will not only enhance your home but also provide a deep sense of accomplishment and pride.
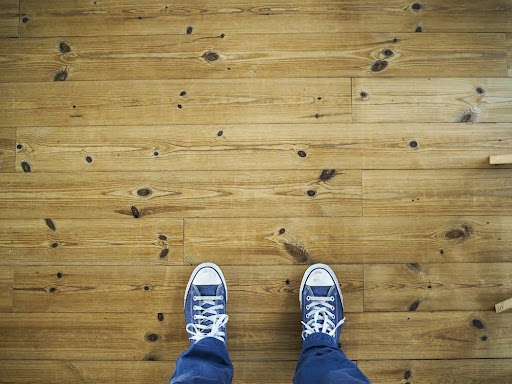
Caring for Your New Floor
With the installation complete, proper care will ensure your new floor lasts as long as possible. While different materials require different care routines, general tips include regular sweeping to prevent scratches, immediate cleanup of spills to avoid damage, and using furniture protectors to safeguard your surface. This way, your hard work will continue to pay off for years to come.
Choosing the Right Material
One of the most critical decisions in the flooring installation process is selecting the suitable material. Whether you’re considering hardwood, laminate, vinyl, or tile, each comes with its own set of pros and cons. Hardwood offers timeless beauty but requires regular maintenance. Laminate is durable and easy to install, but it can’t be refinished. Vinyl is water-resistant and comfortable underfoot, whereas tile offers unmatched durability and moisture resistance. Think about your household’s needs, traffic patterns, and moisture exposure when making your selection.
Conclusion
Installing your own flooring is a remarkable journey that transforms your space and imbues it with your essence. While it requires patience, precision, and a bit of elbow grease, the satisfaction of walking on a floor you’ve installed yourself is unparalleled. This guide has walked you through each step, demystifying the process and preparing you for a successful project. Now, it’s time to step back, admire your work, and bask in the glory of a job well done. Happy DIY-ing!