This is a terrific option for those who desire an external extension of their home or a floating deck for BBQs and the sun. The likelihood of issues while building a deck closer to the ground can be decreased by learning how to construct a raised deck.
It becomes much easier to prevent pest infestations, and moisture damage becomes less of an issue. It has several benefits, such as building a level platform stretching from the back of the home and connecting the interior and outside.
Also, no matter the size of your garden, a tonne of creative garden decking ideas can be used. A raised deck can enhance your home’s and backyard’s aesthetic appeal and be a practical area to host guests and family outside. Raised decks are a terrific choice for outdoor gatherings and are also referred to as elevated decks.
Taking the excitement or relaxation outside, where you can enjoy the scenery and the fresh air, extends your indoor area.
Table of Contents
Step-By-Step Guide To Build A Raised Deck
From mounting the raised deck to the wall to erecting the frame and laying the deck boards and handrails, and balustrades, here is a step-by-step guide on how to do it.
Mark Location For Pegs
Your deck should be marked out by putting pegs in each of the four corners and then running a builder’s line between each peg. Remove any leaves, rocks, or other debris from the area. It’s up to you whether or not you want to remove the turf.
Attach Joist Directly To The Wall
One joist must be attached directly to the wall and the remainder of the sub-frame aligned. To avoid blocking air bricks or disrupting the damp proof course, mark where you intend to attach the joist to the wall. First, the joist needs to be pre-drilled for screws.
When drilling holes, drill one at the top and one at the bottom of the joist, spacing them 400 mm apart, and then repeat this procedure. The joist will be weakened if they are too close to the edge. They should also be positioned so that the bolts will finally be connected to the brickwork, not the mortar, and they should not coincide with the position of the joist hangers in the final construction.
Create Recesses In The Joist
A flat wood bit can be used to create recesses in the joist. The countersunk holes (also known as recesses) must be deep enough to accommodate the nuts and wide enough to allow you to tighten or loosen them with a wrench. Bolts won’t operate properly if your measurements and drilling aren’t precise.
Position The Joists
The joist should be positioned against the wall, and a spirit level should be used to ensure it is level. Each hole should be marked on the wall to indicate where the item will be hung. Use your drill’s hammer action to make holes in the brick where the joist formerly was. Before doing this, ensure you’re drilling into the bricks, not mortar!
Leave A Gap Between Wall And Joist
Leaving a gap between the joists and the wall will allow water to flow down the wall rather than pool up on the deck. Stainless steel washers can be used to construct a spacer. They must be at least 10 millimeters long when they’re put together.
Position The Spacers
The spacer should be positioned between the joist and the stud. Expanding masonry bolts can be inserted into each hole and tightened with a socket spanner. Make sure that the bolts aren’t overtightened. The posts that hold up the joists are next. Four corner posts and a sprinkling of joist support posts will dot the deck’s foundation.
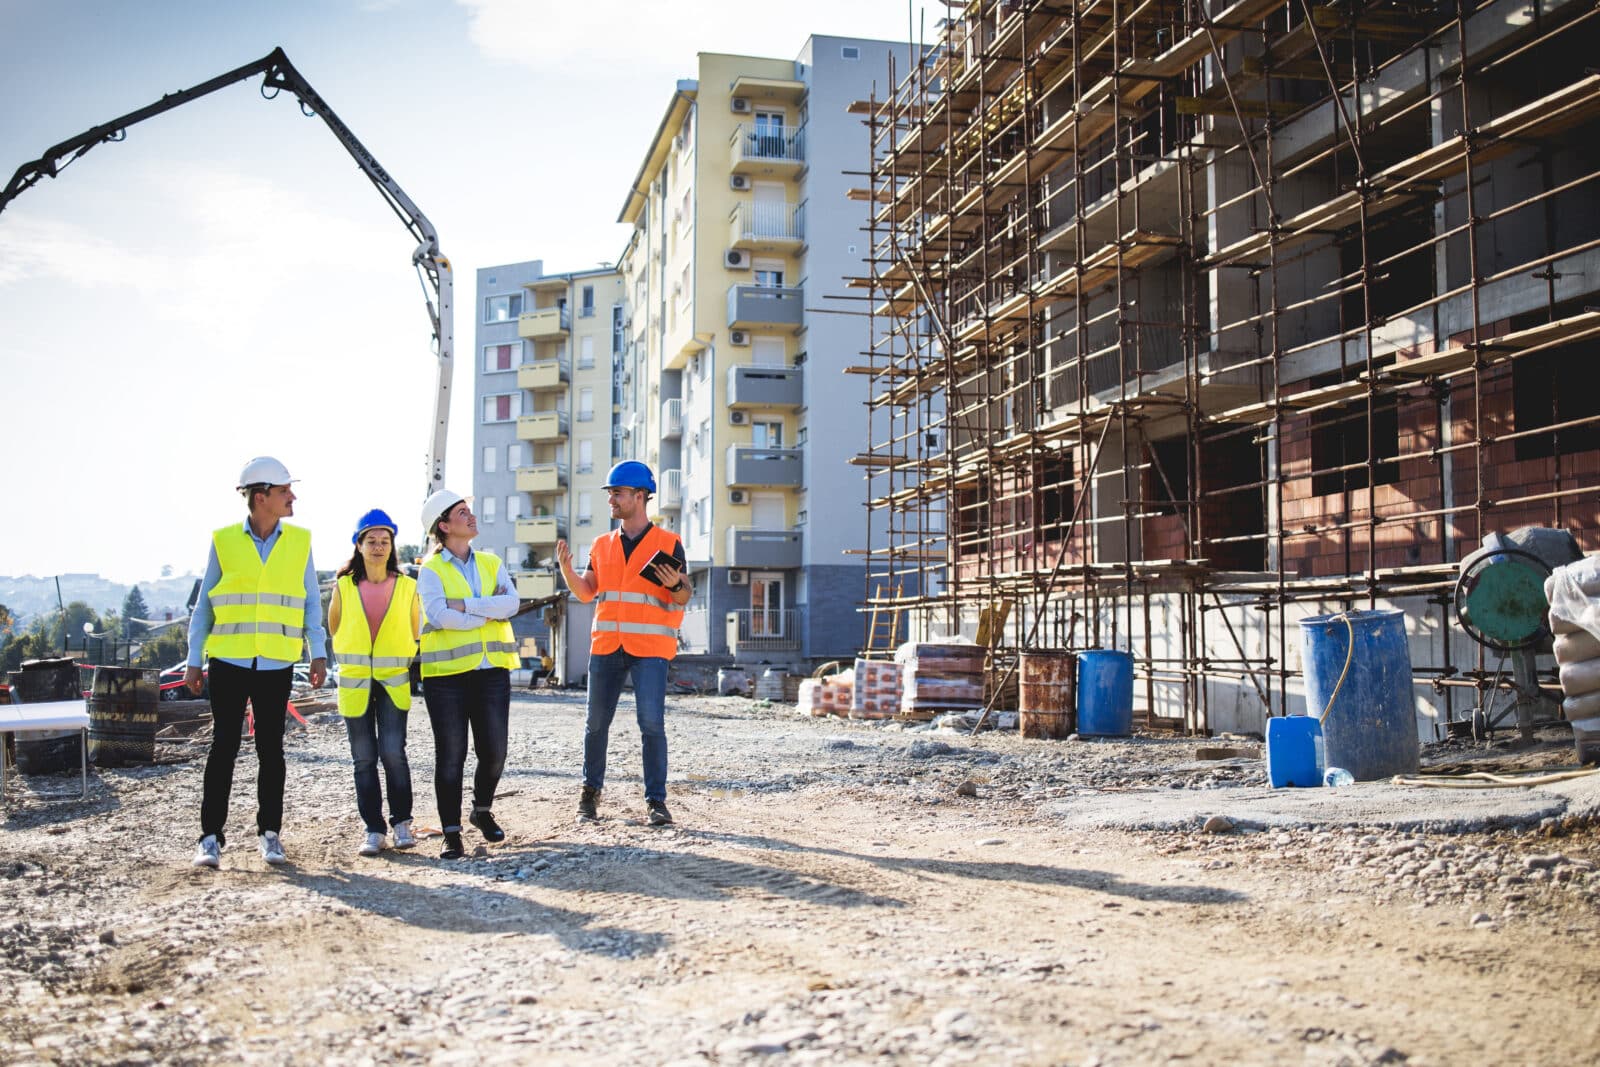
You might want to get some help with this portion, and the custom deck building Massachusetts team is here to help, as it’s difficult to do on your own.
Considerations Before Building A Raised Deck
- Each corner you’ve set out for your decking should have 700 mm deep holes dug in it. The bottom holes should be 400 mm in diameter, while the top ones should be 300 mm.
- All your posts should be no more than 1.8 m apart in any direction and be evenly spaced. A post’s width should be used to offset corner posts from the actual corner. Installing railings or a balustrade will be easier this way.
- Construct supports to assist the posts in remaining upright. Using two long pieces of wood, make an L or T shape and pierce the bottom to be anchored to the ground if needed. It is important to use a spirit level to ensure the post is level.
- Shape the quick-drying cement into a slope away from the post by pouring it into the hole.
- Remove all the lines, profiles, and props (from squaring the site) when the concrete has dried according to the directions.
- Cut the fabric to fit around the posts before laying it down as a weed barrier. Gravel should be used to cover it.
Conclusion
Consider adding a railing or child gate to create an elevated deck to prevent little children from falling out. Examine the vista while deciding how to complete the deck. The possibilities now include staining, painting, tiling, and numerous others. You may create the deck of your dreams by following these detailed instructions on how to build a raised deck.
Frequently Asked Questions (FAQs)
Do I Require Permission To Build A Raised Deck?
The decking’s size and height will determine this. Deck construction falls under approved development if it satisfies specific requirements. You will need planning clearance if your proposals surpass any of the criteria. If you’re unsure whether any less usual requirements might apply to your building, request clarification from your local planning authority.
Which Is The Best Material To Put Under For A Raised Deck?
Rain and snow can drain and produce natural runoff using washed gravel or broken stone. Also, it guards against erosion, keeps moisture away from the wooden foundation of your deck, and eliminates weed growth.
What Are The Advantages Of A Raised Deck?
Together with trees and other landscaping elements, it is a wonderful method to complete your yard. It increases your home’s overall square footage, value, and added outside area.
What Is The Lifespan Of A Raised Deck?
The lifespan of a deck made of untreated wood might range from 10 to 30 years. Treated wood and composite materials are durable enough to survive for 50 years.