Stainless steel sinks are easier to caulk than other types of kitchen sinks. Stainless steel sinks are commonly used in kitchen renovation because of their attractiveness and durability. Top-mount and under-mount kitchen sinks are the most common, and both must be caulked to prevent water from seeping around the sink.
Aside from that, trash and food particles will clog the drain. This indicates that there is a potentially hazardous leak. It can be difficult to determine the source of an issue at times, which may not be possible in some cases. It is critical to caulk a stainless-steel kitchen sink to avoid this problem.
Table of Contents
What is Caulking? An Overview
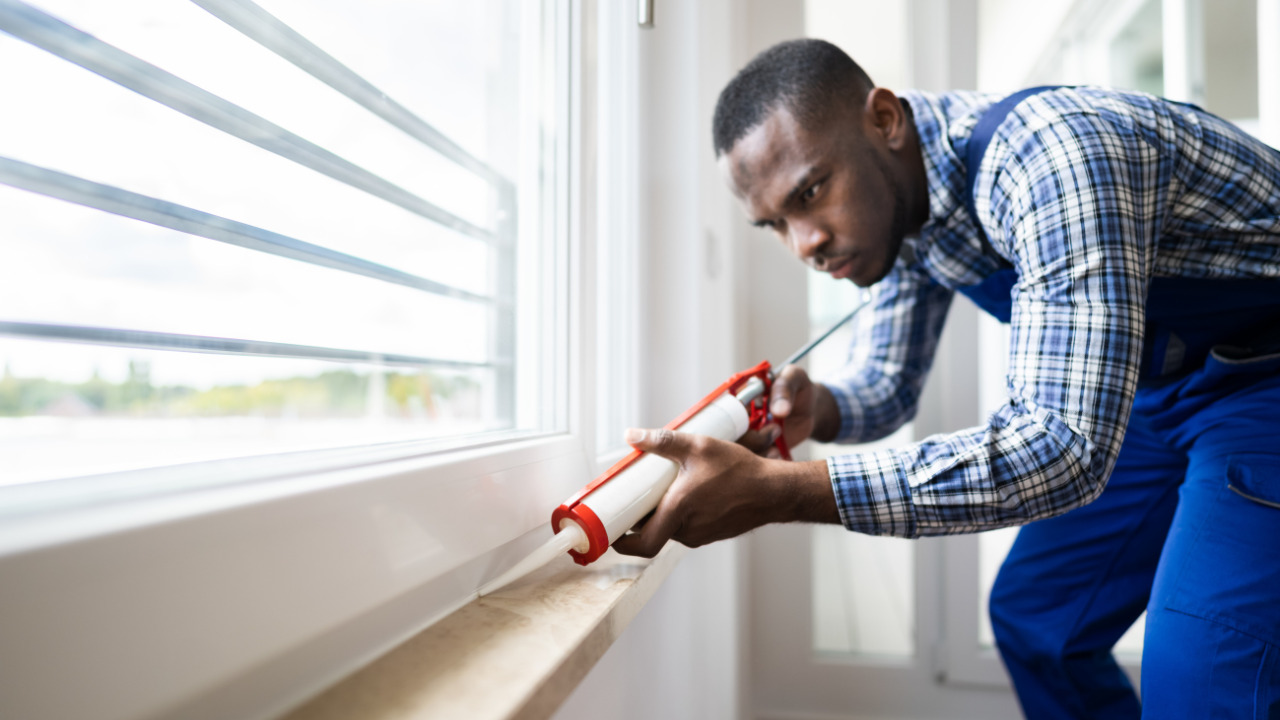
The installer usually uses a substantial bead of silicone caulk between the rim and the countertop to keep the sink in place. After installation, the technician puts a second bead around the rim to prevent moisture seepage.
This moisture seal wears away over time to avoid mold growth and water damage and needs to be replaced.
Steps To Caulk A Stainless-Steel Kitchen Sink

Because new silicone caulk will not adhere to old caulk that has already cured, you must remove all of the old caulk. Because silicone adheres strongly, this can be a difficult task. You can’t dissolve it with anything, but a commercial silicone caulk remover can soften it.
Silicone caulk can expand and lessen its grip when exposed to chemicals, but there’s no way to avoid scraping it off.
Collect Needed Tools And Materials
- A caulk gun
- A scraper
- Putty knife
- A sink
- Construction adhesive
- Sealant
Clean Sink Countertop

First, it would help to clean the countertop before caulking around a stainless-steel sink. It is necessary to scrape away any old caulk from a previous sink. A knife or a single-edged razor blade would be great.
Clean the countertop with rubbing alcohol if there is no previous sink or the old caulk has been scraped off. You can also clean the sink with baking soda – it is the best cleaning agent. This is critical because it disinfects the area while removing residues that prevent good caulking. This process is somewhat similar to cleaning kitchen cabinets. You will ensure to use the right product to avoid any damage or overbudgeting.
Mark Caulking Points On Sink

The sink must fit perfectly and securely on the kitchen counter. Tracing the shape of the sink is an important step in ensuring a successful caulking job. Raise the sink a few inches to allow the caulking gun to fit beneath the edge. Several beads of caulk applied to these edges should be sufficient to keep the sink in place.
This is to ensure that there will be no movement once the sink is placed on the counter.
Install The Sink Again
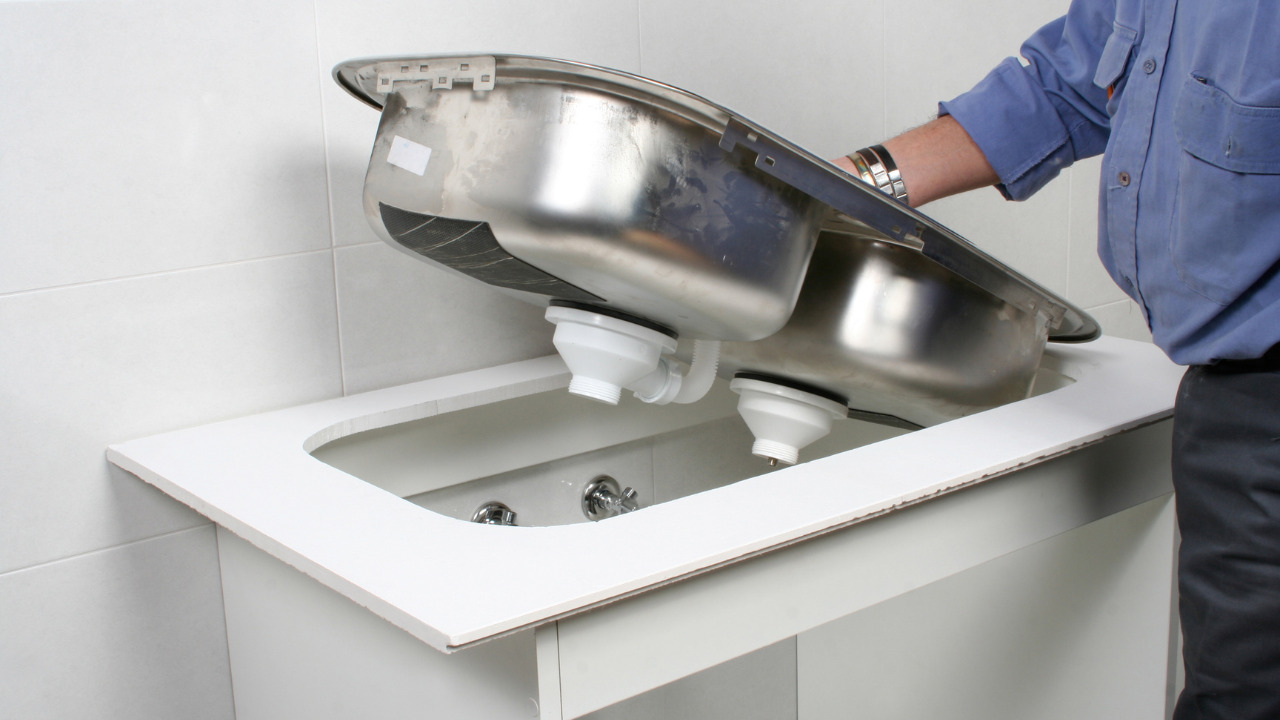
After you’ve applied the caulk, it’s time to reinstall the sink on the counter. To avoid a messy ending, make sure you’re delicate when doing it.
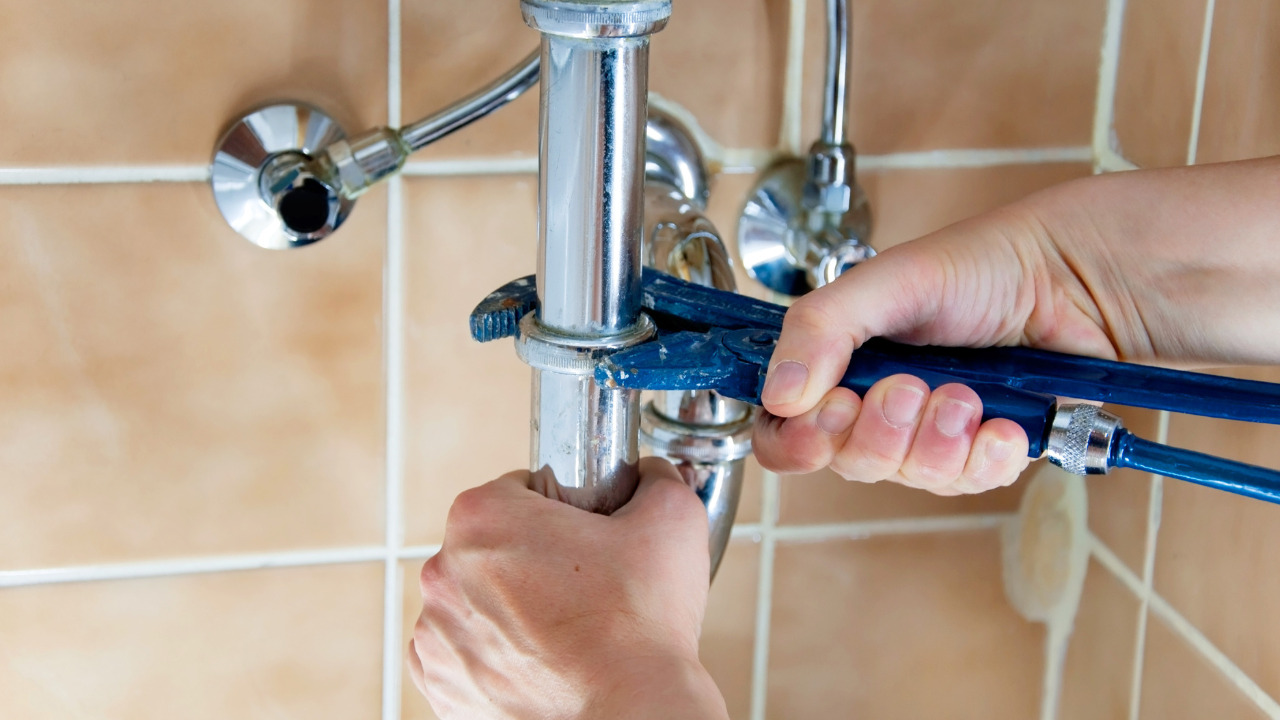
For better positioning, apply a little pressure when installing kitchen sink drain. When the sink is in position, you may notice excess caulk, which you should wash away with a rag. If you need to secure it with screws or nuts.
Seal Sink’s Edges
The sink’s edges must be completely sealed, which is why caulk is so important. Lift the sink to fit it into the caulking gun’s nozzle and apply a quarter bead of caulk. To fill in the gaps, you can use your finger. Avoid going overboard, and use a rag to wipe away any excess caulk for a professional, smooth finish.
Make Sure To Dry Caulk Appropriately
Before using the sink, the caulk must be completely dry, or the results will be unappealing. Water will corrode the caulk, something you don’t want to happen. You should wait at least three days for it to dry up totally. If it’s used before it’s completely dry, there’s a danger it’ll leave cracks in the caulking, allowing water to leak out over time.
Reseal Gaps Or Holes
You can check the caulk for holes and gaps only after the caulk has dried completely. That’s why you have to wait at least three or four days before checking for holes. If there are holes or gaps in the caulk, you can fill them using a sealer coat. You can also run water in the sink for appropriate checking of holes and gaps, but only after drying the caulk.
Conclusion
If you caulk a stainless-steel kitchen sink, you can avoid mold and water leaking beneath the sink. This is critical because it avoids costly water damage and repairs. The most important thing is to stick to the steps to ensure a satisfactory outcome. Check that the sink is the right size, clean the countertop, and utilize the best caulk.
You may do it yourself when caulking your stainless-steel apron kitchen sink. Allow for at least three days of drying time for the finest effects.