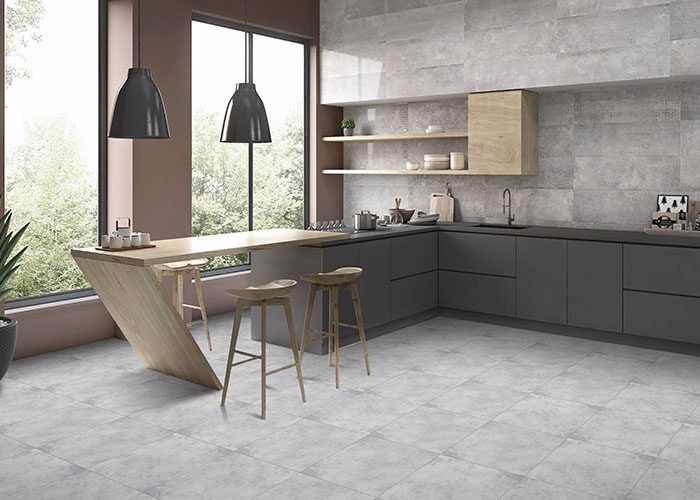
The kitchen is the most crucial room in your house. It is where you refuel your body and prepare for the day’s challenges. It is only fair to treat this room with the honor it deserves. After years of cooking family recipes and baking up storms in your kitchen, it’s probably looking a little sad. The cabinets are scuffed or peeling, the floor has seen better days, and the layout makes maneuvering around each other a messy dance during busy dinners. Kitchen remodeling is an exciting way to change your cooking space into a visually beautiful hub. With careful consideration, your kitchen remodel will result in a room that not only impresses with its beauty but also improves your daily life.
When you’re ready for a kitchen refresh, start by thinking about the little things that really get under your skin. Do those outdated oak cabinets make you cringe? Have you been dying to get one of those fancy French-door fridges? Make a wish list of what’s frustrating you and what you’re excited to upgrade to help guide your remodel plans.Also, consider how your family really uses the kitchen day-to-day. Is it mainly just reheating leftovers and making school lunches, or do you regularly cook complicated meals together? If you need inspiration, check out the marvelous Sydney kitchens online to spark your creativity.
We will discuss how to remodel a kitchen for a DIY kitchen renovation. It’s crucial to know how to remodel a kitchen yourself because it is the single most expensive room in your house and can cost a lot.
So, before you hire a professional and spend a lot, go through these steps for the best kitchen remodel.
Table of Contents
9 Easy Steps to Remodel a Kitchen Yourself
How to remodel a kitchen yourself? Well, the answer is simple. You should consider every factor of the kitchen remodel before moving ahead.
Ready to get started? Here’s our step-by-step guide to remodeling your kitchen:
Step 1: Create a Plan
No matter how excited you are about redoing your kitchen, wait until you’ve outlined a thorough kitchen remodeling plan before removing that old sink or ordering a new smart refrigerator.
Once you’ve figured out your family’s kitchen needs, map out zones for the fridge, oven, sink, and storage areas. Having an efficient work triangle to bounce between tasks makes all the difference when you’ve got pots boiling over and hungry kids underfoot!
With a comprehensive plan in hand, you can balance your vision with your financial constraints and decide if you should do the project on your own or seek the advice of some remodeling experts.
Your plan can refer to anything from a simple cosmetic update to what we refer to as a “total gut,” which probably involves knocking down walls and rearranging your layout. The average range is between the two, but it all depends on the goals you’ve set for your kitchen.
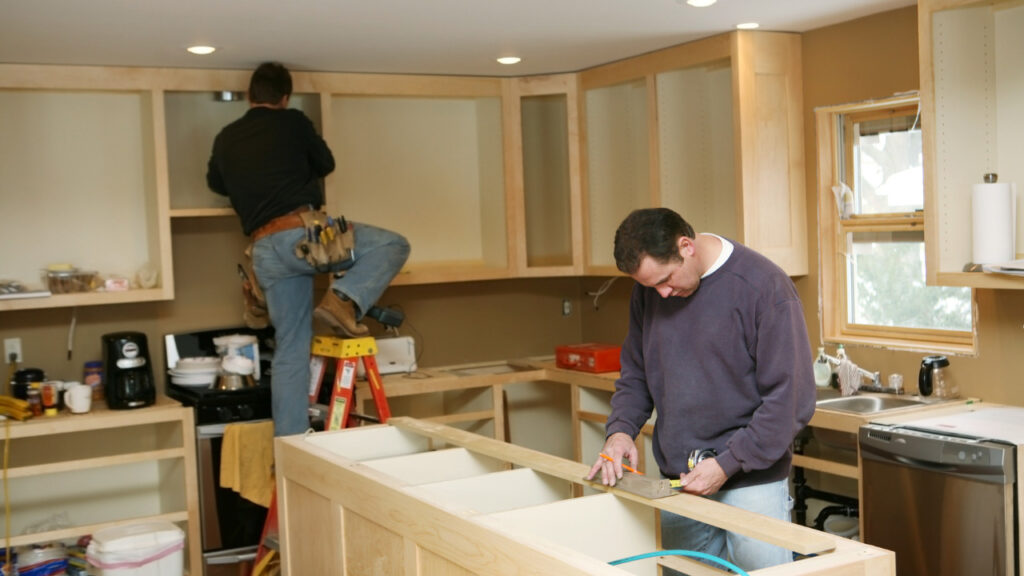
Step 2: Prepare Your Kitchen
It’s time for the demo now that you have a plan and understand your scope.
You can now tear up your outdated vinyl flooring, remove the antiquated range hood, and get rid of the dingy wood cabinetry from the 90s.
If your kitchen remodel plan is modest, you might merely prep walls for paint or remove your old backsplash.
For all of your building waste, we advise renting a sizable dumpster so you can simply throw it away as soon as you’re done with it.
After the demolition is over, you may get ready for the rest of the project by starting any necessary framing or foundation work.
Step 3: Pay Heed to Plumbing and Electrical
Next in the old kitchen remodel plan, you should consider the electrical stuff and plumbing. It is the ideal moment to deal with pipes and wiring because your cabinets are out, and the inside of the kitchen walls are visible.
New to electrical and plumbing work? Be careful as you go. Anything requiring a skilled trade requires extreme caution.
Remember that snaking pipes through walls or running new wiring often means permits and professional help to make sure everything is safe and to code.
If you have to hire a pro for one step of the renovation job, make it this one. A plumbing fault can have significant consequences, and regular household electrical voltage can be fatal. Homeowners with no experience shouldn’t perform their own electrical and plumbing installations. Take care of your safety before making any electrical plans.
This step is crucial because if you delay, you will likely end up drilling holes in the plasterboard or the backs of those brand-new cabinets to install pipes or connect the wires to your under-cabinet lights.
Step 4: Hang Your Drywall
Before you start hanging your drywall, consider a few things. Make sure your dimensions are accurate because you’ll need enough plasterboard to cover all the walls and ceiling.
Check your toolbox to see if you have all the necessary tools and materials on hand.
You’ll require the following materials:
- T-square of 48 inches
- Knives with tape
- Tape for plasterboard
- Screws
- Gun screw
- Wallboard saw
- Sanding stick
- Blending paddle
- A dust mask
Because plasterboard dust is persistent at this point, be sure to account for some time for cleanup.
Step 5: Paint Your New Walls
Painting is the stage where your vision for kitchen remodel begins to take shape. Additionally, painting the walls is a rather simple task. You can decide on your paint colors and paint the room on the same day.
Consider the color and design of the cabinets you plan to install when choosing paint colors, as well as the ambiance you want to create for your kitchen.
Are you feeling short on color options? Grab a few paint samples, and you will see that painting is more of a trial-and-error process rather than stressful. Seek out a professional if you need assistance.
Since many designers provide color consultations, you can get professional advice without making a huge financial impact.
Step 6: Cabinets and Flooring
While some professionals like to install cabinets first, others advise starting with the flooring. It’s ultimately up to you. However, we suggest putting cabinets ahead of flooring because this approach will create a sleek appearance.
However, flooring first is appropriate in terms of functionality. Just remember to give yourself plenty of lead time because delivery could take weeks or months, depending on the cabinets you purchase.
Step 7: Order and Install Countertops
You can take measurements for your new countertops after your cabinets are installed. Because of the level of accuracy needed in measuring, this stage comes after the cabinet installation.
Have your washbasin on-site at this time because it should be taken into account in this stage as well.
Given that it can take some time for the countertops to arrive, be prepared for a brief slowdown. This stage is an excellent opportunity to order any extras like barstools, backsplash materials, hardware, and decorative lighting.
The installation procedure is highly influenced by the material you choose. When choosing, keep in mind that while options like laminate are do-it-yourself-friendly, materials like granite require more work to install.
Step 8: Install the Backsplash
Consider the wall space between the counter and the cabinets as a blank canvas on which to paint where you can express your personality.
Subway tiles have a classic appearance unless they are larger, laid vertically, or arranged in a herringbone pattern. Although tiny mosaic designs are attractive, cleaning the grout lines can be challenging.
There are additional choices like beadboard paneling, metal ceiling tiles, and tile materials like glass, metal, stone, mosaic, embossed ceramic, and others.
Choose a style that appeals to you, but is also universally appealing and simple to maintain so that it won’t turn off potential buyers should you decide to put your home on the market in the future.
Step 9: Install the Sink and Bring in Your Appliances
It’s now time to put up the dishwasher, refrigerator, range, and every other appliance you wish to include in your kitchen as well as install your new sink.
The majority of the work is now complete. Calling a plumber or electrician, however, wouldn’t hurt just to make sure everything is in working order. A plumber will know how to connect your sink to the plumbing fittings that were already in place, and an electrician may check to make sure your new gas stove is put properly.
Your makeover is finished once these installations are finished, so it’s time to move on to the most crucial step: relaxing and making use of your new kitchen.
Unlock Your Dream with These Kitchen Remodel Tips
A well-planned kitchen remodeling project can revitalize your house and improve your quality of life. You can create an attractive and practical kitchen environment by following our professional advice and taking into account your needs, preferences, and budget.
Remember to prioritize safety, use precise measurements, and discover new ideas while designing a kitchen.