Check to discover whether the issue is with the casement window hardware before replacing the entire window. A window crank can be repaired within a few simple steps.
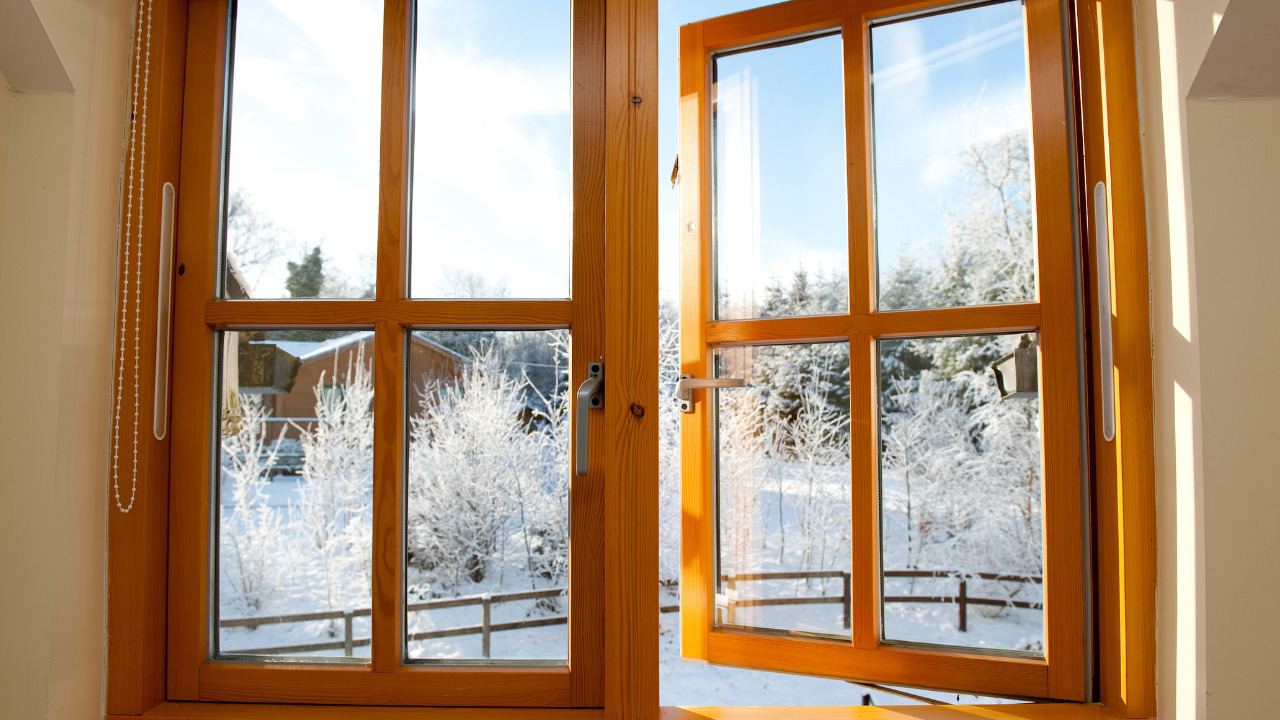
Some casement-style windows are opened and closed by window cranks, sometimes known as casement operators. Under the handle, a spline wears out over time, causing the handle to spin when turned.
Over time, the gears will wear down, and the handle will slip. It is not necessary to replace the complete window to correct the problem. Your casement windows broken window crank can be easily removed and replaced. However, how can a first-time homebuyer go about doing this? Of course, this task is less difficult than it appears.
Fortunately, only the crank will need to be replaced, rather than the entire window. If your crank is worn out or the handle is slipping, keep reading to learn how to fix it.
Table of Contents
Needed Materials To Close A Window With A broken Crank
There are a few materials you’ll need to fix your crank windows. The following are some samples of what you’ll need to repair your crank windows:
- A ladder
- Lubricant
- Screwdrivers
- A microfibre
- A Mild cleaning solution
Once you have collected all the materials and needed tools, it’s time to fix the window:
Check The Lock System’s Status
You don’t want to go through the work of disassembling the windows to learn that they were locked the entire time. As a result, the window lock system should be examined first. Make sure the lock system is activated. If the lock system is active, your window will not be able to open or close.
If you’re having trouble with the lock system, consult the handbook to learn what steps you need to take to resolve the problem. If your crank windows are not opening properly because of a problem with the lock system, you may need to replace them. It’s best not to force the lock open because this could cause more damage.
Apply The Cleaning Solution To The Crank
After confirming that the lock system is unlocked, inspect the entire crank system for cleanliness. As a result, begin by thoroughly cleaning the crank system with your cleaning solution. Then, using a microfiber cloth, thoroughly clean the crank mechanism.
After that, try using the crank system again to see if it opens. Apply some oil to the crank system if you’re still having difficulties getting it to work properly.
Check The Crank system
You must press on the window sash after adding plenty of lubricant to the crank system and ensure that the window is unlocked. You don’t want to squish the window sack too much, but you do need to be forceful. Disassembling the hinge assembly system will probably be required to reopen the window.
As a result, read the instructions carefully to determine which parts you’ll require to repair the hinge mechanism. These should be on hand if you need to unscrew and reassemble the hinge mechanism. Of course, if you have any worries or questions regarding this step, you should get assistance from a specialist.
Inspect The Crank System
If the lever and gear system has no friction, the crank system has been stripped. To determine what type of crank system you have, consult the owner’s manual. Remove the crank handle and inspect the operator assembly depending on the crank mechanism you have. The manufacturer’s warranty may still cover your crank system.
If it is, you should use it to order replacement parts. They might even cover the cost of replacing it.
Replace The Striped Crank System
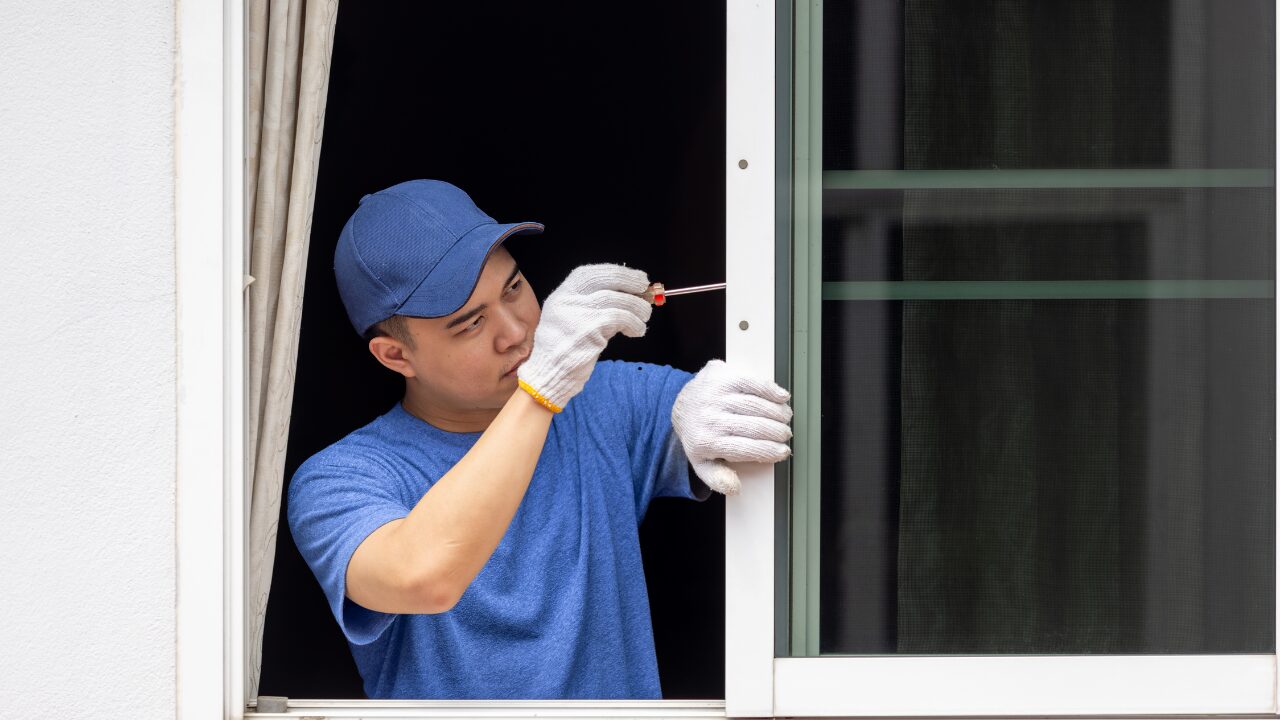
You should be able to replace your window’s crank once you’ve installed the replacement parts. Remove the old crank first. To begin, examine it closely for any signs of damage. You’ve found the problem if you have worn out or missing splines, damaged gears, and a worn-out arm.
The window must then be released. To break the arm free from the track, open the window and press down on it. A basic screwdriver should be enough to back out the trim screws. The casement cover should then be removed from the window jamb. If the screws are rusty or twisted, they must be replaced as well.
Finally, the new crank system may be installed. A new crank system must be aligned with the old holes. The system should then be secured to the wall using new screws. The casement window cover and the crank arm must then be reattached. Finally, make sure the crank mechanism is in good working order.
Conclusion
This is the ultimate remedy, even if you don’t need to replace your complete crank system. It does not have to be expensive, even if it is time-consuming. If you ever feel uneasy about the process, seek guidance from a specialist. You won’t have to be concerned about the damaged window in the process.
You do not need to go through this alone. Even though you think you can handle a number of these problems on your own, you should always feel free to seek the assistance of a professional. That way, you can rest assured that the problem will be resolved on the first try and that your costly crank window will not be damaged.