Extending an existing wall creates a clear boundary between two nearby sections. Perhaps it will block off a space with three walls to form an enclosed room or extend a wall to create a hallway illusion, such as in the main entryway that instantly opens into a living area.
Extending a wall starts with a structural framework and culminates with a finished, new wall that merges with the existing one. In this article, we’ll discuss how to extend a wall and frame an extended wall. So, continue reading to know more;
Table of Contents
Steps To Extend A Wall
Needed Tools And Materials
- Concrete anchors
- Tape measure
- Drill bits
- Power drill
- Mitre saw
- Level
- Screws
- Nails
- A nail gun
- Wallboard sheets
- Paper tape
- Hammer
- Straight edge
- A utility knife
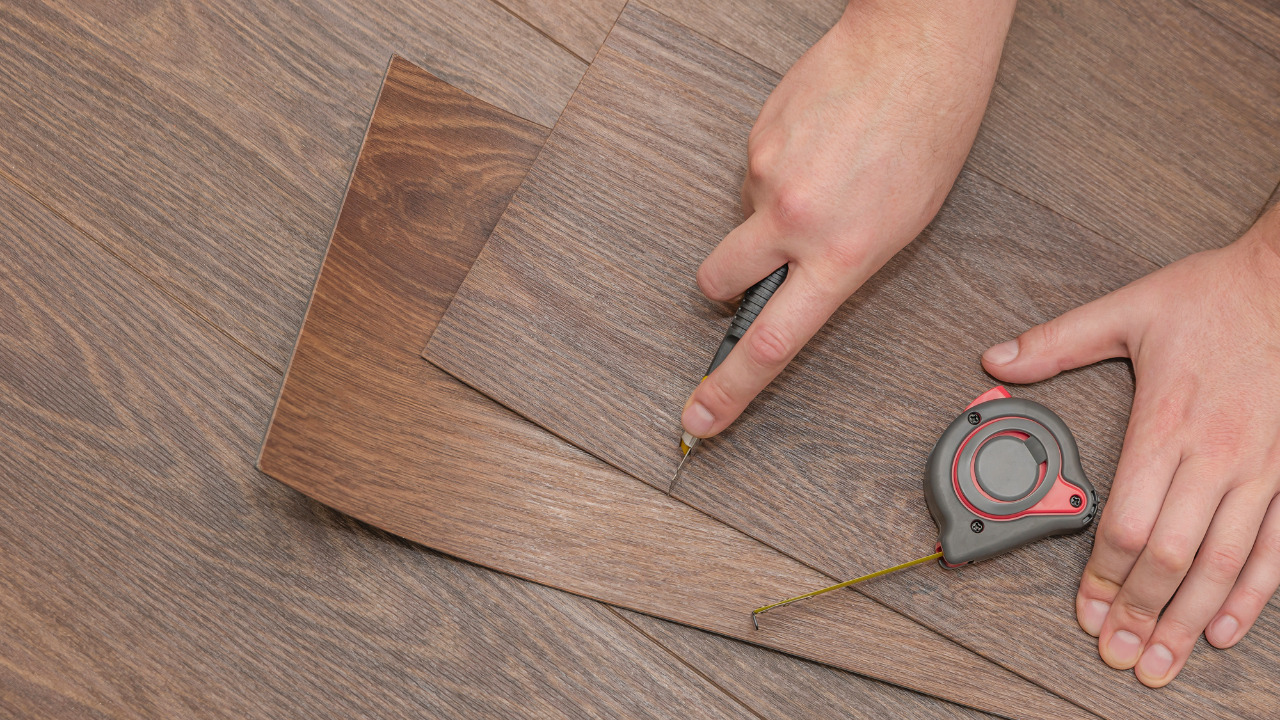
- Measure The Wall Length:
With a tape measure, determine the desired length of the wall expansion from the existing wall. With a pencil, mark the end of the wall extension on the floor.
To maximize the usage of the sheets of gypsum wallboard without difficult cuts, round off to the nearest 12 inches and, if possible, to the nearest 4 feet. With a tape measure, determine the height of the wall extension and write it down.
Cut Wood Pieces

Using the compound miter saw, cut two 2-by-4s to the length of the wall. These will be the top and bottom plates of the wall. Divide the wall length by 12 to get the required vertical studs.
Cut The Wall’s Studs

A compound miter saw is used to cut the required number of vertical 2-by-4 wall studs, plus two more, for the wall. Subtract the 2-inch thicknesses of the top and bottom plates of the wall extending from the wall’s height and use that as the cut measurement.
Install Cut Plates
Place the top and bottom plates parallel spaced apart and standing on 2-inch-long sides. Lay the two end, vertical wall studs on their 2-inch-length sides in between the top and bottom plates on both ends of the wall.
Nail Through The Plates
Using a pneumatic nail gun and 3-inch pneumatic nails, nail through the top and bottom plates into the top and bottom of each vertical wall stud. Insert and uniformly space the remaining vertical wall studs between the top and bottom plates of the wall. Set them in place with a nail.
Once you have done extending the wall, it’s time to add a frame to an extended wall to give it a smooth finish.
Steps To Install Frame To An Extended Wall
Position The Frame Against The Extended Wall

Raise the frame of the additional wall and position it flush with the existing wall. It should be leveled both width-wise and lengthwise. Leave a flat gap where the gypsum wallboard meets the old wall.
So, the thickness of the gypsum wallboard does not protrude from the wall.
Use Screws For Firming The Frame
The frame should be screwed into the studs of the old wall. At numerous points and the height of the end stud, use screws to attach the frame.
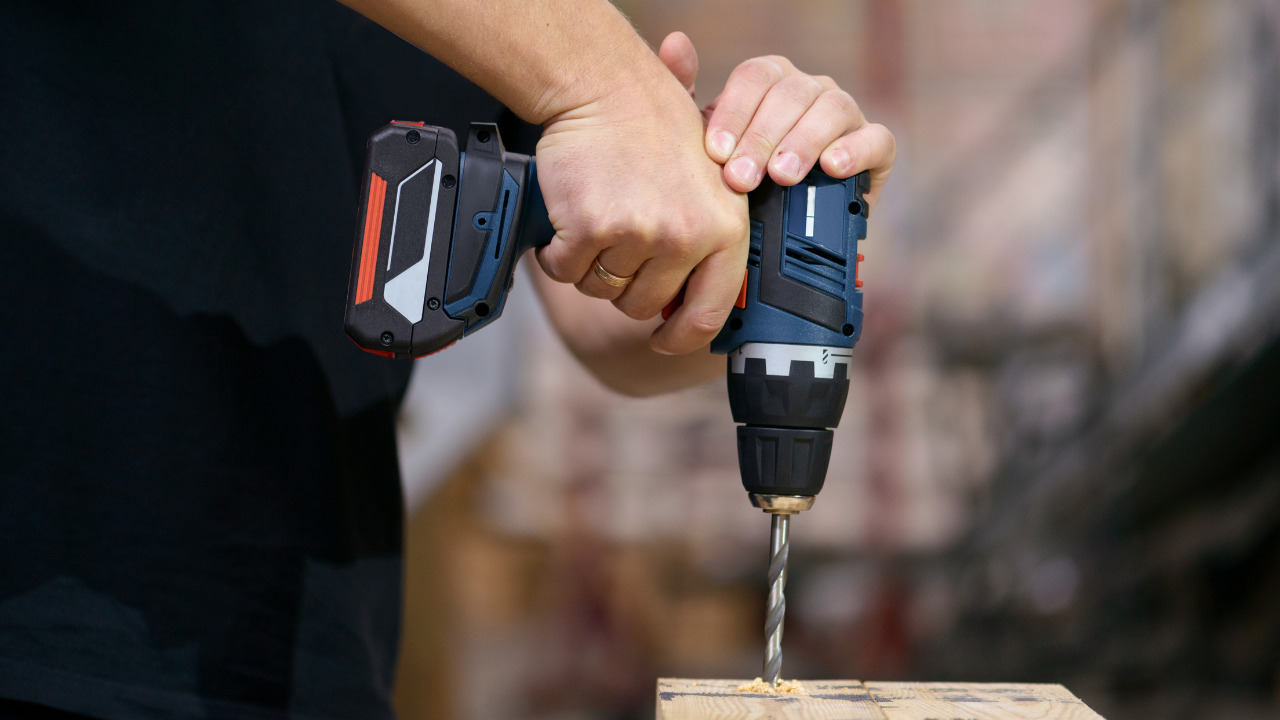
Drill And Screw The Nails

Align the bottom of the wall’s frame to run parallel to or perpendicular to the existing wall. Drill and screw the nails into the floor and through the frame’s bottom plate. Drill anchor holes in the floor using a hammer drill for concrete or tiled flooring, then screw the screws through the frame into the anchors.
Cut Wood To Make Cross Pieces
To give the wall stability and strength at the end, insert and nail another wall stud into the frame at both ends, and flush with the inner side of the end stud. Measure the width of the first gap that stretches out into the open space from the end of the extension’s wall frame.
To make cross pieces, cut three 2-by-4s. Place them horizontally and vertically spaced, and nail them into the studs. These components will provide additional structural support to the open end of the wall.
Install Gypsum Wallboard

Cut and install the gypsum wallboard on both sides of the wall using a straight edge, utility knife, screws, and a drill. Finish the wall using feathering knives, and joint compound applied over the paper tape at the seams and screw holes, then paint the wall extension to match the existing wall.
Frequently Asked Questions
What is the cost of extending a wall?
A bump-out costs between $4,000 and $30,000 if you’re prepared to add extra space.
Can you add a wall to an existing wall?
Yes! To ensure that the wall is perfectly vertical, use a level. A gap between the new wall and the ceiling should be shimmed. Attach the wall using screws or nails to the joists in the floor and ceiling. Attach it to the adjacent wall if the new wall lines up with a stud there.
Can extending a wall be a DIY project?
Hiring a specialist for any structural or load-bearing masonry wall is essential. To save money and get more experience, a DIY approach can be a great choice for a straightforward backyard brick wall. It’s not difficult to construct a brick wall.