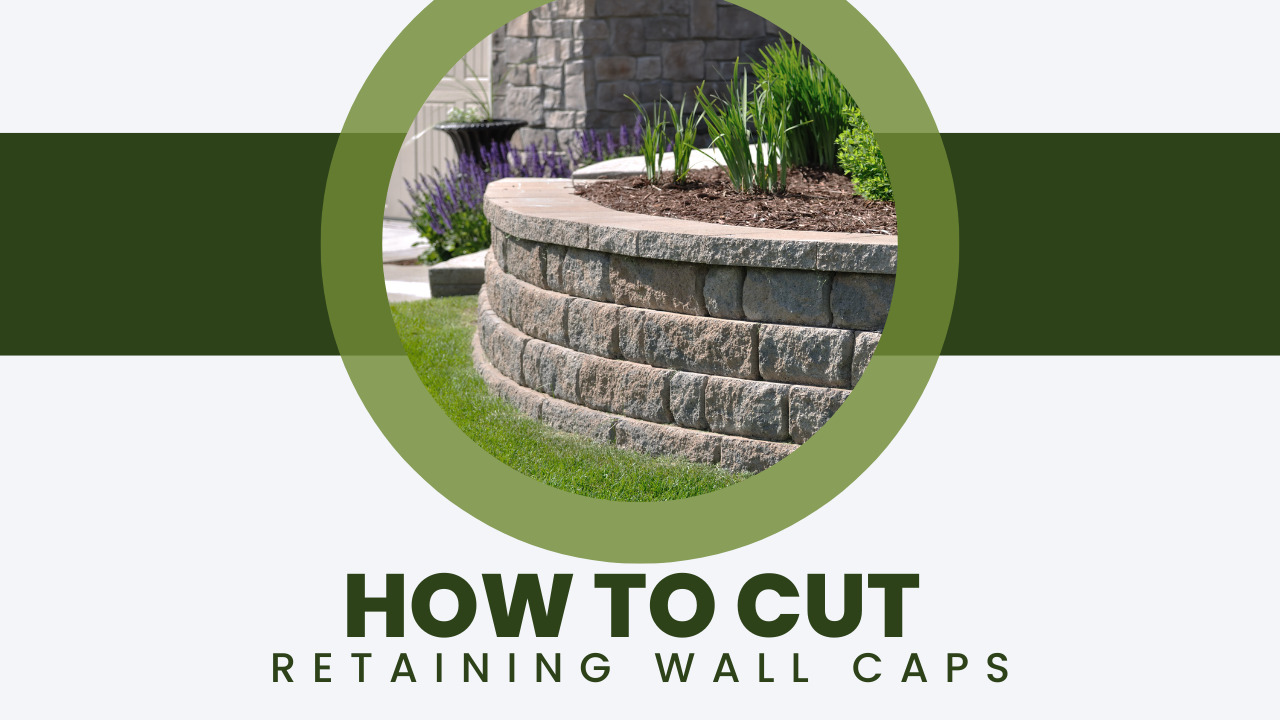
Topper stones complete a wall’s aesthetic but must be trimmed to match a curved wall. Those wedge-shaped stackable stones are wonderful for making curved retaining walls, but they leave unsightly gaps once finished.
You’re probably reading this because you thought making curved stone landscape borders would be unique.
And with landscaping bricks, you may easily achieve that lovely, serpentine, curved aesthetic you want. But, if you’re like me, you probably didn’t consider the caps on the stone blocks. They’re difficult to bend into a curved shape.
We’ll show you how to cut the stone caps in this post so you can complete your project. It’s quite quick once you’ve figured out how to measure and cut the capstones.
Table of Contents
Steps To Cut Retaining Wall Caps
The Needed Materials To Cut Retaining Wall Caps
- Saw
- Stone caps
- Super adhesive
- Masonry blade
- Straight edge
- Set Stone Caps On The Wall:
The initial step is to place each additional stone cap against the wall. You can also contact companies for retaining wall concrete sleepers in melbourne to help you with it. It’s probably perplexing. On the other hand, following our method will save you significant time.
So, place the first stone, leave a gap, and then place the following stone. The idea is to allow enough space between the two blocks so that when you place the third block on top, it will overlap on each side.
We’re only dry-fitting these at the moment. Don’t worry about gluing them down just yet. Instead of cutting each block individually, you’ll be able to cut the same stone on both sides. The goal is to cut all of the stones.
Now, Set The Stone Caps You Need To Cut
Then, on top of the other caps you just lined out, you’ll place the stone cap you’ll be cutting. Check for overhanging on the left, right, front, and back sides. There must be no gaps at all, or this will not function.
This might be done along your retaining wall or stone border. But it’s unlikely to happen as planned. Cutting these bricks one at a time will result in a much better fit. However, it will take more time.
Mark The Cutting Points On The Stone

For this phase, you’ll need a pencil or a marking device. The marks will be made from beneath the block sitting on top. Isn’t it fortunate that we have a small opening to reach into? From underneath, mark the front and back on the right and left sides. To create a snug fit, you’ll mark where the overhanging cap meets the other cap.
This should be done on both your block’s front and rear sides. Remove the block and turn it over to reveal the faint pencil lines you created. Connect the front and back lines with a straight edge.
Cut Blocks Using A Saw
So, we’ve finally arrived at the point where we’ll be able to make the cuts. They’re also straight cuts, even though the wall is curved.

The process of cutting the stone caps is quite dusty. Wear safety glasses. You’ll need sunglasses even if you’re watching your father do it. With your pencil marks facing up, cut the caps.
Dust can be reduced by spraying a hose at the blade while running the saw. As a result, you may need to enlist the help of a friend or have your child stand there spraying with the hose. It will undoubtedly assist.
You Are All Set To Place The Dry Stone Cap At Place
After your stone has been cut to size, it’s time to install it in its final location to ensure it fits properly. Depending on how tight your curves are, you may need to cut the back part of the stone to align the face with the others.
Overall, the little flaws become pretty appealing if you choose a style with some signs of wear and tear.
Glue The Blocks Using Super Adhesive
You’re ready to glue the blocks into position after cutting everything out and dry-fitting it. This is an excellent idea if you want the wall to seem great.
The story’s moral is that if you take the time to cut stone caps, you should also take the time to glue them. Use a stone and timber adhesive or an adhesive. In general, this was a simple project to do. The only exception is cutting the blocks with the saw, which requires two persons and is extremely dusty.
Overall, it’s quite cool to use straight cuts to create a curved wall. Your wall now has a custom-finished look, and no one would believe you did it yourself. Masonry adhesive can hold your topping stones in place once they have been cut and fitted.
You should be able to get masonry adhesive at your local home improvement store. It often comes in a tube designed for use with a caulk gun.
Frequently Asked Questions
What is the cost of cutting retaining wall caps?
The cost of various retaining wall materials may be compared using square footage, just like with other building materials like pavers or roofs. You may get the retaining wall’s total square footage by multiplying its length by height. Local building customs, market fluctuations, and location all affect this price.
Conclusion
Overall, it wasn’t a challenging assignment to do. Aside from sawing the blocks, it requires two persons and is dusty. Overall, the ability to transform straight cuts into curved walls is cool. Your needs and financial situation have a role in the style of retaining wall you select.
Building a useful, secure retaining wall of any kind is essential if you need to replace a retaining wall at risk of collapsing or if a slope is dangerously encroaching on your land. However, if it’s an optional home improvement job, you might wish to choose based on the wall’s aesthetic and your budget. Even amateur builders can construct low-profile walls.