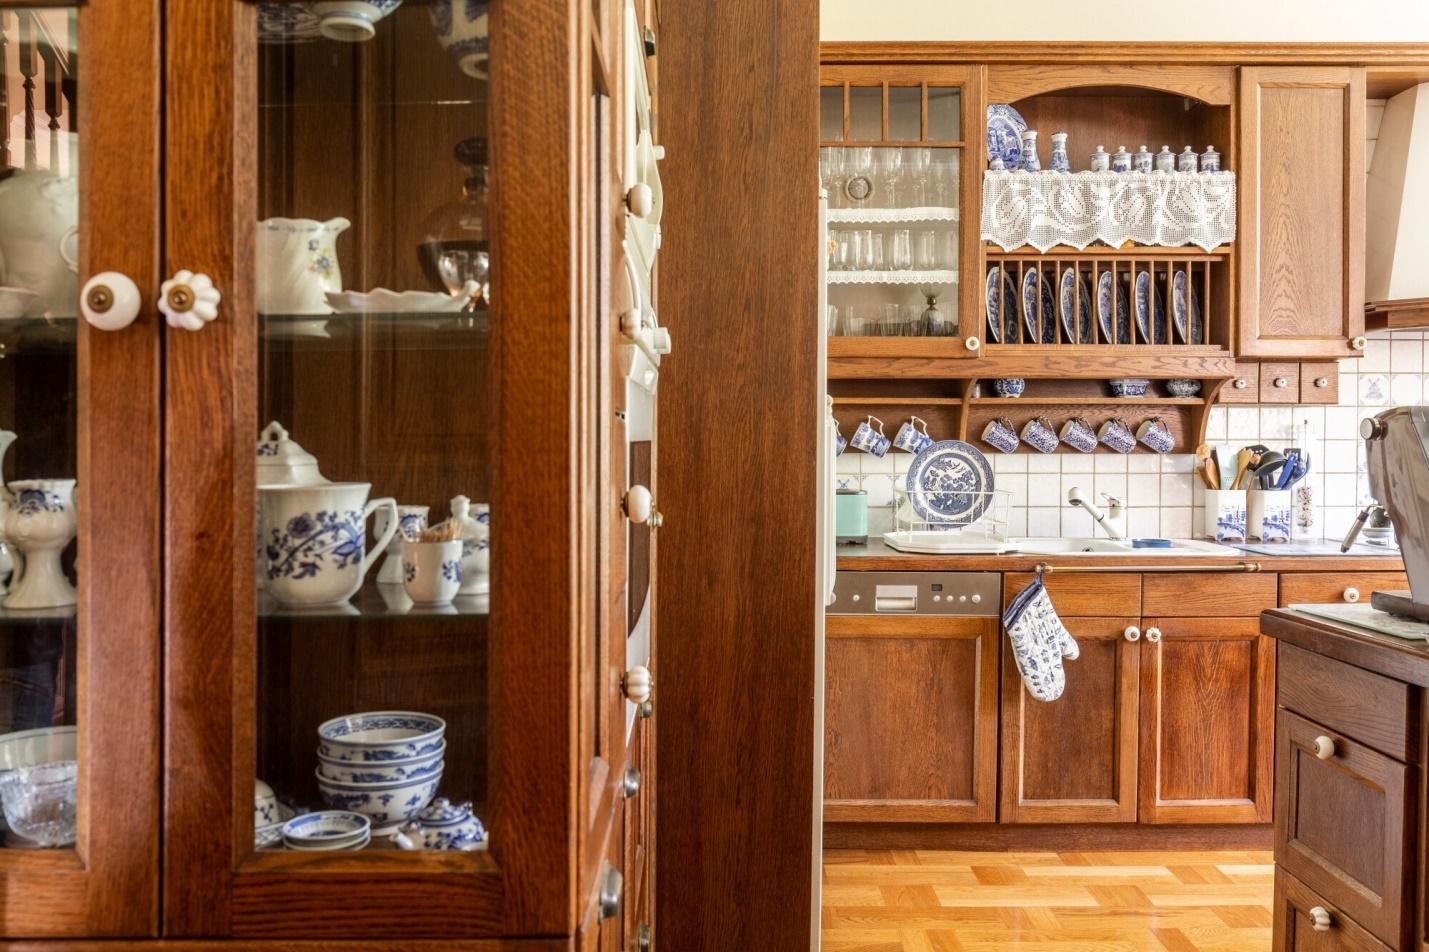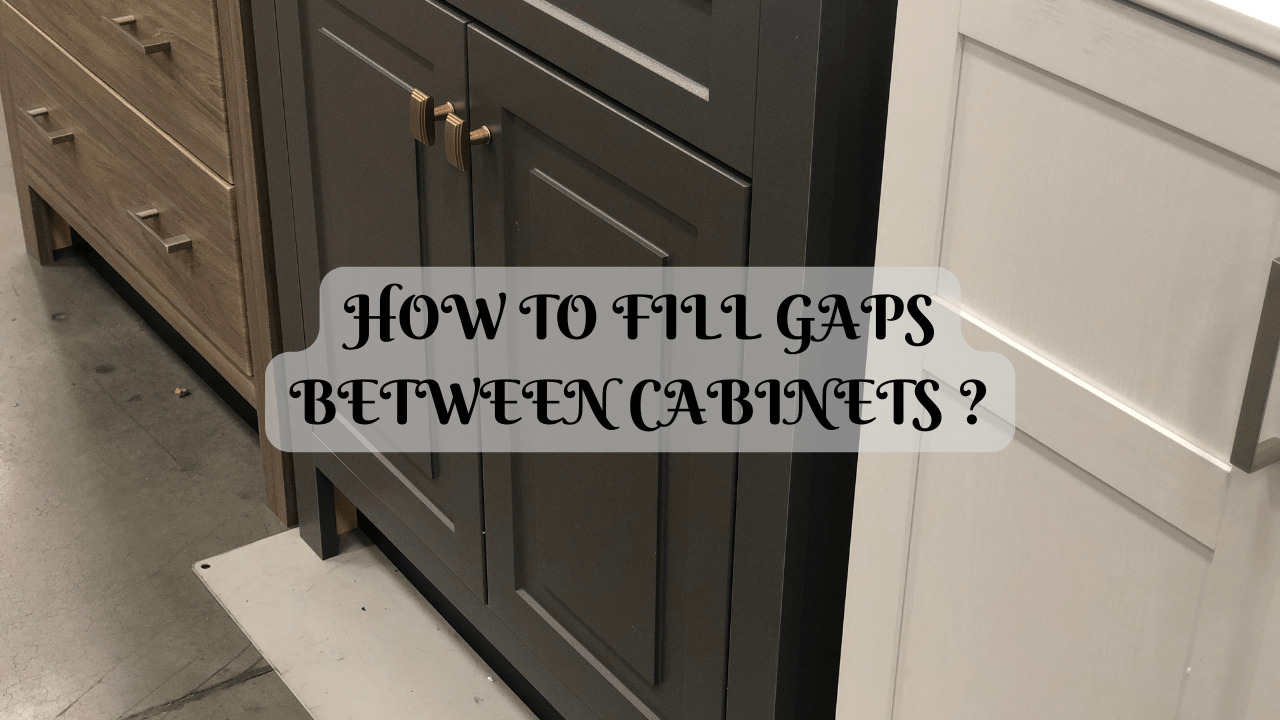
It’s not difficult to repair the huge gaps between the cabinets when remodeling your house. But if you have experienced a gap between cabinet and dishwasher, chances are you will discover gaps between cabinets too. Although it should, cabinets don’t always fit tightly together. Gaps may arise due to substandard installation, cabinet settling, or modification of other kitchen components. Woodworkers frequently use basic equipment and materials to deal with this.
Here we have discussed some easy hacks and solutions to get rid of the gaps once and for all.
Table of Contents
Easy Hacks That Will Fill Gaps in Kitchen Cabinets
A lot of kitchen cabinets that are built-in have gaps at their edges. If you have gaps that you find unacceptable, there are tried-and-true methods for covering them up.
Adjust Moldings
A common border used on cabinets is molding. To cover up gaps, it is positioned under the cabinet or around the outside. This style of molding has a low profile, a round top, and a clean appearance.
This application is best suited for two types: quarter-rounds, which have a flat back to sit flush on the surface, and half-rounds, which have a 90-degree back to fit into corners. 90-degree quarter-round molding can be fastened to the spaces between the wall and the built-in cabinet using a pin nailer and 1-inch pin nails.
Drive the pin nails at a 30-degree angle through the molding and into the cabinet’s side. To bridge gaps on smooth surfaces, utilize half-round molding.
Add Fillers
Often found on modular cabinets are cabinet fillers. Installers frequently use them to correct misfitting built-in cabinets.
The typical width of cabinet fillers is between two and four inches. The material used to make this kind of gap filler is the same as the cabinet face frame: solid 3-inch hardwood.
Measure the gap’s length and width first.
Cut the filler to size with a table saw. Tap the filler into the gap flush with the surface of the existing cabinets after sanding and polishing it to match the cabinets’ current finish.
Drill horizontal holes in the face frame of an adjacent cabinet and fasten the filler to the cabinet from the inside using screws.
Alternative Option
It is permitted to use colored caulk or other tube materials for gaps smaller than 1/8 inch.
In order to patch in any gaps or cracks, wood putty that cures hard can also be used if you intend to restore the cabinets.
Fill in the gaps with color-matched caulking if the cabinets don’t need to be finished. Push it firmly into the fissures and use a moist fingertip to smooth it out.
Although there are several varieties of caulk, silicone is among the best. For years, it remains flexible, according to the wood’s normal expansion and contraction.
Different kinds of caulk fill small gaps or cracks nicely, but they dry more quickly. If the caulk’s color isn’t ideal, consider using a stain marker to color it till it matches the current wood.
6 Practical Solutions for Filling Gap Between Cabinet and Wall
According to the size and category of the gap, you can fill the space between the cabinet and the wall. Some methods will be more affordable than others while some may last longer. Below, we have listed the best alternatives.
1. A Screw Fix
As easy as it sounds, a simple screw fix is an effective way to remove the gap between cabinet and wall. In case a screw gets loose or is stripped during cabinet installation, it can be fixed with the following steps.
Organize the Screws
You have to keep all screws in close proximity to take care of the gap and for its easy accessibility when fixing the cabinet.
Assessing the Gap
You have to examine the cabinet to understand and identify the extent of the gap between the wall and cabinet. This way you can evaluate the possibility of filling the gap without the need to tighten the screws.
Tighten Old Screws
In case you have to tighten the existing screws, take a screwdriver to fasten them. In case of a very minor gap, that is unnoticeable, you can skip this step easily.
Replace Stripped Screws
If you have unscrewed some or all of the existing screws, then it’s time to replace them with the new ones. Make sure that old ones are concealed properly by adding a seamless finish over the screw head.
Tighten Properly
Recheck the screws to see if they are tightened properly and effectively filling the gap between the cabinet and the wall.
2. Caulk Solution
With a caulking gun, caulk the space between the kitchen cabinets and the walls.
For permanently filling the space between the kitchen cabinet and the wall, this is an affordable solution. Filling minor holes and cracks in most surfaces is an easy task when you use a caulking gun and silicone-based caulk.
You will need a:
- Caulk
- Caulking gun
- Scissors
- Scraper
- Sponge
- Cloth or rag
To fill the gap between the cabinet and the wall follow these steps:
Prepare Surface
You need to take care of the dust by cleaning the wall beforehand. In case any grime or dust is found, removing it will prove fruitful in adding the adhesive properly to the cabinet.
Cut Bead of Caulk
You will need to use scissors to cut the bead of caulk slightly in a smaller size than the gap. The reason is that you want to make the adhesive look neat and this will allow for a controlled application without adding any extra smudges.
Puncture Caulk Tube
You need to work on the inner seal now by using a nail or a wire to create a puncture (hole) in the caulk tube’s inner seal. For a smooth application keep the puncture small and minimum.
Load Caulk Gun
For proper insertion, take the caulk tube and load it in the caulk gun for an adequate fit. This will allow a controlled dispensing.
Apply Caulk
Using the caulk gun, squeeze the trigger on the gun to apply the caulk consistently in a line with proper flow. This will effectively fill the gap between the cabinet and the wall. Make sure to cover it with a seamless finish.
Clean Excess Caulk
You need to remove or clean the excess caulk along the apple line with proper care and cleaning tools. But you can use your glove-covered fingertip for this purpose too. Then with the help of a moist towel wipe the surrounding area, achieving the finished look.
3. The Foam Solution
The best alternative to caulking is to use a foam solution to fill gap between cabinets and walls. The foam solution is easy and cost-effective to repair any cracks or gaps. Also, it is a fast-drying material.
Follow these steps to expand the foam solution to fill the gap between the cabinets and the wall:
Buy the Right Foam Solution
You have to visit a reliable hardware store in your neighborhood to get a high-quality expanding foam solution. Always make sure that it is suitable for filling gaps and cracks.
Precise Cutting of Foam
Cut the foam solution to precisely the right size for the gap, taking great care to do so. Cutting with precision is essential for a tidy and efficient application.
Load the Caulking Gun with Foam
You need to fill the caulking gun with the cut foam. Make sure the foam is snugly fitted inside the cannon to prevent any hiccups during applying.
Position the Caulking Gun
At the opening of the gap between the wall and cabinet, place the caulking gun’s tip. This position will help to ensure you are applying at the right spot.
Inject Foam Into the Gap
Inject the expanding foam solution into the gap with the caulking gun. Make sure to keep a steady hand while applying so that the flow is not disrupted. And the space is properly covered.
Remove Excess Foam with Fingertip and Clean It
Before the foam solution dries, remove the excess amount with your fingertip. This will help you to achieve the desired clean and polished finish. Using a moist towel clean any residual foam.
4. A Trim Solution
To remove the gap between the cabinets and the wall you can try trimming the wood. This is also an effective method and easy to use. You will need basic tools to fill the gap and trim the wood properly.
You will need to follow these steps:
Measure the Gap
Take a tape to take accurate measurements to determine the gap between the cabinets and the wall. Be precise at this stage so that you can get a snug fit.
Mark the Measurements
Take a pencil to draw (or mark) the measured dimension on the wall directly. This will be your visual guideline to trim according to the right placement.
Select the Trim
Use a piece of wood that is suitable and matches with your kitchen layout. Or you can also get pre-made trim and adjust it according to the measured length and width of the gap between cabinets and walls. However, make sure to check the thickness as it should properly fill the gap.
Adjust the Trim Size
Using a saw or a miter saw, you will need to cut the trim according to the taken measurements. Make sure to get the angles right for a proper fit. Once you are done, test the trim by securing it into the place. This will be the test fit to check if all cut pieces align properly to fill the gap between the cabinets and the wall.
Fasten The Trim with Finishing
Use the new screws or nails you bought to affix the trim in the right position to the wall. Use the fasteners strategically and adjust them. With the help of wood filler remove any gaps between trim and wall.
5. Magnetic Strip Solution
A simple solution to bridge the space between a kitchen cabinet and the wall is to use a magnetic strip. No specialized equipment or supplies are needed.
Here’s what you need to do next:
Measure the Gap
First, measure the distance between the kitchen cabinet and the wall precisely. To guarantee accuracy in your measurements, use a measuring device like a tape measure.
Mark Taken Measurements
To place the magnetic strip on the wall, use a pen, marker, or pencil to record the taken measurement on the wall. This will become your reference point to apply the strip properly.
Cut the Strip and Use Adhesive
You need to adjust the magnetic strip according to the desired length. Cut it with a pair of sharp scissors. On one side of the length of the strip apply the adhesive for a long-lasting bond. Then carefully position the adhesive-applied side of the magnetic strip over the gap between the cabinets and the wall. Hold it firmly and press it so that the adhesive can create a strong bond.
6. Cabinet Filler Solution
Also known as the cabinet liner system is another cost-effective way to fill the gap between cabinets and wall. The method requires a linear foam-like material that is specifically designed to fit inside the cabinet. It will protect the gap between the cabinet and the wall.
To apply this follow these steps:
Measure the Gap Length and Width
To start, precisely measure the width of the opening between the cabinet and the wall using a measuring tape. A correct fit for the cabinet liner depends on precision.
Choose a Suitable Cabinet Liner Material
Examine your alternatives for cabinet liners’ materials, including cork, foam, rubber sheets, and other durable materials. Choose a material that successfully bridges the gap and fits your tastes.
Cut the Liner to Size
The chosen liner material should be measured and cut to a length that is only marginally less than the gap’s width. This small decrease guarantees a snug fit without protruding or misaligning.
Clear the Area Between the Wall and the Cabinet
Make sure to completely clean the space between the cabinet and the wall of any dirt or debris. A spotless surface guarantees a flawless fit and improved adherence.
Attach Glue to the Back of the Liner
Use an appropriate glue on the liner’s side that will come into touch with the wall and the cabinet. Make sure the application is uniform, and select an adhesive that has a good reputation for solid bonding.
Slide the Liner Gently Into the Opening
Make sure the liner is completely installed by carefully inserting the side coated in glue into the opening. Use a rubber mallet or other similar tool to gently press the liner into place for a snug fit.
Let the Adhesive Dry
Regarding the adhesive’s drying time, adhere to the manufacturer’s recommendations. Give the adhesive enough time to solidify and form a long-lasting connection between the liner, cabinet, and wall.
Cut Off Any Extra Lining Material
If there’s any extra liner material that shows through the gap, cut it off using scissors or a sharp knife. This stage helps to create a tidy and refined finish.
No More Gaps to Worry About!
The techniques mentioned above can close the gap in your kitchen cabinet now that you know them. Decide on whatever method you believe will work best for your issue. Maintaining your cabinets’ appearance can help keep them in place for years. Fixing gaps and cracks in your cabinets is also a great method to preserve the appearance of your kitchen.