LED lights are a fantastic way to enhance the ambiance of your home. They can be installed in a variety of locations, such as your room, kitchen, pool area, or any other place you desire, adding a touch of magic and design to your space.
LED strip lights are available if you wish to hang LED lights without destroying the paint on your walls. Consider adding ambient task lighting to the cabinetry in your kitchen. LED strip lights are likely to give a cost-effective, versatile, and simple-to-use solution for your needs.
If you find your room too dull and are looking for a unique decorative element, then you can brighten it up with neon signs that will light up your room with richer colors. Neon lights are ideal for home décor and can brighten up any living space. Any style you can think of, any color of light that meets your design needs, and custom neon lights that make the most of your

3M adhesive backings are included on the majority of LED strips. However, you may need to reposition your LED light strips sometimes. You might relocate to a new location or want to relocate the lights. The dilemma then becomes how to remove and reuse your LED light strips.
Table of Contents
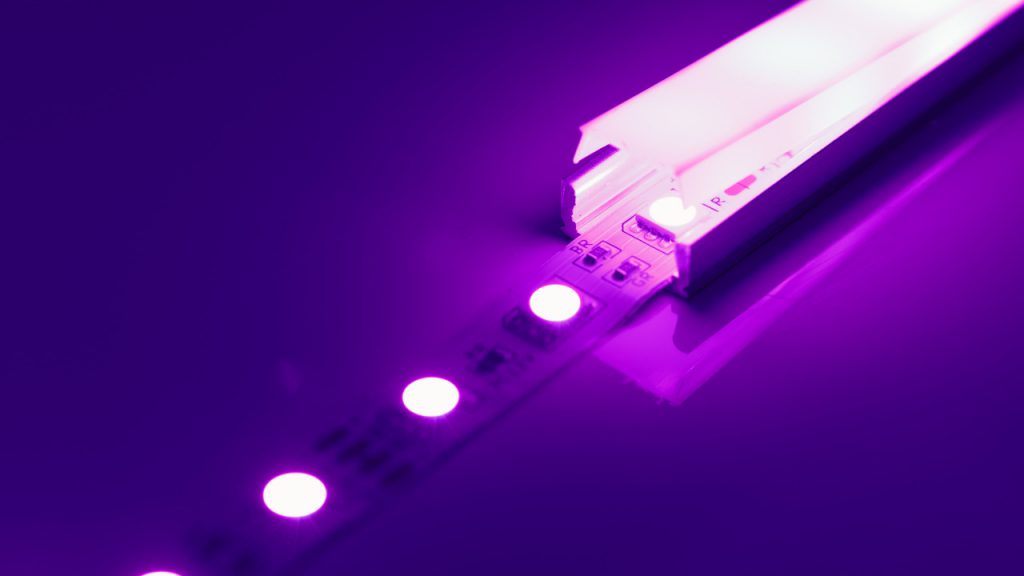
What are LED Strip Lights?
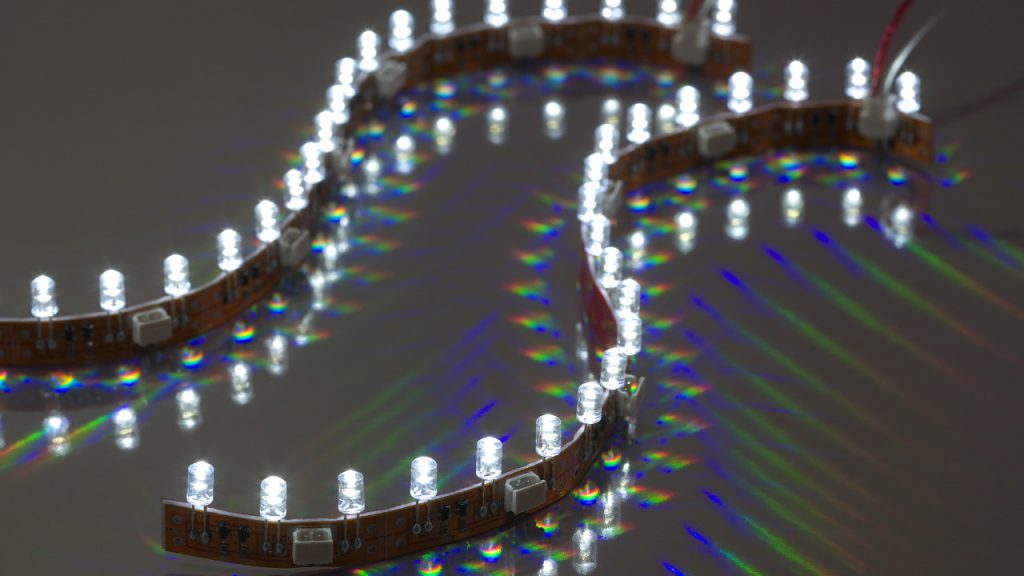
LED strip lights are small, linear lights found in homes, restaurants, and other outdoor locations. LED chips of various sizes are mounted on flexible printed circuit boards in these strips. The reverse is then coated with a double-sided adhesive that allows it to be mounted to various surfaces.

LED strips frequently fall short regarding their sticky backing: they aren’t strong enough, don’t sell well, degrade over time, etc.
So, we’ll show you how to boost the chances of your LED strips forming a solid bond with the surface they’re attached to.
How to Install LED Strip Lights without Damaging Wall?
LED strip lights are a low-cost, adjustable, and flexible way to create a fun atmosphere anytime. You can hang or stick them to any wall by adjusting these strips without removing paint or ruining the wallpaper. With time these strips may droop or pull away from the wall when the adhesion isn’t working properly.
So, if you want to hang LED strip lights without damaging the wall (or paint) at all costs, follow these six steps.
1. Get an Electrician to Install LED Strip Lights
It is highly recommended to hire a professional to hang the LED strip lights because of their experience. The Installation process might be easy for some DIYers but not for everyone. With the help of a professional electrician, you can have those strips installed or at least follow their guidelines properly to buy LED lights that don’t ruin your walls in the long run.
2. Buy and Pre-assemble LED Light Boxes for DIY
You can buy the wall-safe LED lights to make it a DIY project and install it yourself. Usually, LED strip lights are sold in sets of three (and sometimes more) which gives you a chance to install a box per strip of lights.
Make sure to read the instructions beforehand. Learn about the different types of LED strip lights because the installation process will vary according to the type. Supplies and other tools may also vary depending on the type of LED strip lights you buy.
3. Use Tape Measure and Pencil to Mark the Location
To hang the LED lights, begin by marketing the locations of the studs and the electrical outlet. You need to ensure that each strip is straight using a level. With its help, you can adjust the strip lights if there are any curves or angles on the wall. This allows you to let each strip light have equal tension and they are not crooked during hanging. This allows you to hang the LED strip lights without damaging the wall to any extent.
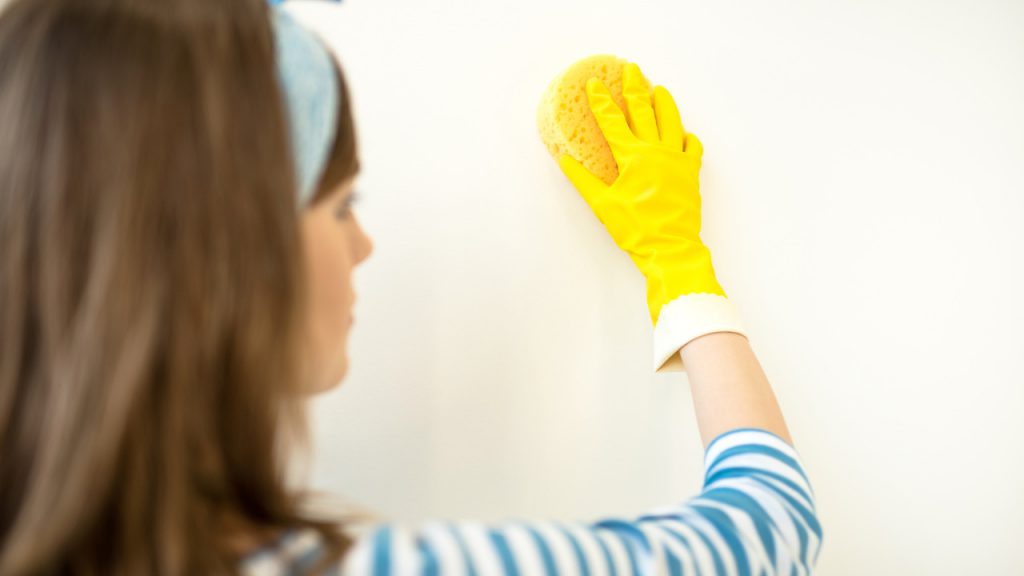
4. Use a Damp Sponge to Clean the Wall
It is recommended to wipe down the wall with a damp sponge. You can use a light dish soap for this purpose as well. Wiping the walls will remove layers of dust, dirt, or grease to ensure LED strip lights hang the right way.
If you are worried you may damage the wall paint, you can use an airless sprayer and apply the strip lights. This way there’s no leftover residue on the wall.
5. Locate Studs Close to the Ceiling
Professionals recommend keeping the stud close to the ceiling as much as possible so that lights are evenly installed across the wall space. You will need to use a stud finder or can also use a measuring tape to mark the locations. Then drill holes and properly align the strips. Use both hands to apply steady pressure to install all four screws deep enough.
6. Use High-Quality Hooks or Brackets
Take a look at what type of ceiling your room has. If it’s a low ceiling you need to ensure that the weight of the material will not damage the walls. Ensure the use of high-quality hooks or brackets to install LED strip lights without damaging the wall.
How to Stick LED Strip Lights on Wall without Damaging Paint?
It is important to fit an LED light strip appropriately without damaging the paint. If the LED strips you bought do not have a hook or adhesive you can use the following materials to stick them to the wall.
1. Use Double-sided Tape
You can stick LED strip lights without damaging paint by using double-sided tape when there aren’t many mounting alternatives.
The double-sided tape that LED light strip installers use is sturdy and is offered by the foot. The adhesive used on the flex strips is far worse than this tape, which is approved for high temperatures.
Use this tape to strengthen the binding and guarantee that the LED strips stay in place.
2. Get Magnets
Using magnets is more of a semi-permanent solution to stick LED strip lights to walls without damaging paint. The benefit of using magnets is that you can strip off the lights whenever you want.
Just attach the magnets at the back of the LED strip lights and position them in the marked location. Press the light strip on the magnets with a steady hand.
3. Use High-Quality Nails or Hooks
For a more permanent solution use high-quality nails or hooks. Most homeowners use this method to install LED strip lights on walls without damaging the paint. The method is fairly simple, you need to loop the LED strip lights around the hook. And that’s it!
4. Get Command Strips
You can also try using command strips. These are small damage-free adhesive strips that are easy to install and remove without leaving any residue behind the wall. However, these are best recommended for temporary installations.
All you need to do is peel off the back of the command strips to the back of the LED strip light. Remove the other half of the strip and using both heads press the strips together in a place.
5. Try Velcro Strips
Velcro strips are tapes available in different shapes like squares, circles, strips, and tapes in varying sizes and colors. These are best recommended for an everyday indoor application and can be used to stick LED strip lights without damaging wall paint as well.
These are quick and easy solutions for hanging LED strip lights. To use this method, you need to attach a velcro strip to the back of the LED strip light. Peel the other half of the strip to stick it to the LED light strip. Then place the strip on the marked location and press firmly for a few seconds.
How to Cut and Stick LED Light Strips on The Wall?
Collect Your Supplies
- LED light strips
- Scissors
- Tape measure
- Sharp knife
- Damp cloth
- Paper towel
1. Measure LED Strips
The first step is to figure out how big the space where the LED lights will be. A ruler or a tape measure can be used for this. There will be no speculating.
2. Cut The Strip According to The Measurements
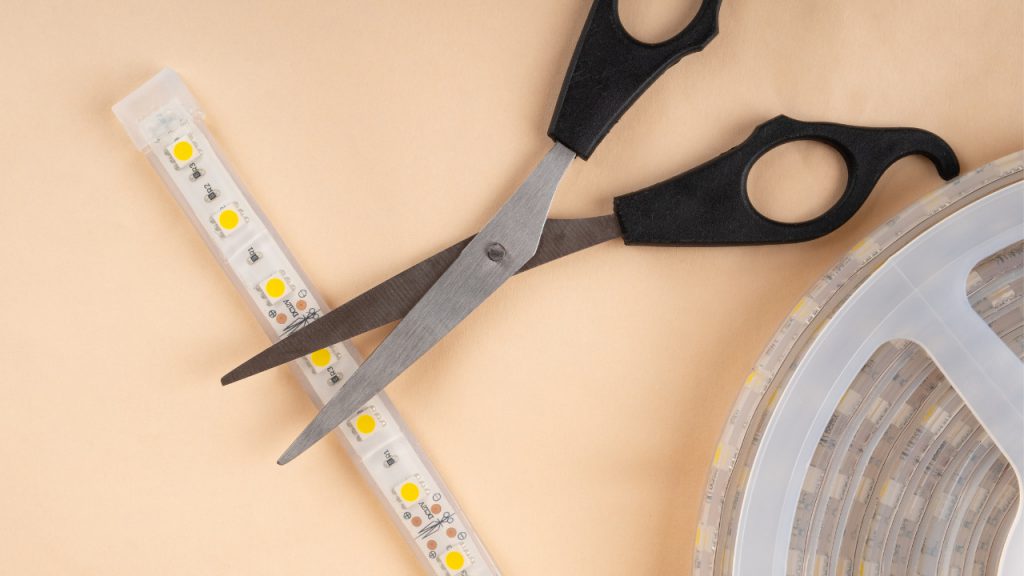
Trim the LED strip to the correct length if necessary. A sharp knife or a pair of scissors will be needed for this. Cut just along the drawn lines. The circuitry will be damaged, and some LEDs may cease operating if you cut your strips in the wrong spot. You’ll probably have to solder a new connection cable if you cut your LED strips.
3. Prepare or Clean The Surface
On smooth, clean surfaces, LED strips’ sticky backing performs best. When grease or dust gets in the way, the adhesive’s connection to the surface is harmed, and it can’t establish a strong bond. To avoid this, dampen a cloth with hot water or scrub bubbles and knead the surface back and forth vigorously.
Once satisfied with the results, dry the area with a toner cloth or paper towel.
4. Peel-Off Plastic Sticker
To disclose the attachment to a person, peel off the plastic sticker from one end of the strip. To avoid dust or particles clinging to the glue, only peel a small quantity at a time.
Hang the LED strip where it belongs and press it into the surface with your hand. Peel, place, and press until the entire length has adhered to the wall. Don’t rush anything; give yourself plenty of time to finish it.
How to Mount The Lights with a Mounting Putty
Gather Your Supplies
- Mounting putty
- Tape measure
- Sharp cutter
- Cable ties
1. Mold The Putty
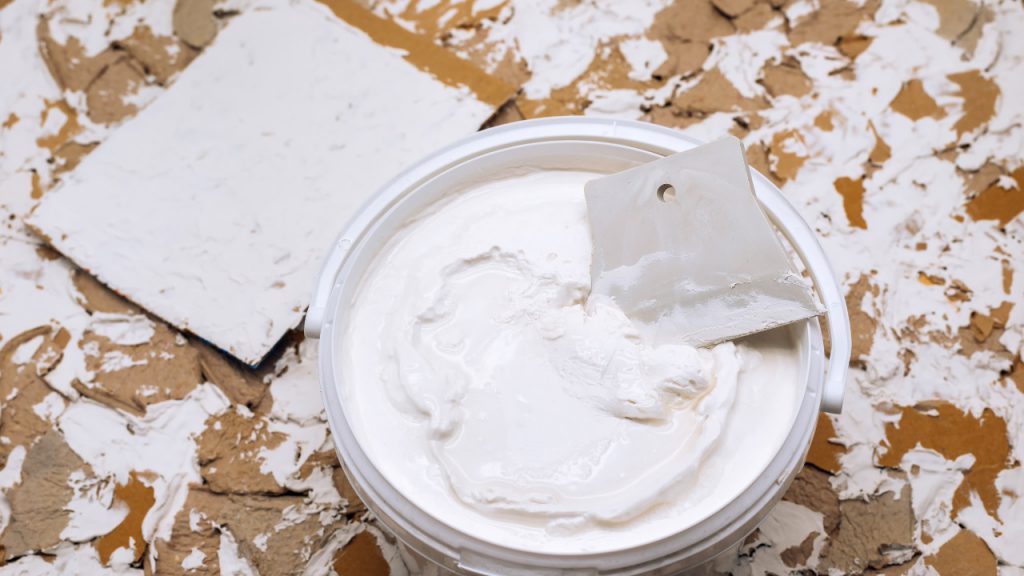
A remedy is a mounting putty if you’re concerned about the adhesive harming your walls or furniture. This is a portable, adaptable replacement for staples, glue, and nails. Putty strips can be shaped with your hands into the proper form and then pushed onto the back of your LEDs.
Affixing the strip to the chosen surface is then possible.
2. Affix Light Strips With Cable Ties
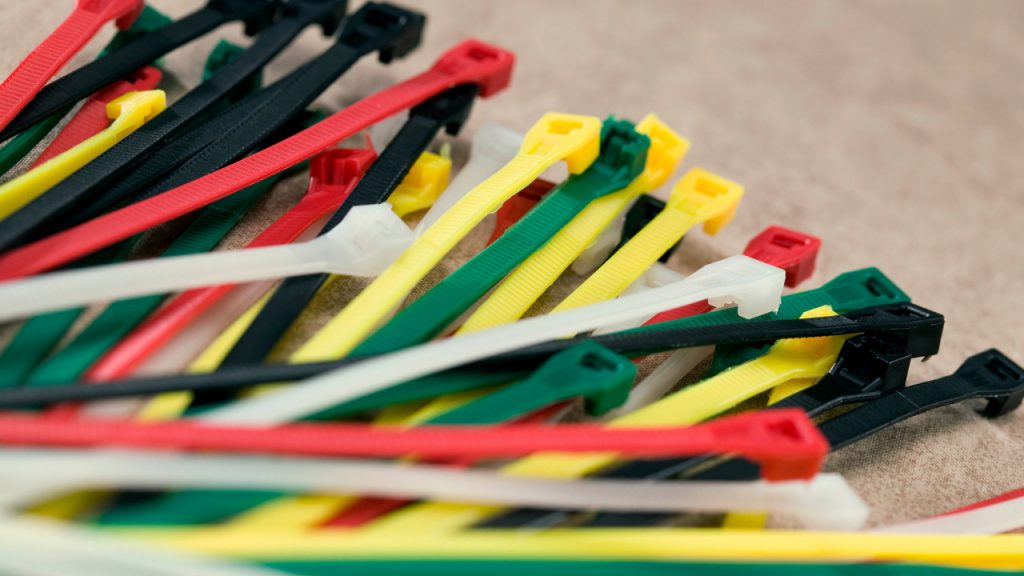
Your LED strips could be attached to something using cable ties. Use transparent ties to prevent obstructing the LED’s light output. Cable ties cannot be wrapped around your kitchen cabinets, so this is not always possible. The stairway banister can still be attached to them.
How to Use LED Lights Strips Connectors without Damaging Wall
Supplies Required
- LED lights connectors
- LED diffusion covers
- Tape measure
1. Use LED Light Strips Connectors
Pick up connectors if you want to maneuver flawlessly around the back of a television or computer display or under a bed frame. The connector should be slipped into the strip’s end after being clipped at the junction. To combine the strips, cut off a new section of strip lighting, and insert it into the connector’s opposite end.
You should only buy connectors from the company that created your strip lights because these connectors are not universal.
2. Install LED Light Strips Diffusion Covers
The visible nodes on the strip may be a little off-putting if you aren’t utilizing LED light strips for bias lighting, and you can see the strips. Invest in diffusion covers and mount them on top of the lights for tidy, uniform illumination.
Wherever the strip was fitted, the cover would distribute the light and conceal the individual LED bulbs. Most LED diffusers need the installation of an adhesive track, which is filled with LED lights before the diffusion cover is inserted into the track.
Some of them are thin adhesive strips placed directly over the surface-mounted lights.
3. Install Multiple LED Light Strips
To update the lighting across your house, use multiple LED lights that don’t ruin your walls. Install numerous strips you get from the same company all over the house for a cohesive appearance. You may put them behind TVs or under cabinets.
Sync every light using the app provided by the lighting manufacturer. The strip’s adhesive backing is still necessary for mounting with channels since they stick to the aluminum track.
An excellent connection is created between aluminum and glue. The track is then secured by clips that mount to the desired surface.
How to Mount LED Light Strips with Mounting Clips on Wall
Needed Supplies
- LED Flex Lights Strips
- LED light Strips, mounting clips
- Tape measure
- Sharp cutter
- LED Strips mounting channels
1. Use LED Lights Mounting Clips

Using mounting clips, LED strip installation can be easily and affordably without double-sided tape. These tiny clips have a one-screw design that allows them to clip over the LED strip and screw into surfaces, holding them in place. When used under cabinet lighting, the brackets perform well when the lights are downward-facing.
Installing LED light strip fasteners is a quick and easy process that will relieve you of the fear of future falling strips.
2. Use Mounting LED Strip Lights Channel

LED strip lights can be mounted on this aluminum channel at a reasonable price and with the finest possible professional appearance. Combine these diffusers with our COB LED Strip lights for a perfect strip light solution.
A UV-protected cover that looks great and slightly diffuses the light is included with the track.
How to Restick LED Light Strips
Don’t panic if your LED strips become unstuck if your preventative methods are unsuccessful. They can be saved in a few ways, which is a blessing. Whether you remove the entire strip or concentrate on the area that has become less sticky is up to you. You can buy LED lights that don’t ruin your wall on a permanent basis.
Getting rid of the old glue is the first step in either case. Unfortunately, once the glue has made a strong bond with one surface, it cannot be used again to form a similar bond with a different surface. An old rag soaked in acetone or a cleaner with a citrus base can scrub away the old adhesives.
Conclusion
There are multiple ways to hang LED strip lights on walls without damaging them. However, it will depend on the type of ceiling and wall, and the type of LED light strips you want to install. If it’s your first time using LED strip lights, get help from a professional. Do your research to choose the right size and length of LED strip lights and collect the desired tools beforehand. Sticking LED strip lights using double-sided tape, magnets, and hooks is highly recommended for DIYers.