A flat floor is not an ideal option to consider because of its illogical infrastructure. But people still install this slope-free floor. No doubt, flat roofs are the core of most modern architecture because of their natural or landscape shape. For sure, you can also add a flat roof to an old home.
You don’t need to have a new or modern style house for this type of roofing.
You will surely witness slope-free roofs on the top of traditional homes, balconies and sections. Unfortunately, this type of roofing doesn’t have excellent resistance against rain and storm because of its flat structure. However, if there is a good slope even in a flat roof, installing on all types of homes would be efficient.
Additionally, you can also consider the modern covering materials to make this roof more logical and robust.
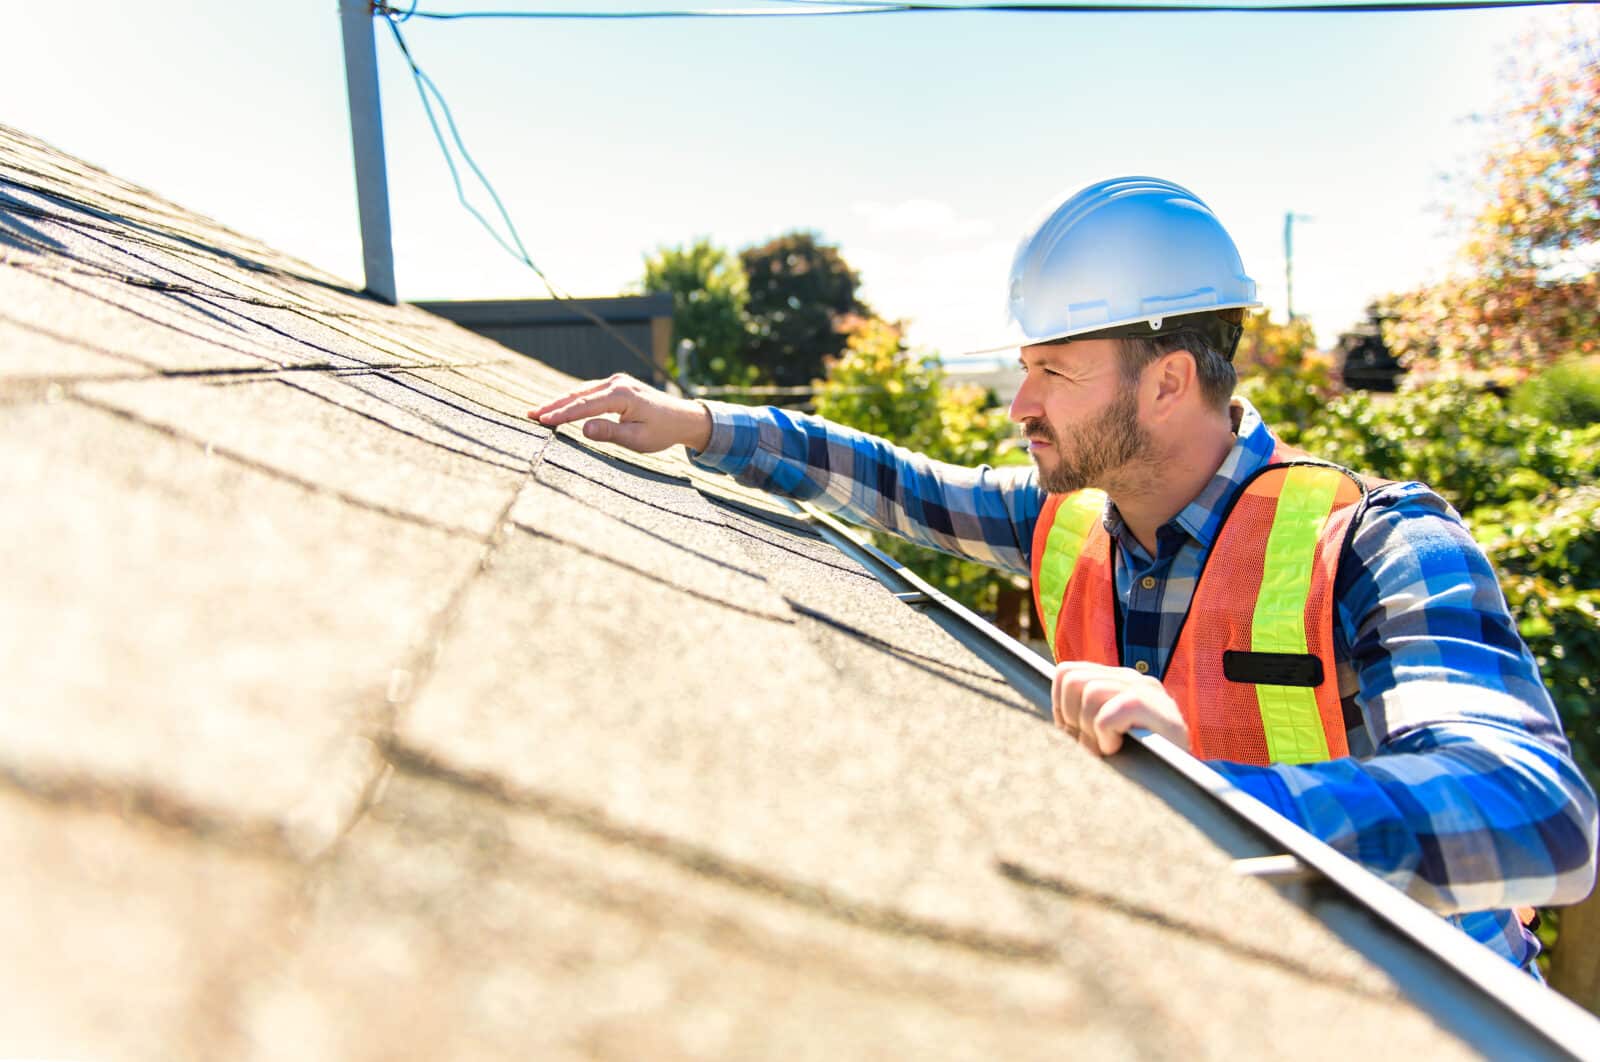
Luckily! Installing the flat roof is super easy, even for an average individual. So, everyone could do it efficiently. If you need any assistance with the successful installation of a flat roof, learn it by reading this post.
Table of Contents
Specify The Right Direction
Building the flat roof in the right direction and edges is the main thing to consider, especially if you are adding it yourself. Even if the infrastructure of this roof is smooth, you have to add a slope at some specified point.
So, the rainwater can flow down quickly from the shed or any other way you add. Ideally, you can also make this roof vulnerable even for the heavy rain or snowfall with this structure.
Frame Building
As we mentioned above, the building mechanism of the flat roof is different from others. For this, you have to understand the basic framing or building criteria of this roofing. You have to start building the frame of this roof with joists across two upper right walls for the support.
Moreover, you can use the steel joists to offer more stability to the sides. However, it’s more than enough to use the joists in one wall instead of both walls.
On the other hand, the distance between the joists depends on the roof’s type and size. In this way, you can reduce the pressure on the top of the roof. Use the plywood decking to cover the joists. Plywood not only covers the joists but also offers some support to the whole structure.
In this way, you can balance the weight of the whole infrastructure efficiently and effortlessly. Make sure to add a slight incline to the structure. So, the rainwater can drain out quickly.
Use Groove Fitting For Enhanced Stability Of The roof
If you want to increase the durability and stability of the roof, nothing would be a better option than adding the groove or tongue fitting. Indeed, this material will increase the overall integrity of the frame. So, the frame will stand up firmly and strongly even in the higher foot traffic areas.
Keep in mind to use waterproof boards for the flat roof framing. You can increase the water-resistant abilities of the wood boards by using high-quality sealants and protectors. However, please ask professionals for assistance before considering any DIY for flat roof installation.
Screwing-Down The Frame
Use the ISO board for the underlayment of the flat roof. Basically, this board is made up of thick and rigid foam to protect the bare frame. Moreover, it also includes the fiberglass backing. Ideally, you can order ISO boards in custom sizes for the large roofs.
Additionally, you can also cut these boards effortlessly and efficiently according to the requirements with a sharp knife.
Once you have customized the ISO board according to the size of the bare frame, it’s time to install it with galvanized steel washers. These washers will offer a smooth and protective base for the board. Ideally, this board doesn’t expand like the plywood if you fit all the pieces tightly.
Corner Beveling
Once you have screw-down the underlayment, it’s time to wrap up and glue the two sides of the walls with sheathing. From these wrapped sides, you can pool out the rainwater easily. For this, you have to install the beveled wood trims on the sides at 45Degree. Lastly, screw the bevels into the joints between the roof and the wall for a gradual station.
Remove Debris Before Putting Down The Rubber
After corner beveling, the next step is putting down the rubber. Make sure to move out or sweep all the debris and residues from the surface before putting the rubber. Otherwise, debris may puncture the new rubber sheet. For rubber putting, you can consider the EPDM in a customized size.
Ideally, you can use it shears or a sharp knife efficiently. Measure the size of the roof before cutting the rubber. So, you can adjust it later on the roof easily.
Moreover, fold the excess sheet from the corners instead of cutting. In the case of a large roof, you may also need to glue up the ends of rubber for firm placement. If there is any stack on the roof, cut a hole in the rubber carefully and slide the rubber down over the stack hole.
After placing the rubber down, it’s time to glue it down with a large paint roller over a pool extension. You can also go for other alternatives according to the type and size of rubber’s
Not cleaning the deck thoroughly before installing the rubber is one mistake that I see a lot of roofing companies in Phoenix make. This is a massive problem because then, when material settles, and if there is any foot traffic, the loose debris can puncture through the roof’s membrane.
-Josh Riutta | Mikku & Son’s Roofing
Seal The Edges
After installing the plywood frame and rubber down, the last step is sealing the corner with a super-strong adhesive. Instead of using glue, you can also use uncured rubber to seal the edges or vertical corners. To keep the wall safe from peeling off, add the screws on the metal brackets.
Consequently, you Can also give customized finishing to this flat roof installation by using the galvanized edges. Ideally, these edges are suitable for all types of flat roofs.
The best thing is that you can choose the edges in any color of your choice. Doesn’t it sound cool? Of course, yes! Now, what’s stopping you from installing the flat roof yourself? Now, it’s your turn! Consider the discussed points and enjoy installing the flat roof yourself!