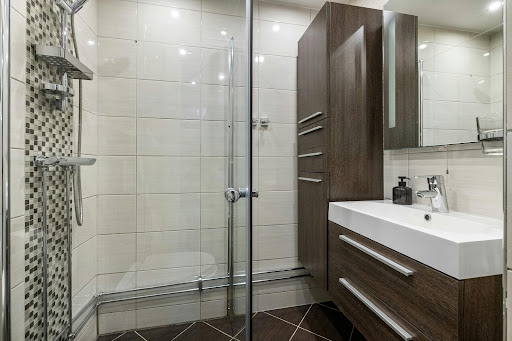
Do you want to know how to install bathroom partitions? If yes, we’ll cover the complete details in this post. Also known as toilet partitions, it is covered in this guide. Put another way, toilet partitions are utilized in public restrooms to provide privacy between stalls.
Toilet barriers are primarily utilized in business settings, such as offices and schools. This article will assist you in better comprehending the exact instructions for installing the bathroom divider you’re working on.
The professionals at onepointpartitions.com say that the first step is the most important one and that you need to ensure the area where the toilet partition will be installed is clean and debris-free before you start.
Read the instructions included with the bathroom partition pieces; the instructions may differ depending on the partition’s kind and material. Finally, double-check that the floors and walls will support the bathroom partition.
Table of Contents
Steps To Install The Bathroom Partitions
New partitions may be a fantastic way to refresh your bathrooms, especially if the previous ones have been neglected. Just make sure to take your time and properly install them. So, they continue to function well for years to come.
Collect The Design And Needed Tools
Make sure you have the design plans and any essential hardware, anchors, and components before beginning the bathroom partition installation. You’ll be ready to begin your toilet partition installation once you’ve gathered everything, including any instructions that were provided.
Establish The Floor Brackets
Establishing your floor brackets is the first stage in your Partition installation process. Determine the best placement for your floor brackets based on your instructions and your partitions’ measurements. The front centreline is usually calculated by subtracting from the overall compartment dimension.
The existing hardware should be close to the desired position if you’re replacing partitions. Simply double-check that the holes from your previous toilet partitions are still usable and have not been stripped.
Secure your hardware to the floor after measuring twice and checking the integrity of old holes, if applicable. This may necessitate drilling, so choose a method that best matches your flooring when drilling the holes. It could be a good idea to leave things tight until you’ve completed installing your toilet partitions to allow natural adjustments.
Install The Door Hardware
You can now put up the wall pilasters and panels after installing the floor brackets. Then, you’ll need to install the hardware for the door to be hung on the pilaster.
For pilaster placement, refer to the layout diagrams. Install two-panel brackets per panel on the wall using your centreline placements. The distance between the bracket centers and the floor should be eighteen and sixty-four inches.
Reset The Position Of Panel
Place the panel in the brackets by resting it on a twelve-inch block. Drill a hole in the top bracket and fasten it to the wall with a screw. To avoid moving, keep your panel on the stabilizer block until the pilaster is attached. Fix two F brackets for single-ear pilaster brackets to the wall.
The pilaster shoe should be slid into place. To complete this stage, insert the pilaster into the wall brackets and over the floor brackets, then install your leveling device and plumb the pilaster into place.
Attach The Door Hinges
Connect the lower and upper hinges to the pilaster, noting that the lower hinge requires a male cam. Place the next pilaster on the floor brackets and draw a line down the back of the panel to mark the centreline. Mark and drill out your holes using the brackets as a template.
Place the pilaster shoe over the floor brackets and slide the pilaster into place. To make the alcove channel grab the panel, adjust the orientation of the pilaster. Install the floor brackets, the leveling device and tighten the hardware. After that, plumb the panel and pilaster, then secure the panel to the U brackets on the pilaster.
Install The Door
You’ll attach the inner and outer doorknobs after you’ve inserted the female cam into the bottom-door hinge casting. Install door pulls and place the coat hook and bumper on your toilet partition if necessary. Install the threaded upper hinge pin after sliding the door onto the male cam of the lower hinge.
To adjust the angle of your door, release the male cam assembly nut, adjust the angle of the door and tighten the nut to secure it. Attach the stop and keeper to the pilaster, making the door latch aligned with it.
Place Headrails
Slide the headrail into the headrail brackets and the tops of the pilasters. Attach the headrail to the pilasters and the headrail wall brackets. If necessary, add a headrail end cap. Adjust the leveling devices to ensure that all compartment components are level and secure. Drill and secure the remaining panel holes to the brackets.
Add Remaining Fasteners
To finish installing your first toilet partition, ensure all of your pilasters are connected to the floor brackets and add any leftover screws. To finish erecting bathroom partitions, repeat the discussed steps. Fasten the headrail brackets to the wall when you’re finished.
Next, the headrail will be inserted into the pilaster tops and slid into the headrail brackets. Splice the Headrail parts on top of the pilaster for a perfect fit. Install the end cap, if necessary, after fastening the headrail to the wall brackets.
After attaching your headrail to the pilaster, the only thing left to do is to double-check that all of the hardware is in place. This is the time to make sure the partitions are completely secure.


