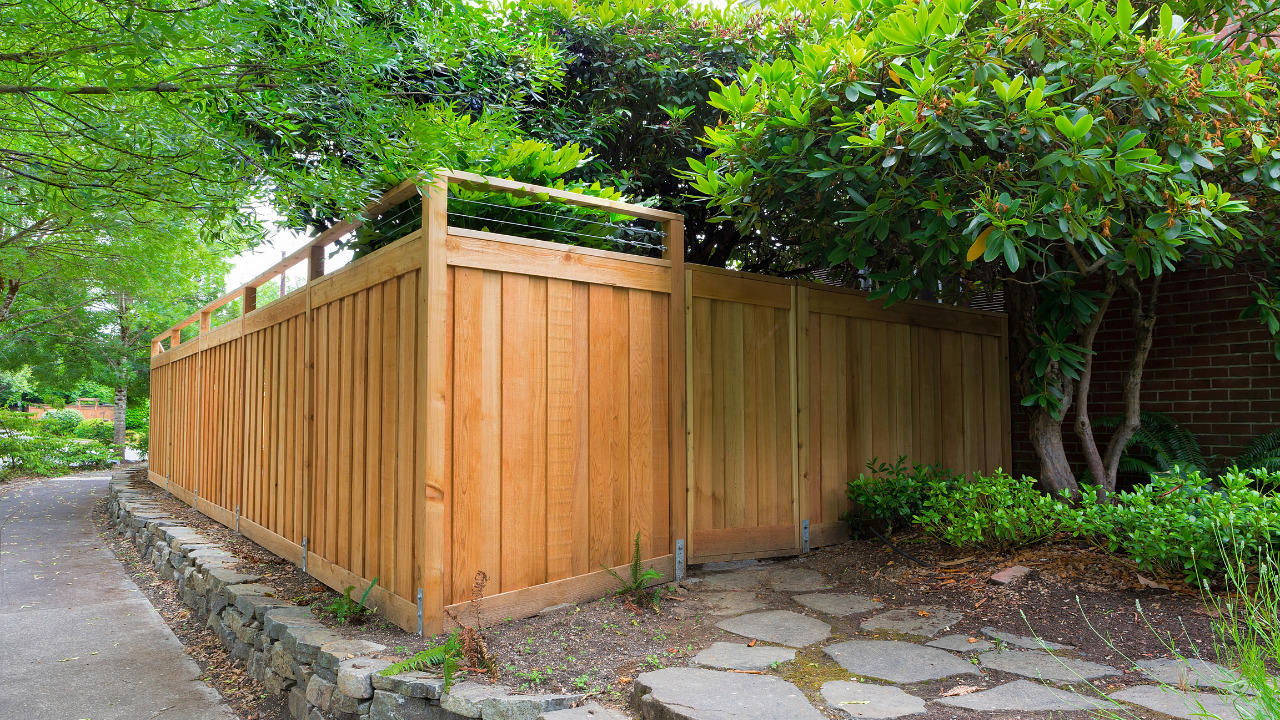
Red Cedar is a high-quality wood known for its beauty, durability, lightweight, thermal insulation, and dimensional stability. It adds character and distinctiveness to your property that no other siding can equal. It will provide years of low-maintenance performance if it is fitted and finished correctly.
Read this post attentively before commencing your siding job; it provides important information to ensure that the siding is put correctly and performs as planned.
With minimal work and waste, channel siding can be installed quickly. The Channel pattern is often laid horizontally, with one board’s rear edge having a recessed section that receives the contoured top-rear edge of the board next to or below it to keep water out during rain.
Table of Contents
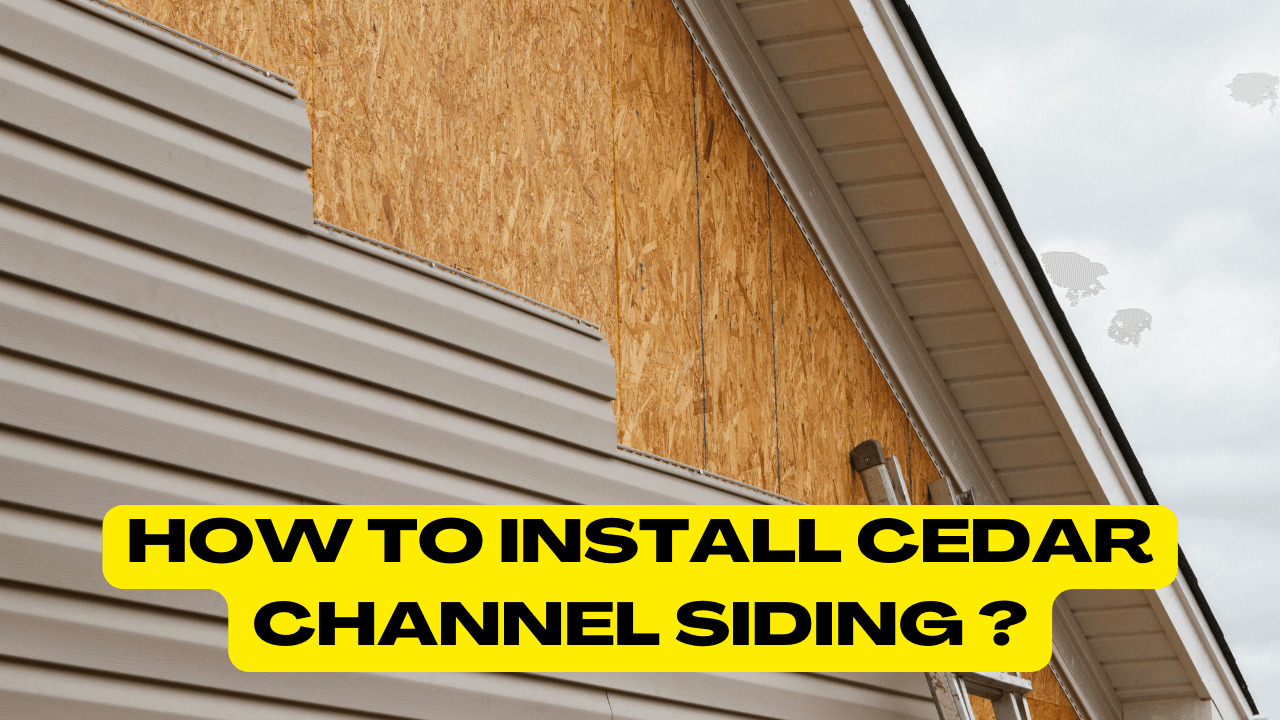
Cedar Channel Siding: An Overview
When a rustic appearance is sought, channel siding, a common form of siding, is used. Its flexible installation allows for vertical, horizontal, or diagonal installation. In channel siding, each board’s profile partially encloses that of the board directly adjacent to it, forming a channel that produces shadow lines, offers great weather protection, and permits dimensional mobility.
The regular supply of lap sidings includes a variety of designs, including green or dry, clear or knotty grades, and smooth or saw-textured faces. The most common grade of channel siding is unseasoned knotty. The surface has a saw-textured finish.
The depth of kiln-dried Red Cedar is built upon by lap siding. With their lap profiles, these resawn textured panels revive the traditional appearance of board and batten siding. There are options for both vertical and horizontal application, and lap sidings give great weather protection and breathability They mix striking beauty and prodigious performance.
A Few Considerations Before Cedar Channel Installation
Western Red Cedar channel siding is a common lap siding that offers great weather protection, particularly in places where moisture levels fluctuate throughout the year. Each piece of channel siding has a profile that partially overlaps the next, providing a deep, recessed channel look.
Determine The Material

Always buy recognized grades and make sure you know what grade you’re getting. Grades are created to have distinct appearances and functions. Before you begin, double-check that the siding you’ve chosen fulfills your needs. Any product that is judged to be defective or unattractive for any reason.
Should not be installed; if you come across one, STOP and contact your supplier immediately.
Western Red Cedar is one of the most stable softwoods, but it is still a natural substance that reacts to its surroundings. As it accumulates or loses moisture, cedar siding can swell or contract to achieve balance with the moisture content of the surrounding air.
Before installing cedar siding, make sure the moisture content is balanced. This will prevent movement later on.
Store At A Safe Place

Western Red Cedar siding requires protection from direct sunshine, water saturation, snow, ice, dirt, and other elements until it is erected. So that moisture does not absorb through the bottom boards of the stack, store the siding flat and off the ground on stickers and a vapor barrier.
Water will not pool on the cover if protected with a waterproof covering lifted in the center. Because excellent air circulation is necessary, do not close the bundle. Before usage, the siding should be stored in an enclosed structure such as a garage.
Apply Finish To All Surface Before Installation
Apply a finish to all surfaces before installation is suggested. The best finishes are those that have been applied in the factory. They ensure that the finish performs at its optimum. The ultimate finish and appearance will decide the type of coating used.
The finish will protect the wood from moisture absorption and UV degradation and aid, prevent mildew and extractive staining, and extend the life of topcoats.
Installation Of Cedar Channel Siding
Ensure flashings are installed before siding to prevent moisture from entering wall and roof spaces. Flashing is a crucial line of defense regarding moisture control in wall assemblies.
The flow of water is intercepted and directed away from the building to designated drainage routes by flashing. Horizontal flashing should be installed from the top of all wall penetrations and any material or material orientation change.
The flashing should be angled downward to allow water to drain away from the wall. The flashing ledge should be 14 inches above the siding or trim. Caulk should not be used where the flashing meets the trim or other materials. It is important to note that caulking is not an appropriate substitute for flashing.
Use High-Quality Caulks

Seal gaps around windows, doors, corners, and other external joints exposed to potential water incursion with high-performance acrylic-latex or terpolymer rubber caulks or sealants.
Pure silicone and transparent caulks are not approved for use on Western Red Cedar. Caulking isn’t a long-term solution; thus, it must be regularly maintained.
Caulking can fail if it isn’t inspected and maintained, trapping water and causing serious moisture problems. It should not be relied upon as the only barrier to moisture entry. Caulk should not be used when moisture will be prevented from escaping the wall hollow.
Install Tongue And Groove

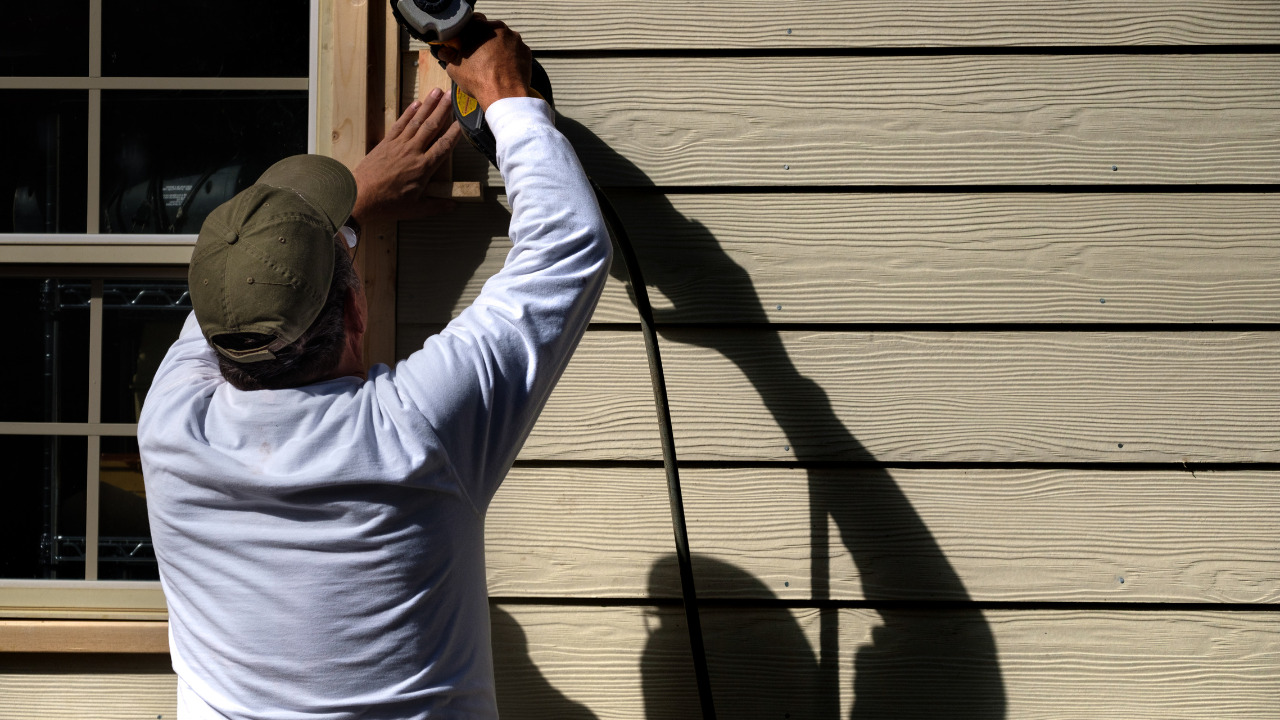
Siding with tongue and groove can be put horizontally or vertically. Start at the bottom and work your way up, keeping the groove edges facing downwards. Blind nailing siding up to 6 inches wide with one siding nail per bearing toe-nailed through the base of each tongue is possible.
Face nailing wider siding with two nails per piece is recommended. Begin vertically at one corner, with the grooved edge facing the adjacent wall. Use a level or plumb line to ensure the first board is plumb.
To guarantee a flush fit, the grooved edge of the first board may need to be cut. Siding is fastened to horizontal blocking lines or furring strips installed between studs. Pieces up to 6 inches can be blind nailed, and larger pieces should be face nailed, as with horizontal installation.
Install Lap Siding
Vertically or horizontally, lap sidings can be erected. Start with the lowest course and work your way up with the channels pointing upwards for horizontal applications. If the siding is air or kiln-dried, leave a 1/8-inch expansion gap between sections.

Overlaps should not be nailed through. Use one nail one inch from the lap for siding up to 6 inches wide. Face nail patterns with two nails for each piece, spacing them 2-1/2 to 3 inches apart to allow dimensional movement without separating. Siding should be affixed to horizontal blocking or furring strips for vertical applications.
Frequently Asked Questions
Is using Cedar channel siding Good?
Durability is one of the main problems with cedar siding. Cedar is undoubtedly more durable than certain other woods, like pine, but it still has drawbacks. Cedar may survive very long if placed appropriately and cared for properly.
What are the drawbacks of cedar channel siding?
Cedar decking is softer than other types of wood, making it more vulnerable to damage from furniture and animal claws.
What would be the average cost of cedar siding?
Cedar shake siding should cost between $5 and $9 per square foot. T For a 1,600-square-foot house, which is the typical size of a single-family home, amounts to roughly $9,500 to $13,000.
Is there any alternative siding for cedar?
Siberian Larch is a particularly excellent cedar substitute if you’re on a tighter budget. In addition to offering more knots than the clear-grade “A” version, Siberian Larch grade B can help you save even more money.
Conclusion
Start at the bottom and work up when installing horizontal channel siding. Siding should be attached to blocking or furring strips for vertical or diagonal applications to ensure that the nail penetrates solid wood. To keep the siding in place, use stainless steel or other corrosion-resistant ring shank nails.


