It’s fun to spend time choosing colors and styles for your deck boards and railings when you’re planning a new deck. It’s exciting to imagine what your deck might look like. Deck flashing between the home and the deck is essential when adding a new deck onto your property.
Rain runoff will infiltrate beneath the deck ledger board and up against your home if deck flashing is not installed, exposing your home to water and insect damage. Flashing gives your deck the secret superpower to resist rot and water damage.
Read this article if you haven’t already installed deck flashing and want to install it to save your yard from water damage.
Table of Contents
What Is Deck Flashing? An Overview
Deck flashing is rather affordable on its own. It usually comes in five to ten inches wide rolls and may be found at any home improvement store. A Z-shaped deck flashing is also sometimes used, but you should ideally use the rolled deck flashing because it is bigger and will allow you to stretch it further behind the side.
If your deck is made of pressure-treated wood, you should add copper-based deck flashing to keep it from rusting. Copper is now injected in higher amounts in pressure-treated wood than in the past.
Flashing constructed of aluminum or galvanized metal from the past will react with today’s treated lumber and rust over time. Even if the deck has already been constructed, installing deck flashing is not difficult. If the deck boards run parallel to the deck ledger board, you will need to remove a deck board or a section of deck boards.
Steps To Install Deck Flashing
When you add a new deck to your home or replace an existing deck, deck flashing is one component of the flashing system that keeps your wood secure. When cutting vinyl siding to install a deck ledger board, you must take extra care to ensure that moisture does not come into contact with the wood where your deck and home meet.
Collect Needed Tools And Supplies
- Shims
- Nails
- A Nail gun
- A screwdriver
- Tin Snips
- Waterproofing membrane
- Siding sealant
- Aluminum
- Lumber
- Screw gun
- Water Sealant
Clean The Deck
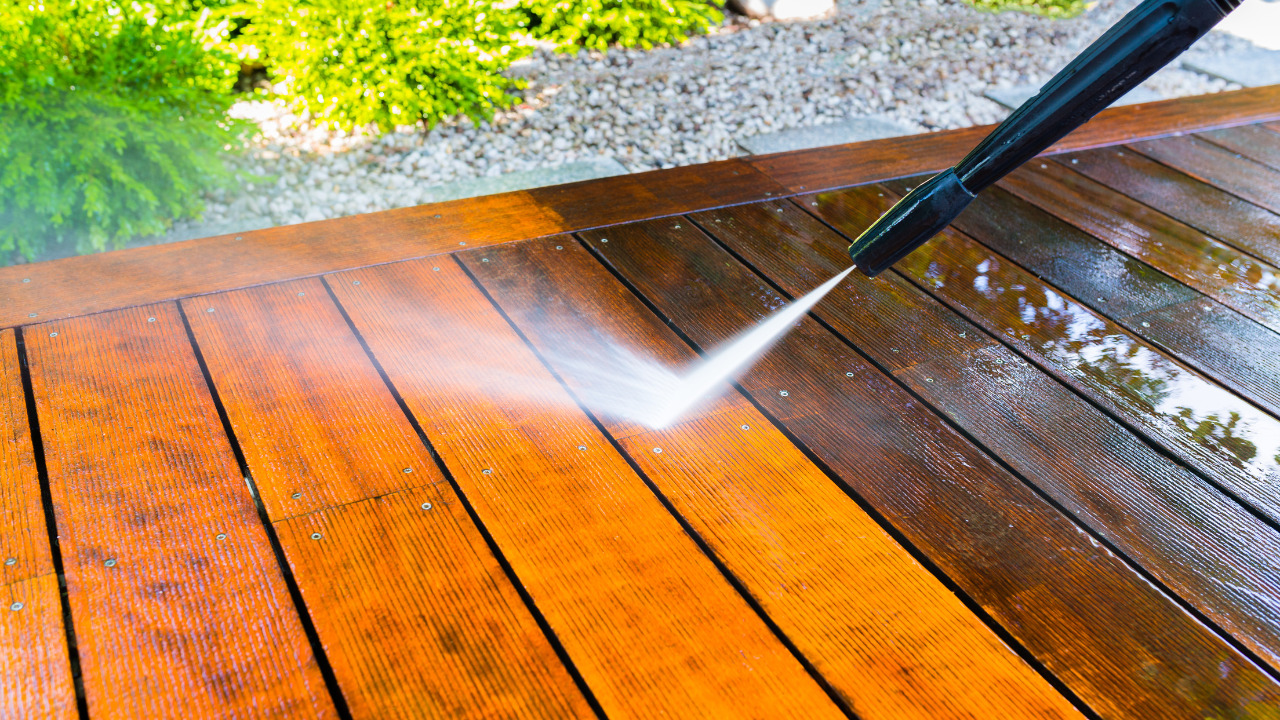
Before installation, you must remove any clutter from where you intend to place the flashing, such as leaves and twigs. By doing this, you may avoid moisture accumulation in the area, which might lead to decay.
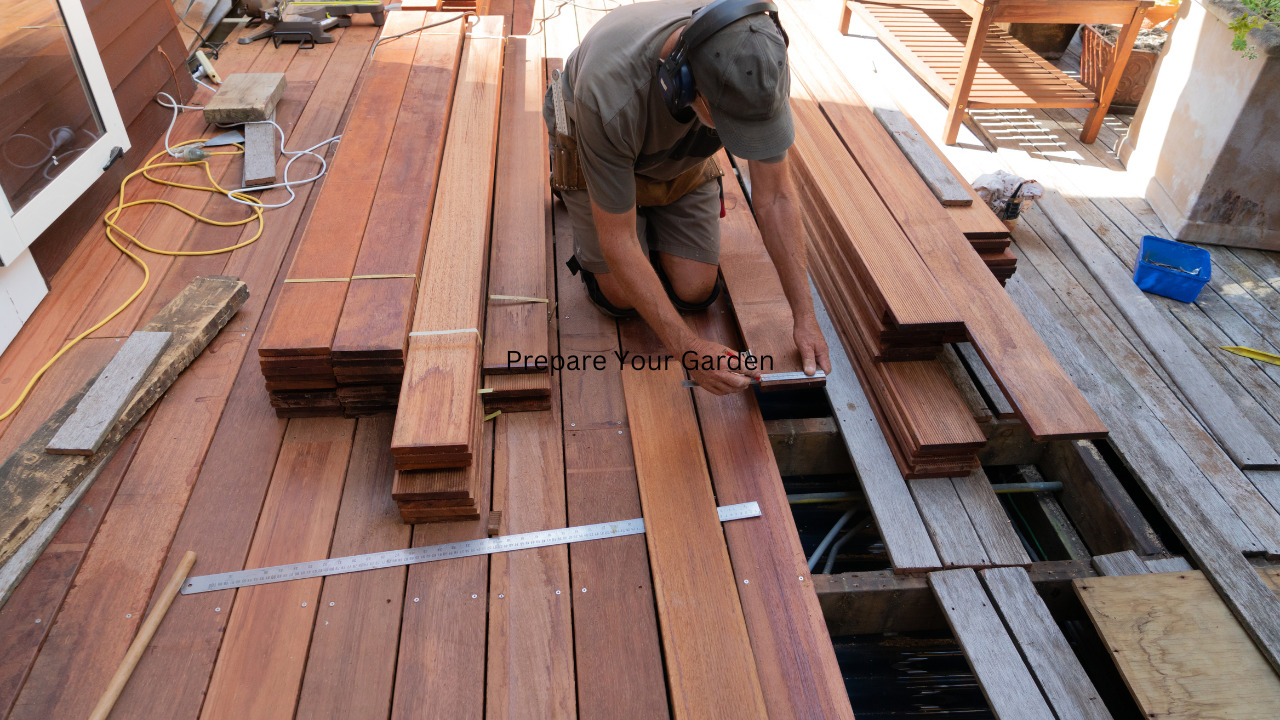
Measure The Deck Area

To determine the flashing size you’ll need, you first need to measure your deck’s circumference. If unsure where to begin, take measurements around the house or garage. Then, increase this measurement by one foot on each side. You should have ample room to maneuver when placing the flashing.
Use Tin Snips To Cut Flashing
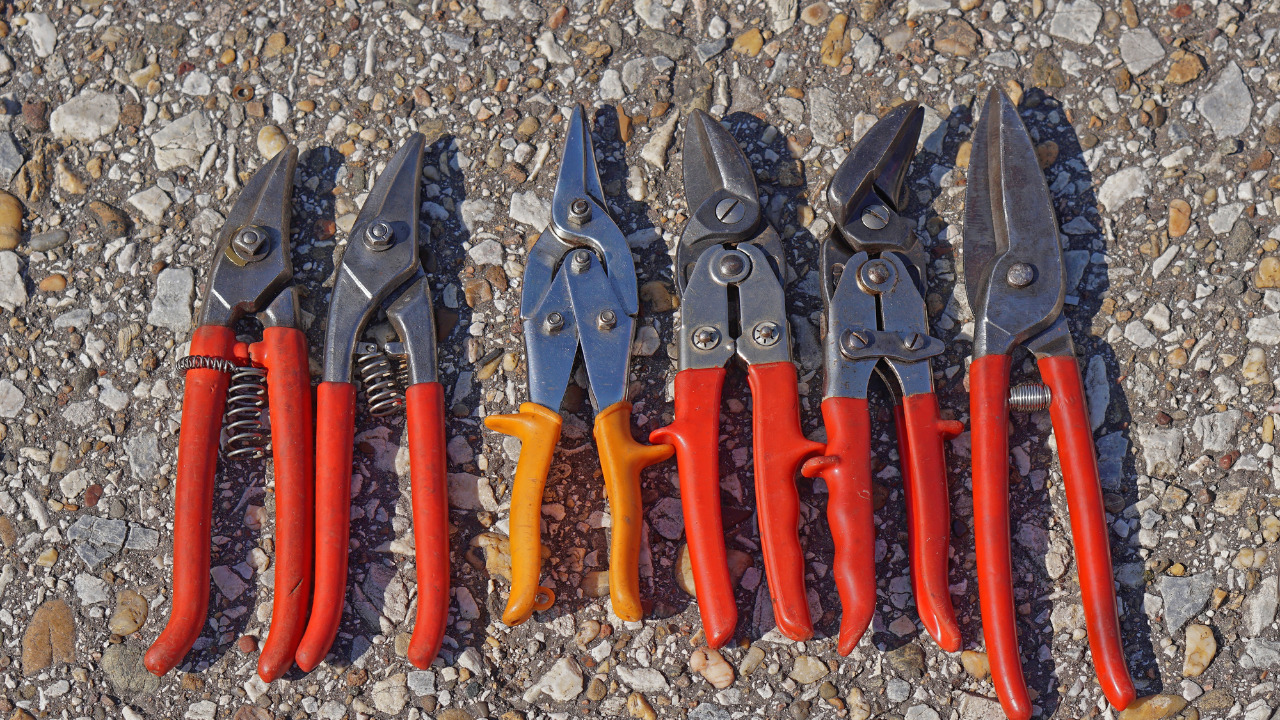
To cut vinyl flashing, snips are the quickest and safest equipment. Tin snips are available in both left and right-handed versions. It’s always risky to use a razor knife. To ensure a straight line, clamp a straight edge to the surface.
This is merely a rating, not a cut. It’s not a good idea to cut through the flashing. It will bend extremely readily if you cut it halfway through.
Slide The Flashing Underneath the Siding Layer
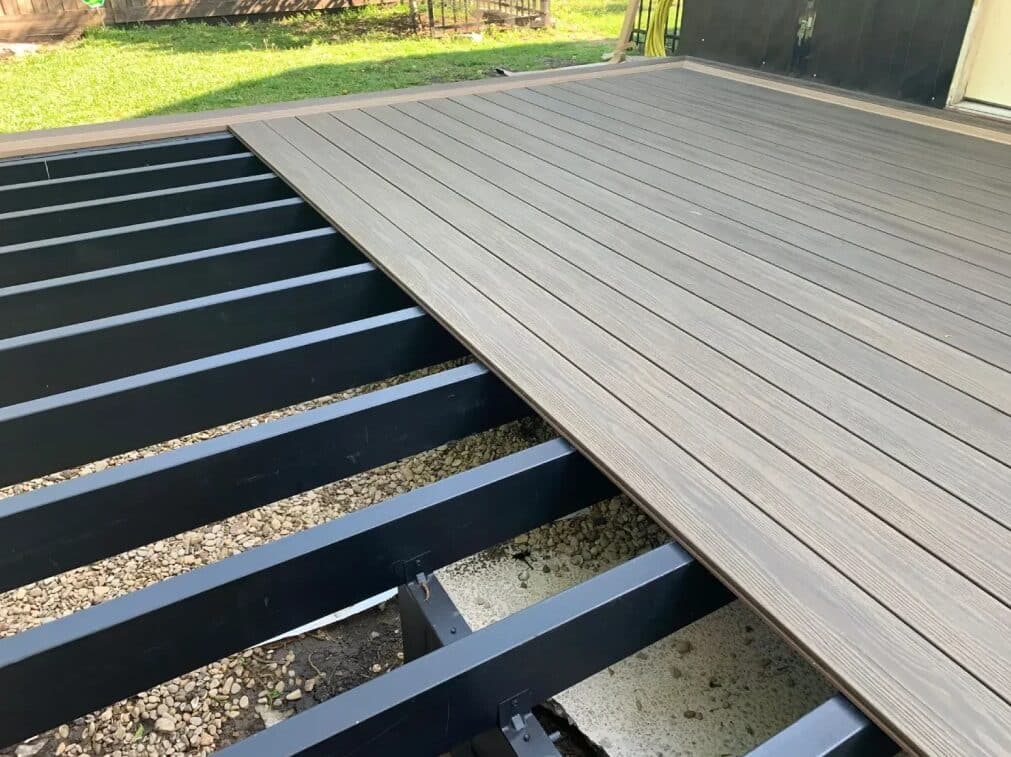
The house is attached to the ledger board on the deck. The decking planks are supported by the deck joists connected to them. Some of the decking boards near the house will need to be removed, and the deck flashing will need to be slid up underneath the first layer of siding closest to the deck surface.
Attach The Flashing On The Ledger Board
Use roofing nails to secure your vinyl Z flashing to the house. Nails should not be fastened to the flashing too tightly. The slotted hole supplied allows the flashing to travel from side to side. Around joists, do not cut the flashing.
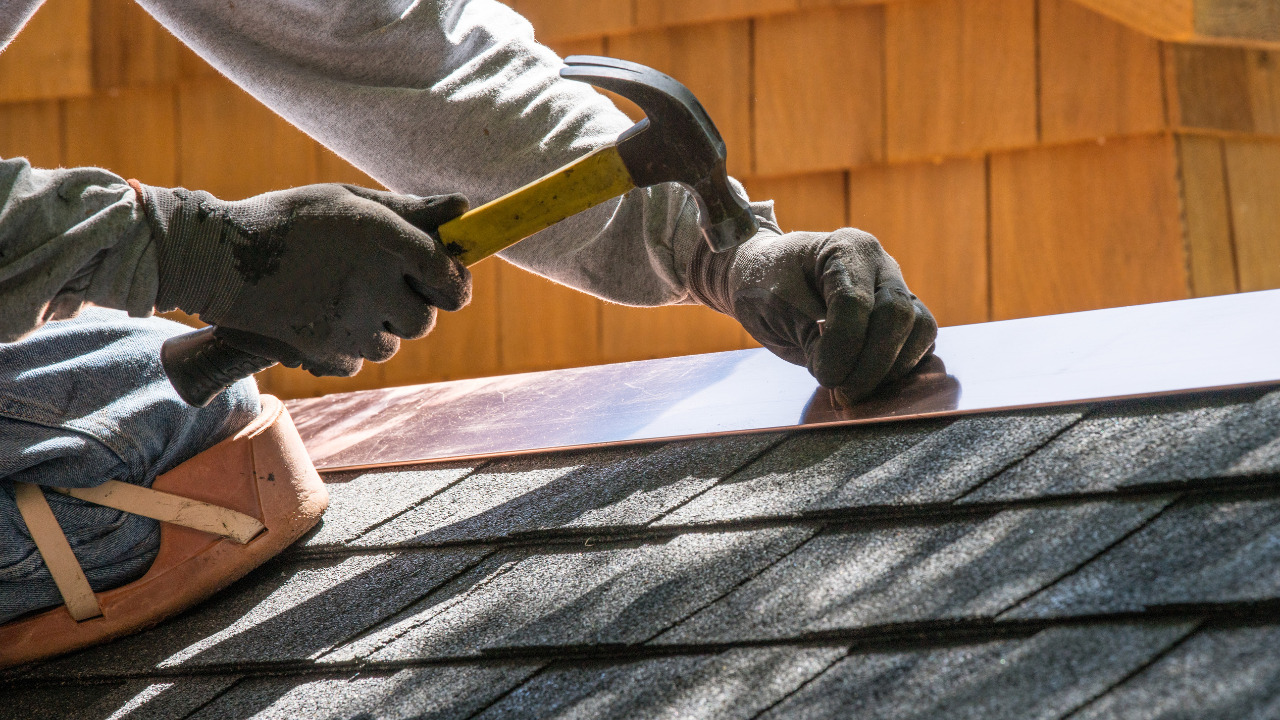
Use ledger-specific flashing. The top of the ledger should be wrapped in vinyl. Put it underneath moldings where necessary. Water that accumulates behind the deck boards closest to the house does not flow down behind the ledger board but drips onto the ground.
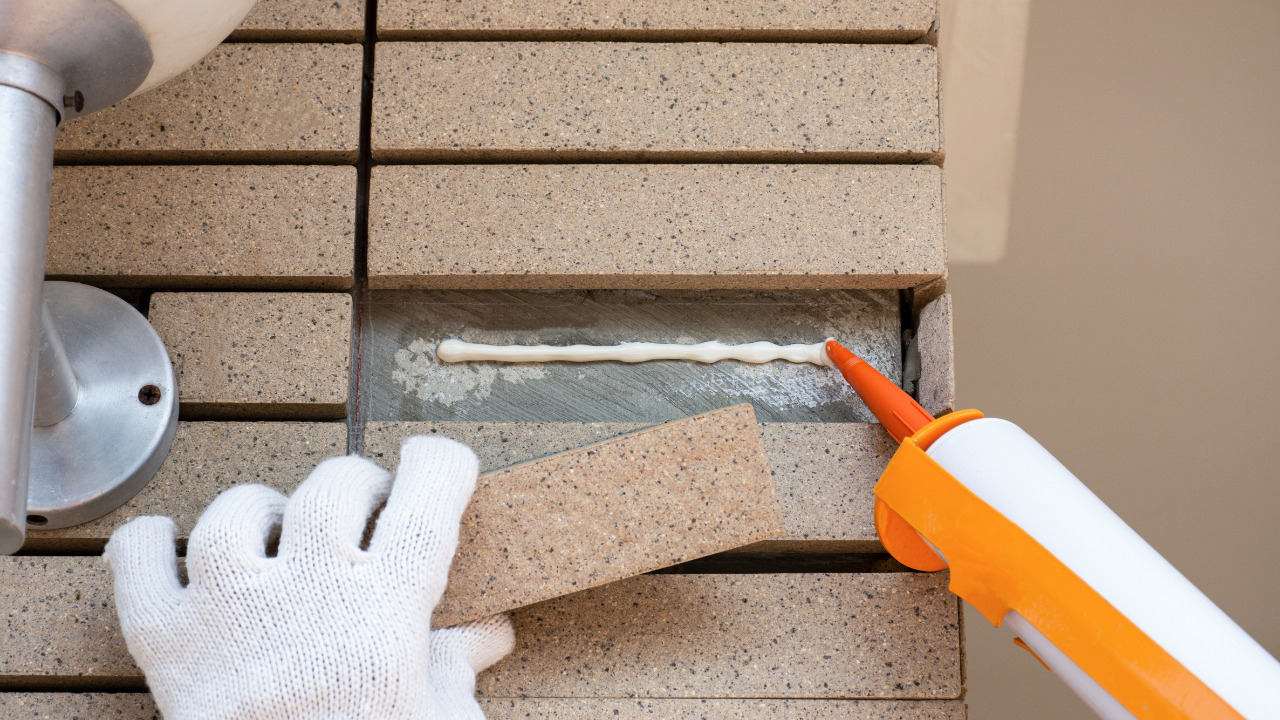
Use A Caulk Gun For Flash Caulking
Seal connections that do not overlap with a squirt of gutter caulk or silicone sealant. Caulk the inside corner of the ledger at this time as well. Insert the siding slowly and carefully. Underneath the next-to-lowest piece of siding, tuck the bottom piece.
You may need to cut notches for obstacles and pull-out nails to get the item up far enough. Also, be certain that no nails are driven through the deck flashing, which will defeat its purpose. To achieve this, an additional joist may be required to act as a nailer for the reapplied deck boards.
Follow Maintenance Or Precaution Tips
Most homeowners are unaware of the need for safety precautions when adding flashing to an already-existing deck. These steps must be followed exactly, or you risk a dangerous leak. The first step is to put the flashing in place correctly and snugly against the siding and home.

It also shouldn’t be put too close to other elements like windows, doors, and vents. These vents must be left exposed because they are crucial for ventilation. Make sure the flashing does not cover them.
Frequently Asked Questions
How To Waterproof The Deck?
Safeguarding your substructure while creating your new deck and waterproofing between the home and the deck is important. The deck joists and beams that support your deck boards are part of the substructure. Use a joist and beam tape to cover the timber and protect it from moisture.
What Is The Cost Of Installing Deck Flashing?
A deck typically costs between $10 and $50 per square foot. This covers both the cost of the decking material and the labor, accounting for roughly half to two-thirds of the total cost. The cost can be reduced to about $15 per square foot by choosing a less expensive material like pressure-treated oak.
On the other hand, more expensive materials, exotic woods like tigerwood or hardwoods like redwood drive the price per square foot of decking to $50+.
Bottom Line
Fighting wood’s biggest enemy begins with protecting your deck and all of the wood in your deck during construction. Even if you don’t notice it, a tiny investment in flashing will pay off for years.
Hopefully, this article will help you install deck flashing yourself. If you don’t want to install deck flashing yourself, it would be best to hire professionals.