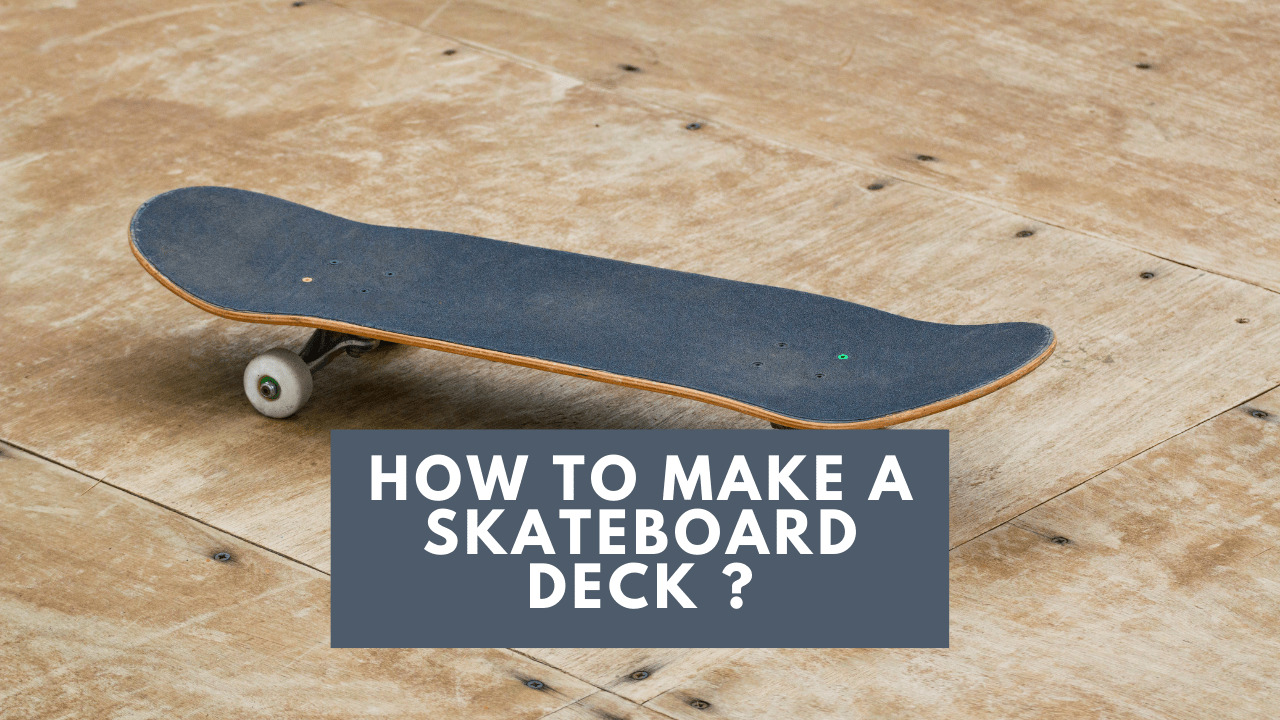
A skateboard is a little piece of wood shaped like a surfboard with four wheels attached to it. This board can only be ridden by one person, who controls the movement with both feet.
Some people utilize a skateboard as a mode of short-distance transportation, while others simply use it to perform feats.
Whatever you want to do with your skateboard, they all have a lot in common. Skateboard decks are made of plywood that has been hand-laid. While this may lead you to believe that plywood may be used in its production, this is not the case.
Except for the width, creating a skateboard deck is essentially the same as making any other bentwood item. A skateboard deck is built of wide strips, whereas most bentwood furniture is made of narrow strips.
Table of Contents
Prepare A Model To Build Skateboard Deck
A mold is necessary for the creation of any skateboard deck. The mold will create the deck’s outline, including the kicks at the ends. Each skateboard model needs its unique mold, which provides the precise contour required for laminating the veneers together to create the plywood deck.
Something will be required to apply pressure to the mold and the veneers that will be shaped into the deck. Bar clamps are suitable for a simple one-time skateboard deck. However, anyone who plans to mass-produce many skateboards will quickly learn that bar clamps are insufficient; a press is required.
Steps To Build A Skateboard Deck
Needed Tools And Materials
- veneer or pressure-treated wood
- Epoxy resin
- Super adhesive
- Wood glue
- Wood filler
- Metal detector
- Circular saw
- Skateboard edge scrapper
- Router lift
- Glue roller
- Layout ruler
- Sanding sponge
1) Prepare Wood
Plywood veneers are divided into three categories for skateboards. Face plywood, sanded or unsanded center plywood, and commonly unsanded cross-band plywood. The skateboard’s weight, strength, and feel are determined by how these various layers are arranged.
The thickness of the veneer varies as well. The plywood or layers should be organized in the following manner: Center layer of the face, Cross-band, Layer in the middle, and Face with a cross-banded center layer.
2) Assemble Prepared Wood With Deck Or Super Glue
The following step is to attach the veneers to their proper locations. You’re screwed if you don’t use tie bond since no other glue can hold a skateboard together and tie bond. This type of task necessitates the use of tie bond adhesive.
Place the sanded side of the face on the concrete for the gluing procedure, with the un-sanded side facing up. On the un-sanded side, apply adhesive, then place a center layer on the face. Rep the process seven times more for the cross-bond.
3) Let The Glue Dry Appropriately
It’s time to press after you’ve glued all of the veneers together. Select two pieces of cardboard, then the unshaped board, to begin pressing. Lay the frame on its side and place the veneers between the cardboard and the frame, then use nuts, bolts, washers, and channel irons to secure the frame.
The next step is to center the channel irons in the frame so that they can be pressed nicely. Allow the skateboard deck to mold for the rest of the day after this has been completed.
You must check the bag from time to time to ensure that it is still tight, and you may need to siphon additional air out of it on occasion.
4) Remove Mold And Uncut The Deck
Once the mold has cured, remove the uncut deck from it. Also, discard the cardboard. After that, you may start designing your own skateboards. Some people use a design card program to make the tail and nose precise, but you may also draw them out on graph paper.
Place your design on top of the uncut but don’t tape it down just yet because you need to figure out exactly how long you want the skateboard’s tail and nose to be. Mark the location of the skateboard trucks after you have everything precisely where you want it.
5) Shape The Prepared Deck
It’s time to cut out the deck to be formed after you’ve finished with the design. It’s better to use a band saw because it produces a more precise cut, but if you don’t have one, a tiny jigsaw will suffice.
Use a rasp or a router to carve the board’s edges after cutting it out. You will avoid getting slivers if you do this. After that, use steel wool or sandpaper to sand the entire deck until it is completely smooth. Before sanding, make sure the truck holes are drilled out.
Bottom Line
After reading this article, it’s much easier than you might think to learn how to create your own skateboard. A basic understanding of carpentry and a jigsaw is required to construct the deck or wooden board.
Skateboards can also be constructed at home with a little perseverance. You’ll be surprised at how simple it is to manufacture a skateboard deck once you get your hands on this procedure. If you’ve been thinking about making one, now is the time to get started.