You should replace some of J channels’ sidings if you reside in a home with vinyl siding and want it to look smooth and shining. These channels are a necessary part of the trim work. If you detect any of the current J channels are damaged or broken, you should fix them immediately.
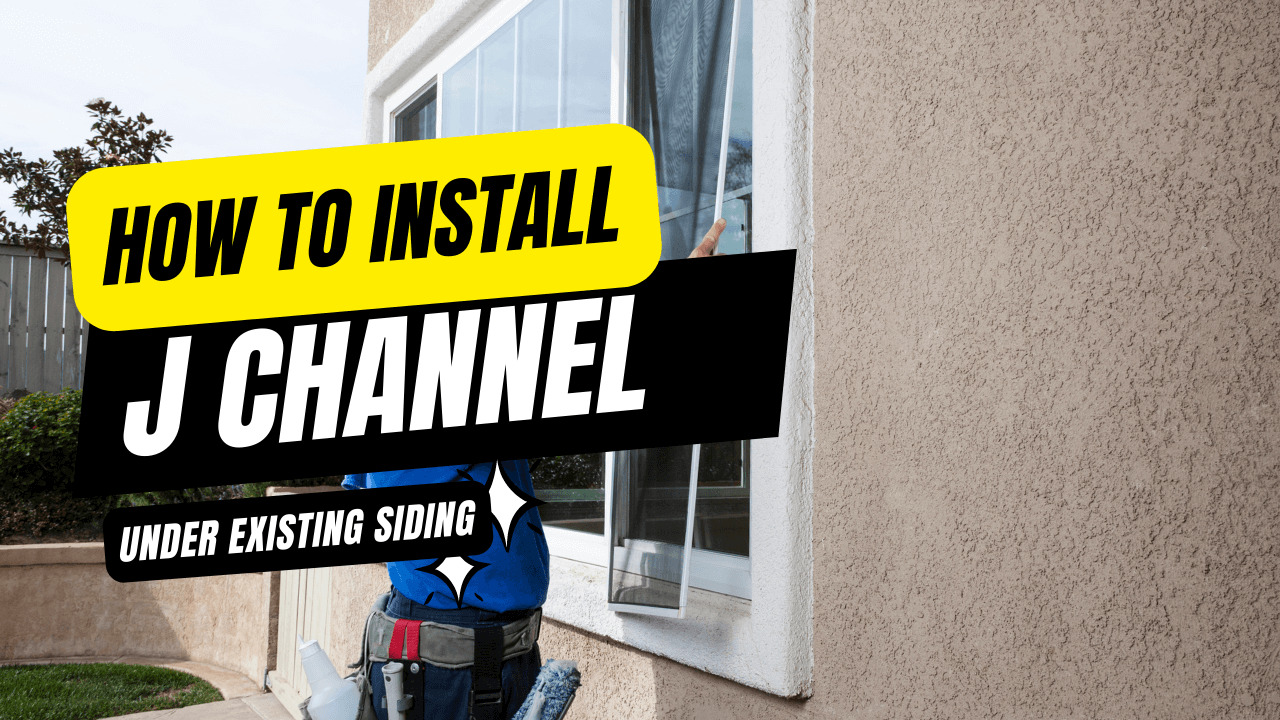
Do you need to learn how to install J channel under existing siding? This subject will teach you how to install J Channels the simplest way possible.
J channel is a requirement you may not have realized you require until today. Your window may already have a siding, but without J channel siding, it may have missed out on the finest protection available.
It may appear difficult to install, but you do not need to hire an expert. You can now build a J channel with just a little assistance from this article.
Table of Contents
J Channel: An Overview
J- Channel is an important component of your lovely home’s vinyl siding. It enables you to operate professionally and experienced manner, giving your vinyl siding a smooth and elegant appearance.
J-Channel methods are simple to comprehend and install indoors, on walls, window frames, and within the corners where the siding meets the roof’s point. It would be very beneficial to fix the J-Channels at the present siding junction or wherever these sidings intersect.
The specific locations aid in concealing catted components and creating a smooth appearance of the J channel.
Instead of noticing the uneven appearance, J- Channels provide the even, soft, and beautiful appearance you desire in your existing sidings. It can be done later, but the J channels should be installed before the vinyl siding is installed.
Considerations Before Installing J Channel
If J-channel is installed improperly, it might result in water damage, which is an issue. That results from the water being trapped rather than moving away from your home. Water can accumulate inside J channels since they are installed horizontally.
Your foundation may sustain water damage if the water buildup gets out of control and starts to leak through your siding. Stopping vinyl siding To create a water-resistant barrier, excellent underlayment is the first step in preventing J-channel water damage.
To stop water from collecting, you must place flashing underneath J-channel. Or, you could caulk the J-channel seams and the area of the channel that is closed and close to other components, such as windows or doors. Your J-ends channels should be mitered to help with drainage.
This can ensure that water adequately departs and doesn’t get inside. Ensure the J-flanges channels lap down when you place them over windows or doors to allow water to drain. Finally, you may add holes to the J-edges to ensure the water can leave. channel’s
J Channel Installation Steps
Essentials To Install The J Channel
If you want to make the installation process go more smoothly and quickly, a few tools will help you accomplish this effortlessly.
- A circular saw
- Brad nailer
- Snip cutter
- Hammer
1) Measure The Sides
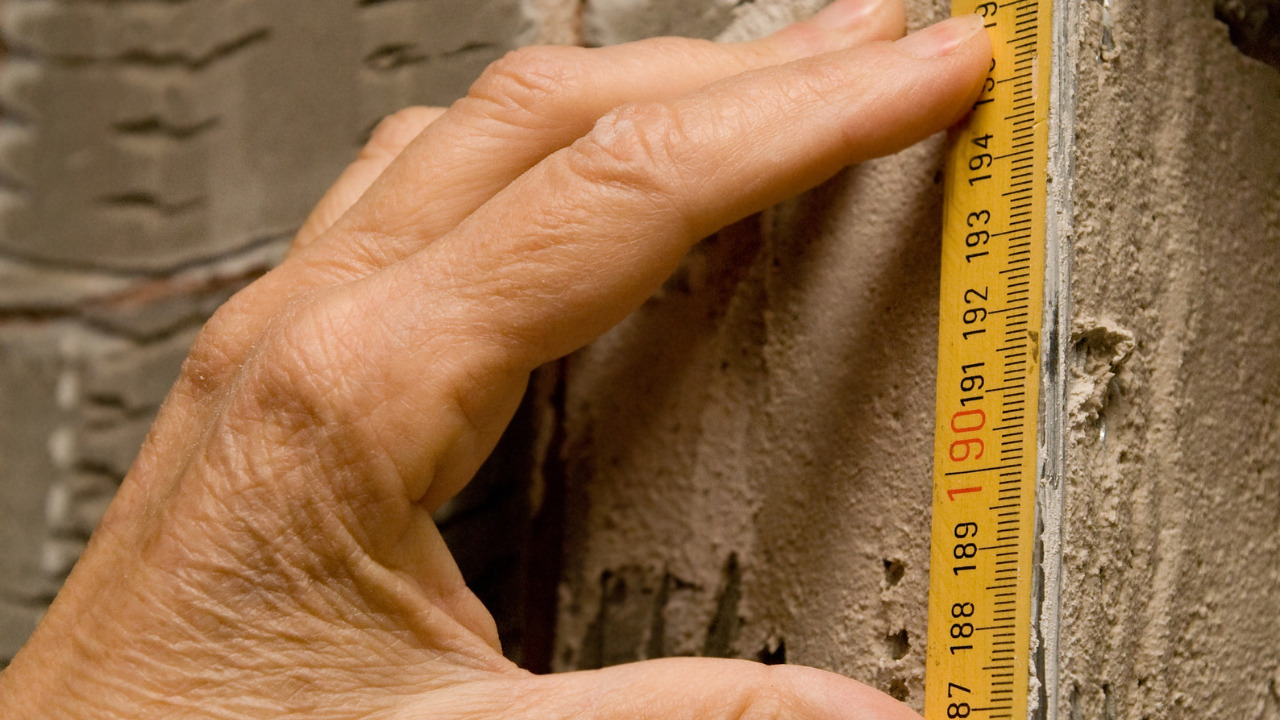
To begin, you must first take accurate measurements of all sides. Because you already have siding, you should measure it first. Whether you place the J channel on a door or window makes no difference. Just make sure you’ve covered all of the old siding’s sides.
When building J-channel, ensure enough space for the materials to expand and contract as the temperature changes. This is a necessary part of any vinyl siding project.
2) Cut The J Channel Accordingly
After you’ve taken all of the dimensions for the existing siding, you’ll need to cut the J channels to fit. As a result, please take out the J channel and measure it against the existing siding.

Now you must take an additional 2 inches and mark it with a marker. As it turns out, the extra 2 inches of the J channel will act as a clip, providing structural support.
It’s time to fire up the circular saw and start hacking away at the J channel’s marked region. Because it is commonly used around windows or doors, you will require four J channels for your project. Cut two J channels with an extra 2 inches in height and another two inches in width.
3) Make A Few Adjustments

You’ll need to make a few changes to the J channels now that they’ve been properly sized because that size modification is insufficient to ensure that those J channels fit together precisely. As a result, you’ll want to start with the bottom J channel.
Cut an inch out of each end of the bottom J channel, as there is 2 inches excess on each piece of J channel. It will have the appearance of a notch on both ends.
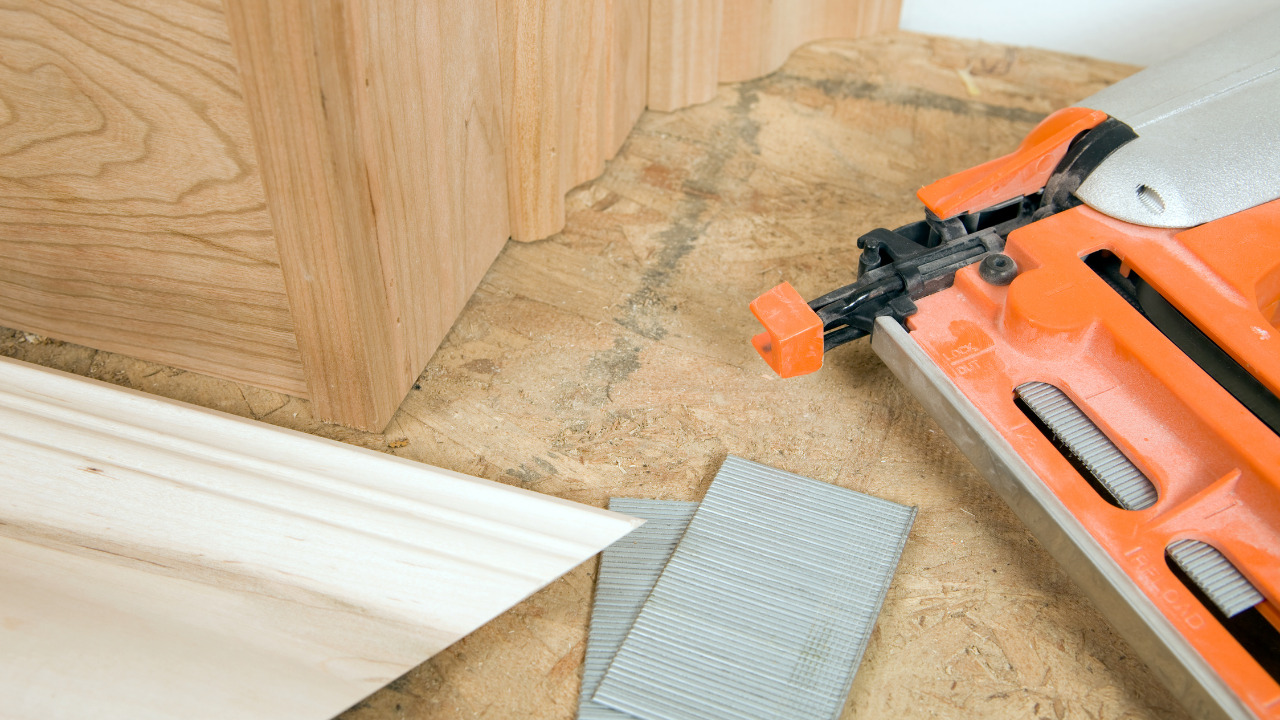
4) Install The J Channel Using Brad Nailer
After notching the bottom J channel, you’ll need to set it in position and double-check your measurements. The next step is to take the brad nailer and nail the J channel holes, keeping the J channel in place.
Typically, three nails are used. Two on each side of the J channel and one in the center. The longer the J channel, the more nails you’ll need to settle it.
You made notches on both sides of the bottom J channels when you cut them out. You’ll only be doing that on one side in this case. The concern now is, what will happen to the opposing side? On the other hand, you will be making a rain tab. It’s quite simple to construct a rain tab.
To begin, you must miter the face of the side that will remain at the bottom of the j channel when it is vertical. Cut both sides of the corner with your snips and bend it slightly. You’ve got your rain tab now.
5) Setup The Final Piece Of J Channel
It’s time for those secondary channels to find their proper home. Place them vertically on the sidewalls, ensuring that the bottom side is aligned with the bottom J channel. Now inspect the corner to determine if it is a perfect fit.
You can come across some extra space that is obstructing your ideal fit. All you have to do now is take your snip cutter and cut off any excess metal. Whatever you do, make sure you have the right fit in the corner.
It’s now time for the top J channel’s final element to be installed. As a result, you must pay attention to the corners when installing the top J channel. Like the other sides, the top J channel requires a flawless fit. You’ll know whether or not you’re a good fit in the same manner.
Simply look at the coupling of two J channels in the corner. To finish your project and complete the framework, nail on the J channels.
Frequently Asked Questions
What is the cost of installing a J channel to your existing vinyl sidings?
You will spend around $4.00 per square foot on labor if you hire a professional to install your vinyl siding. The labor cost per square foot ranges from $3 to $6. The price of putting siding varies depending on where you reside and the season.
When do you need to hire professional J-channel installers?
J-channel or vinyl siding installation on a home is not a DIY project. A seemingly little error could seriously harm the structural integrity of your home. Leave this to the professionals, who will ensure that the exterior of your property offers vital protection from the weather.
Is a flush mount different from J-channel?
You have two options for window-to-siding alignment: J-channel trim or flush siding installation. Depending on your preferred style, yes. The top flange of flush-mount windows only needs a little trim. These aren’t visible through your windows. J-channel extends a little.
Final Words

To summarise this post, if you have finally decided to install J-Channels under existing siding, the suggestions and processes provided will greatly assist you in completing the task. You only need to learn a few key things and have a little patience to complete remodeling your home.


