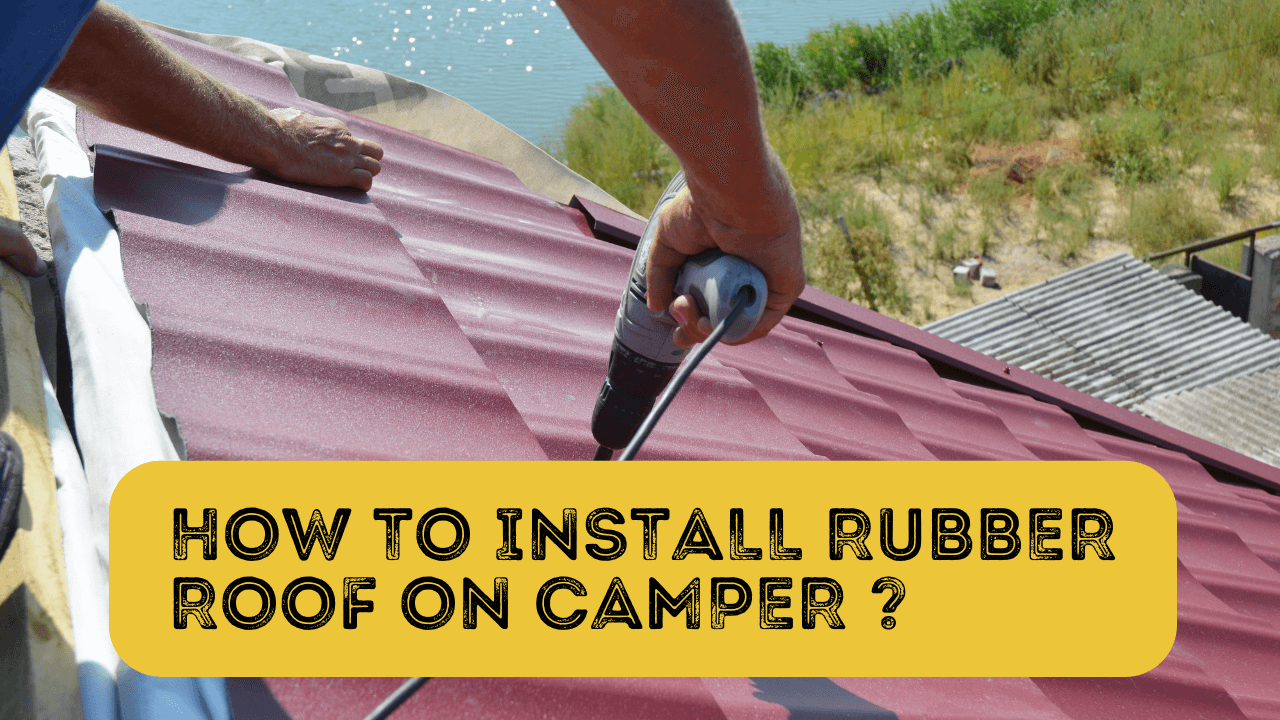
Installing a rubber roof on a camper trailer may appear to be a nightmare and a multi-day project that is impossible to complete alone. While this procedure may take some time, it does not necessitate devoting a full weekend to it.
With this comprehensive guide on RV roof repair, you’ll be able to complete the work in a matter of hours and give your RV a new, long-lasting roof.
Rubber roofs are less expensive to maintain or repair, weigh less, are less slippery, and are less susceptible to weather damage. You might be wondering which style of roof your RV or camper has if you own one.
If you’ve never installed a rubber roof on your camper before, this step-by-step guide will walk you through everything you’ll need to know to get the job done quickly and correctly.
Table of Contents
Steps To Install Rubber Roof On Camper
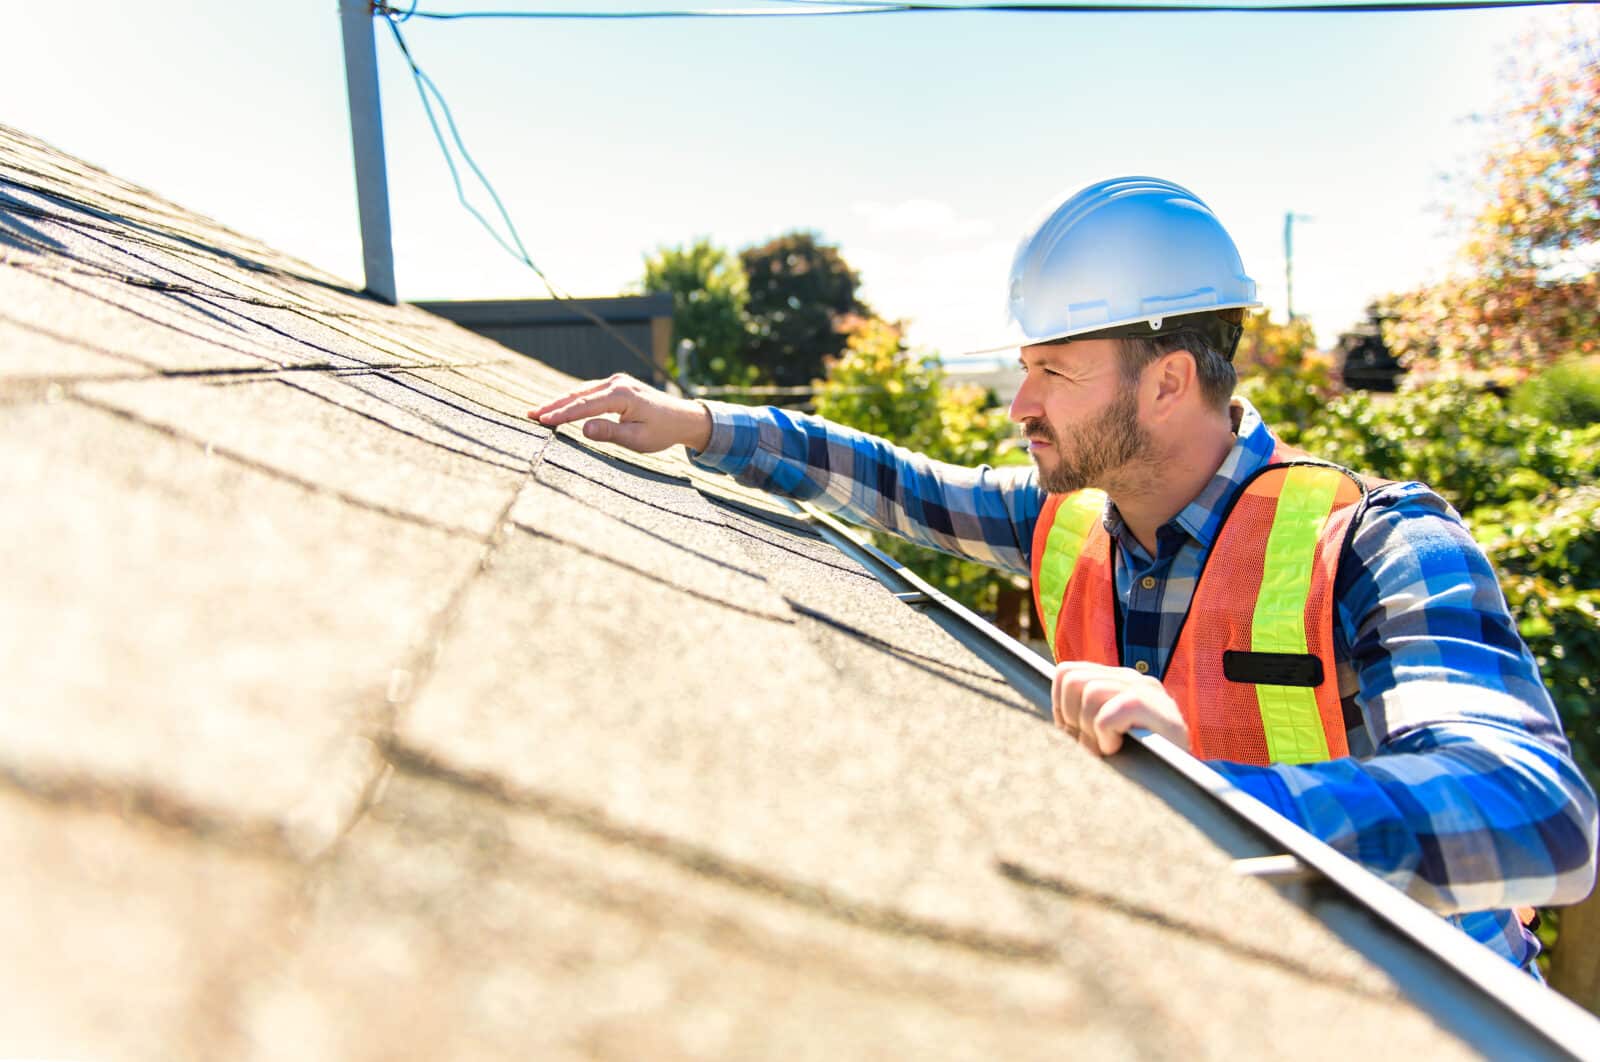
We’ll go over the stages involved in installing a rubber roof. Fortunately, it’s straightforward enough that you can complete it on your own.
Collect Needed Materials
- A complete rubber roof kit
- Lap sealant
- Roof adhesive
- Ladder
- Screwdriver
- Power drill
- Putty knife
- Paintbrushes and roller
- Glue
- Electric sander
- Tape measure
1) Remove All Roof’s Parts
The first step is to remove any vents or housings that may be on your vehicle’s roof. The removal of vents and housings is rather simple. Simply unscrew them with a Phillips or a head screwdriver, scrape off the old lap sealant with a putty knife, and pull the vent or housing off the roof.
If your RV came with a rubber roof already installed, you’d have an easier experience because all you have to do is peel it off. If you’re removing a metal roof, take your time and be safe. Wear thick gloves and extra layers of clothes to avoid cutting yourself on the sharp edges of the instruments and the metal itself.
2) Clean The Roofing Area
Ensure the surface is as clean and flawless as possible before applying the new rubber to your RV. If you’re removing a metal roof, keep an eye out for any stray shavings that could become hazardous later. This is especially important if your old roof was composed of metal.
Some shavings and chips were likely left behind due to all the drilling and cutting that took place throughout the removal.
If your roof deck has many inconsistencies, you might want to sand it down and use tape to seal any gaps in the seams. Sanding is vital because it allows you to create an ultra-smooth surface that will aid in the adhesion of the new rubber roof.
3) Install The New Roof
It may be beneficial to have a partner with you at this stage. The simplest method is to work on a section of the roof at a time. Place the new rubber roof roll on one end of the roof. We’ll apply the rubber roof in short pieces until we’ve covered the entire roof.
You can use a paintbrush or a paint roller to coat a four-foot piece of the roof deck with glue. Allow the adhesive to dry for a few minutes until it becomes tacky, then roll the new roof membrane over it.
4) Drill And Cut Holes For Vents Installation
After the new roof is in place, cut out the openings for any vents, hoods, or housings that your camper’s roof may have. A utility knife will be enough for this task. Make sure to fold each flap into the aperture and use secure to tighten the aperture.
5) Install Drip Edges And Essential Strips
Any caps, vents, drip edges and strips will need to be reinstalled at this point. Cut any excess roofing on the sides with a utility knife after everything is in place. Lastly, apply lap sealant to any exposed screws, joints, or seams.
If any of the components in your RV were held down by rivets, you might need to adjust them when reinstalling them slightly. Also, using screws is a smart idea if you need to reinstall the roof in the future.
6) Add Waterproofing Membrane
In many circumstances, supplementary waterproofing materials will be required to ensure that water does not enter through various gaps or fissures. Apply these pieces according to the manufacturer’s directions after the main portion and perimeter have dried.
Make sure you’re familiar with all of the directions before you start so you know what to expect. Also, double-check all of the parts and components you’ll be using to ensure you don’t run into any issues.
It takes a few hours to install a rubber roof, especially if you have to remove a metal roof first. However, expect it to be a full-time job. If you’re not careful, the chemical vapors can make you dizzy.
Conclusion
A rubber roof on your camper will keep the weather out and allow you to enjoy your trip without stress. Your new roof could also endure a long time if everything were installed correctly, making it a worthwhile investment.
To seal your camper roof, seek a coating or sealant that is compatible with your rubber roof. If your RV has a fiberglass roof, you’ll need to get a fiberglass roof coating as well.
Learn more about the many types of roof coatings for RVs. Installing rubber roof coating has numerous advantages. It avoids leaking as well as increases the life of your current roof.