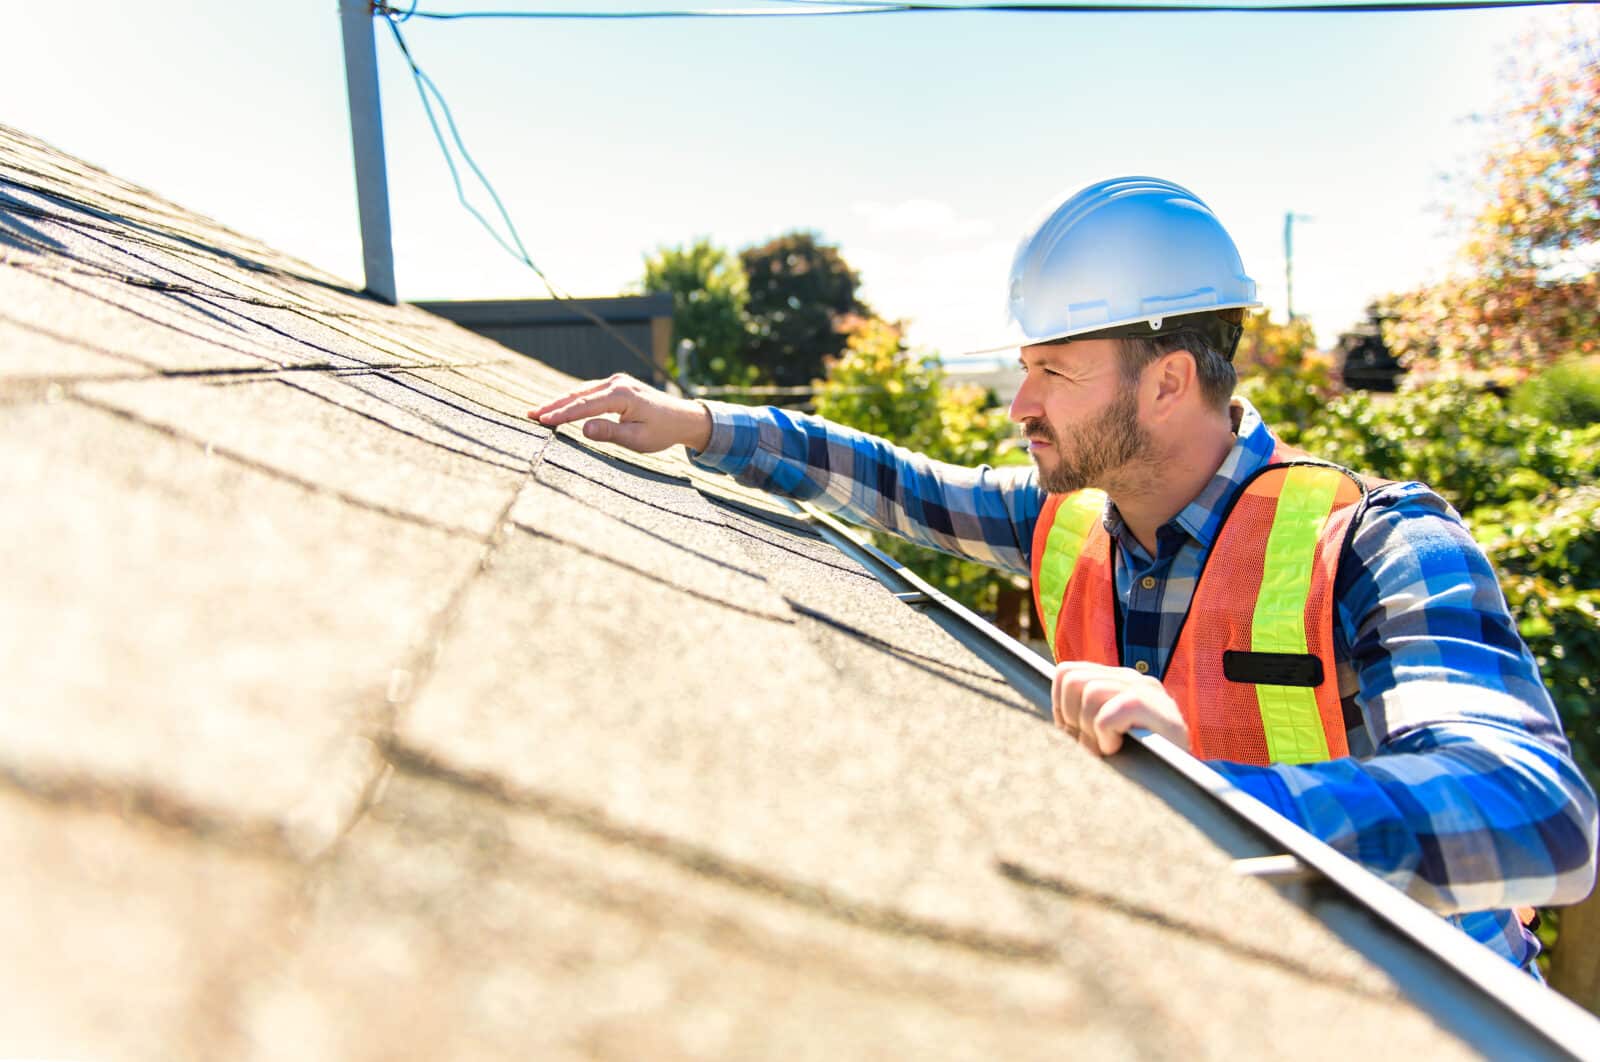
The chimney is one of the final elements of installing a wood-burning stove in your home. To ventilate your home and allow your stove to perform correctly, it must safely protrude through the attic and roof. This can be more difficult if your roof is made of metal.
Ensure proper ventilation, and ensure it’s safely exiting through the attic and your roof. Working with a metal roof is more difficult, but you are here. Cut a hole in the metal roof, apply flash, and secure the pipe to install a wood stove pipe.
Table of Contents
Metal Roof Stove Pipe Flashing

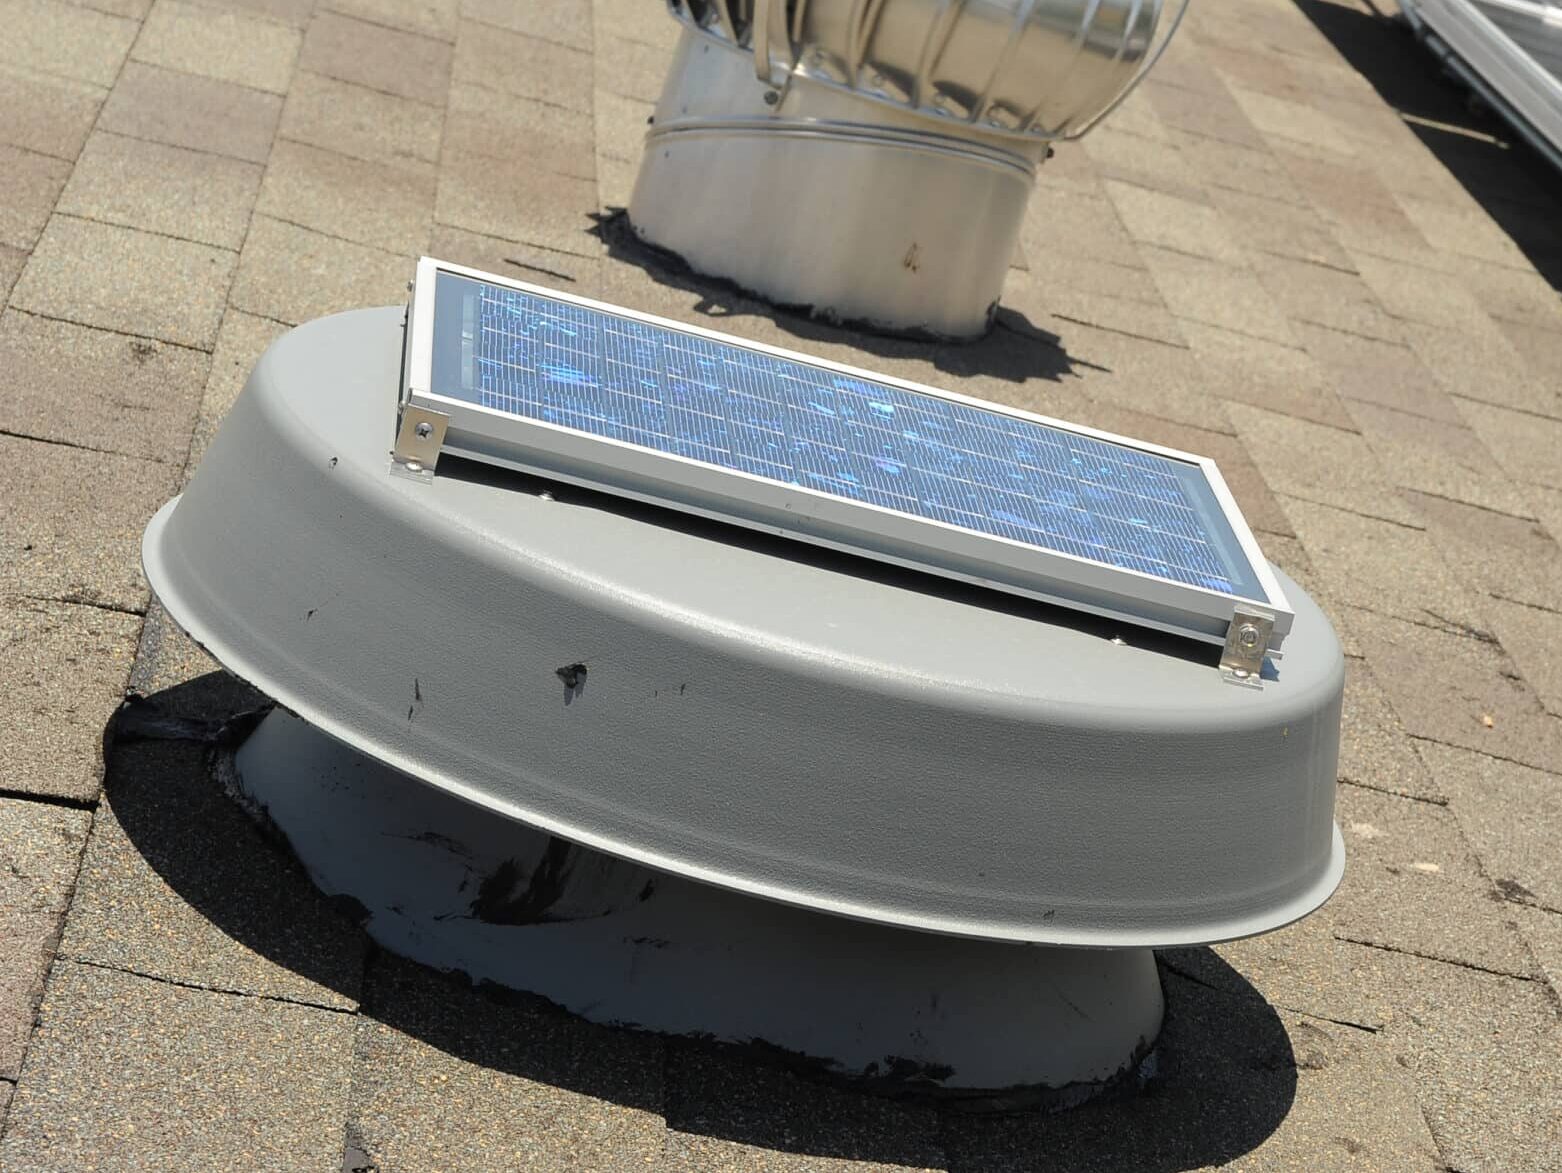
The chimney base can be protected from the elements by using flashing. It is usually constructed of small, impermeable pieces that prevent water from leaking around the chimney, protecting the building from moisture and mildew problems. On a metal roof, metal flashing is typically the norm.
A chimney pipe boot is an alternative style of flashing. They are better suited to stove chimneys in metal roofs and operate well on smaller, round chimneys. You can buy a fitting boot for your chimney pipe rather than having to cut the flashing materials yourself.
Method To Install Wood Stove Pipes Through Metal Roof
It’s critical to consult with your local authorities before beginning any chimney installation project. Because chimneys frequently require particular height clearance, it’s crucial to be cautious.
Pipe Flashing

The weatherproofing of a chimney’s base is accomplished via flashing. It usually comprises thin, impermeable material that prevents water from leaking around the chimney, keeping the structure dry and mold-free.
A metal roof’s flashing is frequently constructed of metal. A chimney pipe boot is a different style of flashing. These are better suited to tiny, round chimneys and could suit a stove chimney with a metal roof.
You can buy a fitting boot for your chimney pipe instead of cutting flashing materials yourself.
Steps To Install Wood Stove Pipe
You must first analyze the position of a chimney for a wood stove on a metal roof. Mark the middle of the chimney on the ceiling, where it will be connected to the stove. Mark the middle of the chimney by drilling a tiny hole here.
Adjust The Position Of the Stove
If you haven’t already, place the woodstove where you plan to install it. If it’s already installed, you’ll be ahead of the game, and your task will be easier. Use one part of the chimney pipe as a guide at the stove connection.
Mark The Positions
Mark the center of the pipe on the roof’s sheathing plywood using a plumb bob from the ceiling. Drill a pilot hole through the metal roofing where you made your mark. This is done to create a physical hole in the core of the chimney.
Mark The Chimney Hole Diameter
The next step will be simple if you can access a drawing compass. Take it and measure the outside diameter of the chimney hole. This should be done on the metal roof’s outside surface. Always watch for the manufacturer’s standards and any applicable building codes.
At least two inches of space between the pipe’s surface and the surrounding material is normal. When the chimney is used, having it too close can provide a fire hazard.
Use Jigsaw To Cut The Hole

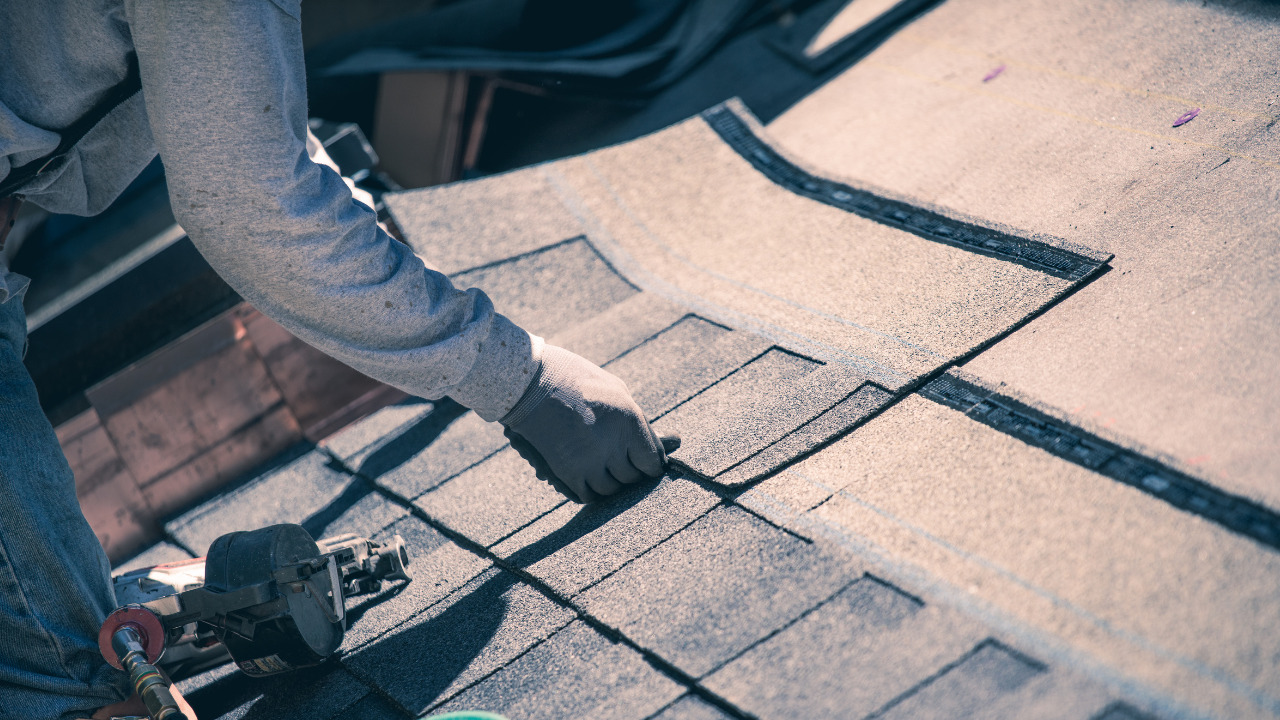
Use a combination blade on your jigsaw to cut a hole in the roof and the plywood. Place the flashing over the hole you just created. Move the flashing down a few inches, and use a pencil to draw a line to the top of the edge.
Before moving on to the next step, cut across the flashing where you set the line using sharp snips.
Insert Pipe Flashing
After cutting a line, you can now place the top edge of the flashing under the roofing and roofing paper. It should cover the chimney pipe hole completely. Raise the roof slightly to apply a bead of exterior-grade caulking.

This should extend above the flashing’s surface where the roof ends. Rep is pressing down under the base’s perimeter edge this time to adhere to the flashing.
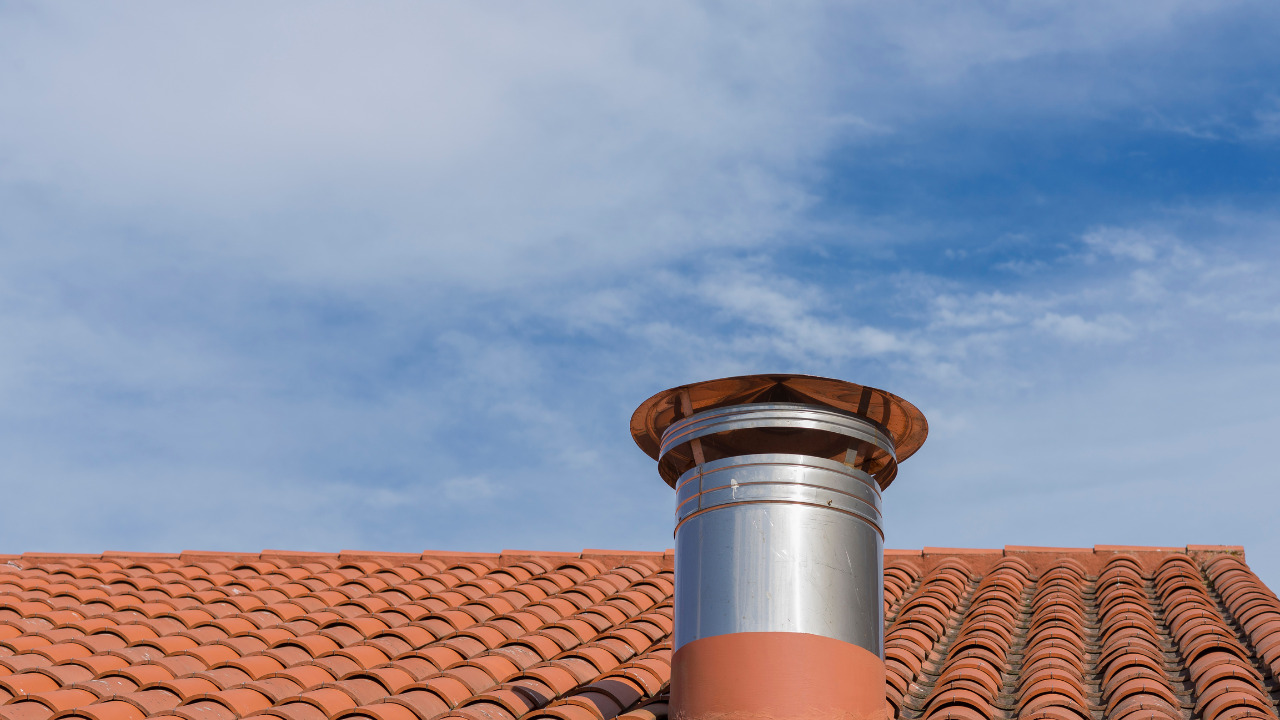
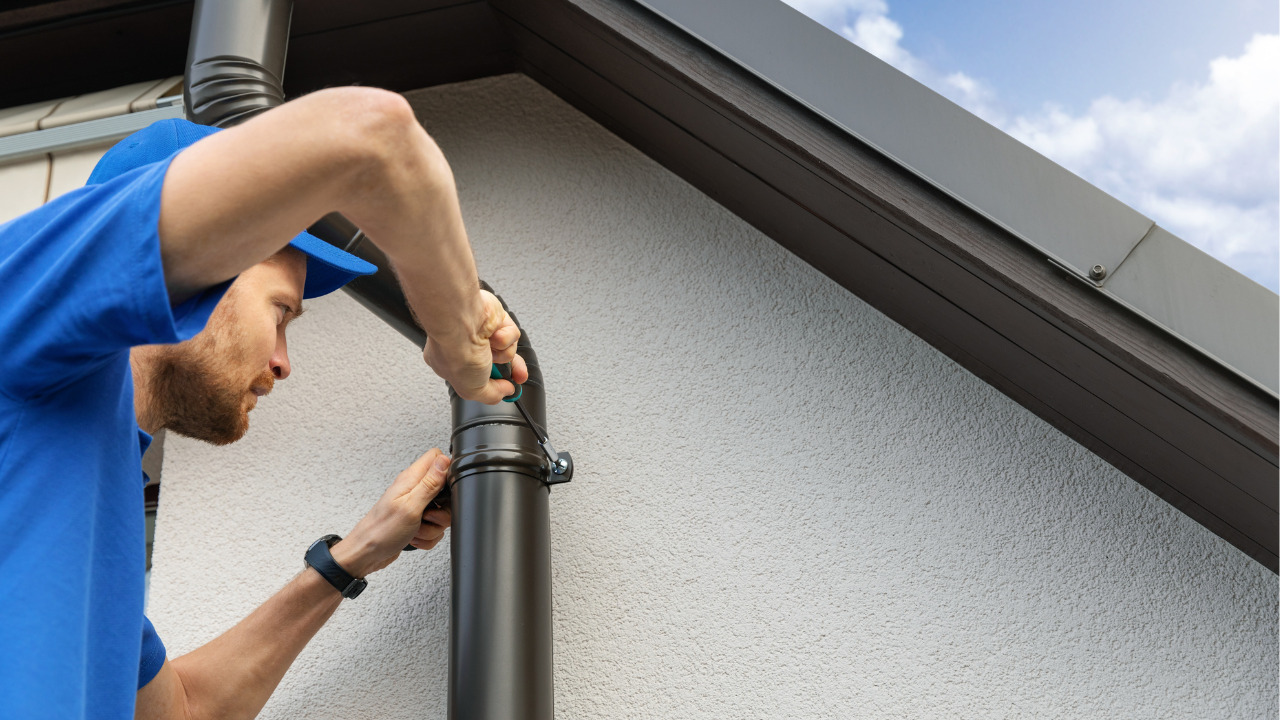
Obtain the chimney’s instructions and properly assemble it. Insert the chimney, including the flashing collar, through the roof hole after it’s finished. Place the bottom of the chimney on the flange of the wood stove.
Tips For Safe metal roof stove pipe flashing Installation
Before putting a wood stove chimney on a metal roof, you must determine the position. Mark, the center of the chimney on the ceiling, then position it about the cooker. To designate the center of the chimney, drill a little hole here.
Once you know its size and location, you can use a jigsaw with a combination blade to cut your hole. The carved hole will now allow you to insert your chimney. The next step is to flash it, which can be done with chimney boots, sheet metal, or flashing tape.
Choose depending on the manufacturer’s recommendations regarding wood stove pipe flashing, as several solutions are available. You’ll need to lift the metal roofing slightly to slip the flashing into position. Fix the flashing into position with caulk.
Caulk is crucial while working on a metal roof since it will adhere without harming, denting, or cracking the metal.
Frequently Asked Questions
Do you need to install flashing on a metal roof?
For preventing water from entering a structure at a roof penetration or joint, metal roof flashing serves as both a method and a device. Many other materials can be used to make flashing, but metal is the most adaptable and long-lasting. Flashing is the last and most effective defense against interior enemies like water.
How to seal a flashing vent pipe?
Scrape the pipe clean and smooth using the knife blade. Add a generous bead of lap-seal caulk at the joint where the vent pipe and the previous rubber gasket meet. After that, apply a second bead of caulk directly beneath the first one. Replace the rubber gasket by sliding it over the pipe and tightening it against the flange.
Which is the best-flashing material for a metal roof?
Although other materials are more durable and cheaper, aluminum remains the flashing material of choice for most homeowners. Aluminum is a decent compromise if you want premium flashing material but are on a tight budget.
Wrap Up
When you have a wood stove, having a double-wall pipe is necessary. A single-walled pipe will heat up and ignite the surroundings around it. You can spread the heat out more by utilizing at least two pipes, which prevents the pipes from becoming too hot to cause a fire.
Finally, follow the instructions guide guidelines to install the chimney cap. Fill each side of the flashing with a small amount of caulk. To keep moisture or water out of the collar, wrap it around any gaps.