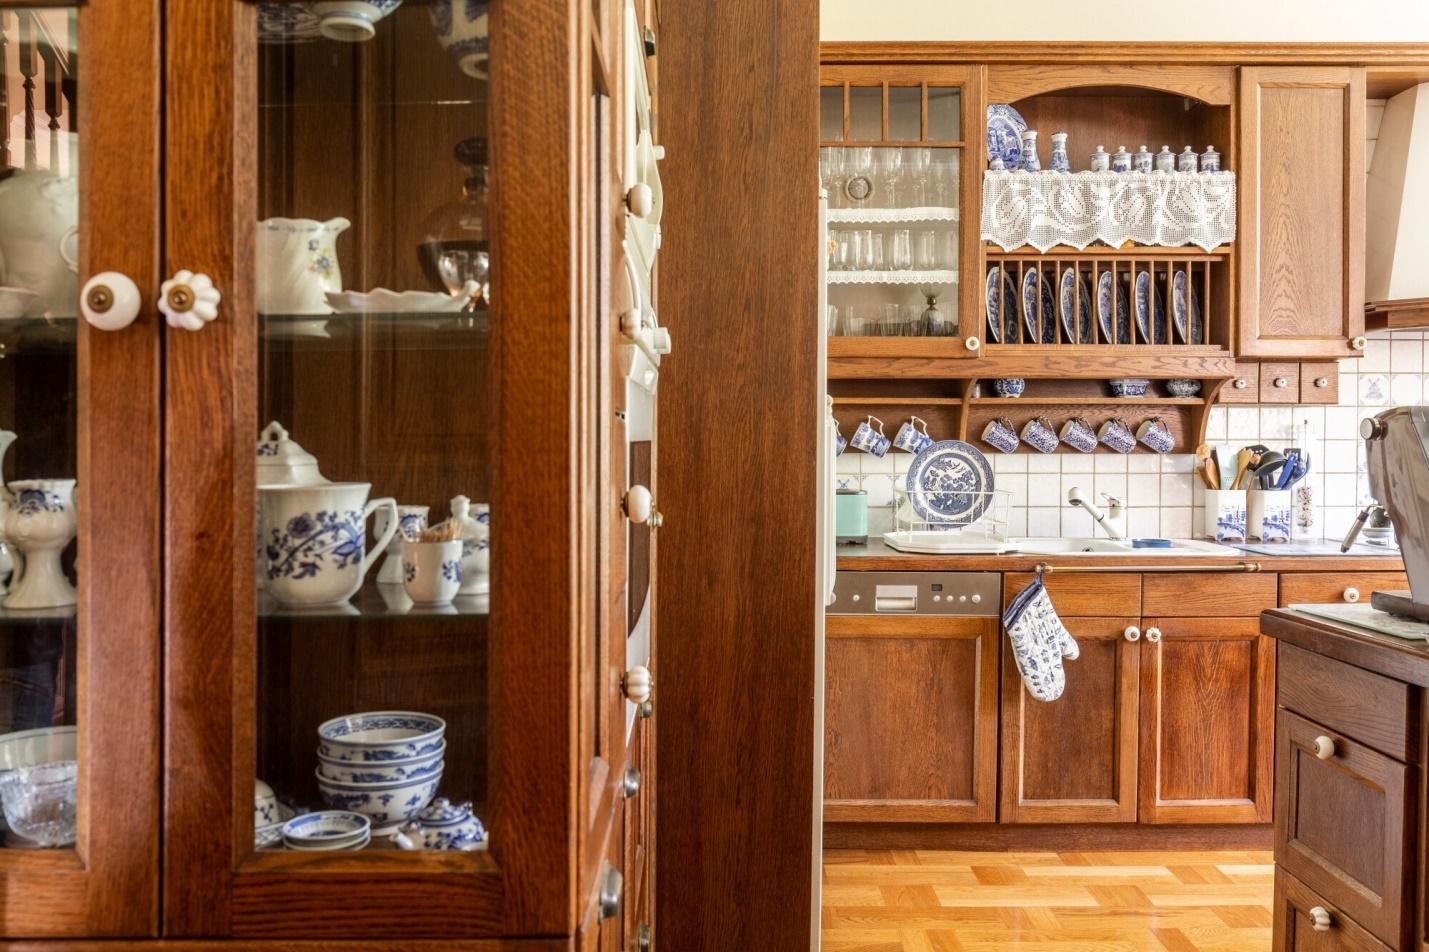
The display cabinet is excellent for collectors, and despite its shortcomings, it represents a fair value for money. It may be transformed into a special display case with a few simple tweaks. Dustproof the display cabinet is the topic of this essay.
The vertical gap between the glass panes is where the dust must be entering. Even a small space will allow dust to enter your home if it is really windy. The Ikea display cabinet is a popular choice among painters.
It’s difficult to beat the price. However, it has one significant flaw: it is not dustproof. The back of the cabinet is closed; However, the sides of the door have massive gaps. Over time, this will result in dusty miniatures, which no one enjoys.
Table of Contents
Required Tools And Supplies To Dust Proof A Display Cabinet
- Scissors
- Pencil
- Self-adhesive brush seal
A brush seal is available at every Home Depot location. They come in several sizes, and you can utilize two different heights for a perfect seal. They come in various hues, with grey being the most common.
Apply The Seal On The Upper Corner Of the Cabinet
Start at the top of the side and work your way down. Removing the back of the self-adhesive on a large area should be done slowly and carefully. Place the seal on the side glass wall’s corner.
Use The Scissor To Cut The End Corner Of the Seal
Using a scissor or a cutter, cut the end of the first piece directly in the corner where the glass meets the bottom. Close the door and use a pencil to mark the door’s edge. It should be hardly discernible.
Apply Seal On The Metal Edges
Apply the seal to the bottom, between the metal sections, and follow the line we just drew. If you wish to use one brush seal, place it slightly behind the door to seal it from the inside. Except for a larger gap, the top portion of the door is nearly identical.
Remove The Door To Apply Seal Around The Hinged Area
You’ll need to remove the door to apply the brush seal on the other side of the door, where the hinges are. Remove the door slowly by unscrewing the screws on the bottom hinge. This stage should be done with the assistance of a friend!
Then, just like on the other side, apply the seal. Although it is preferable to clear your cabinet before working, keeping some miniatures inside will assist keep your adrenaline levels high. You now have a dust-proof cabinet by replacing the door.


