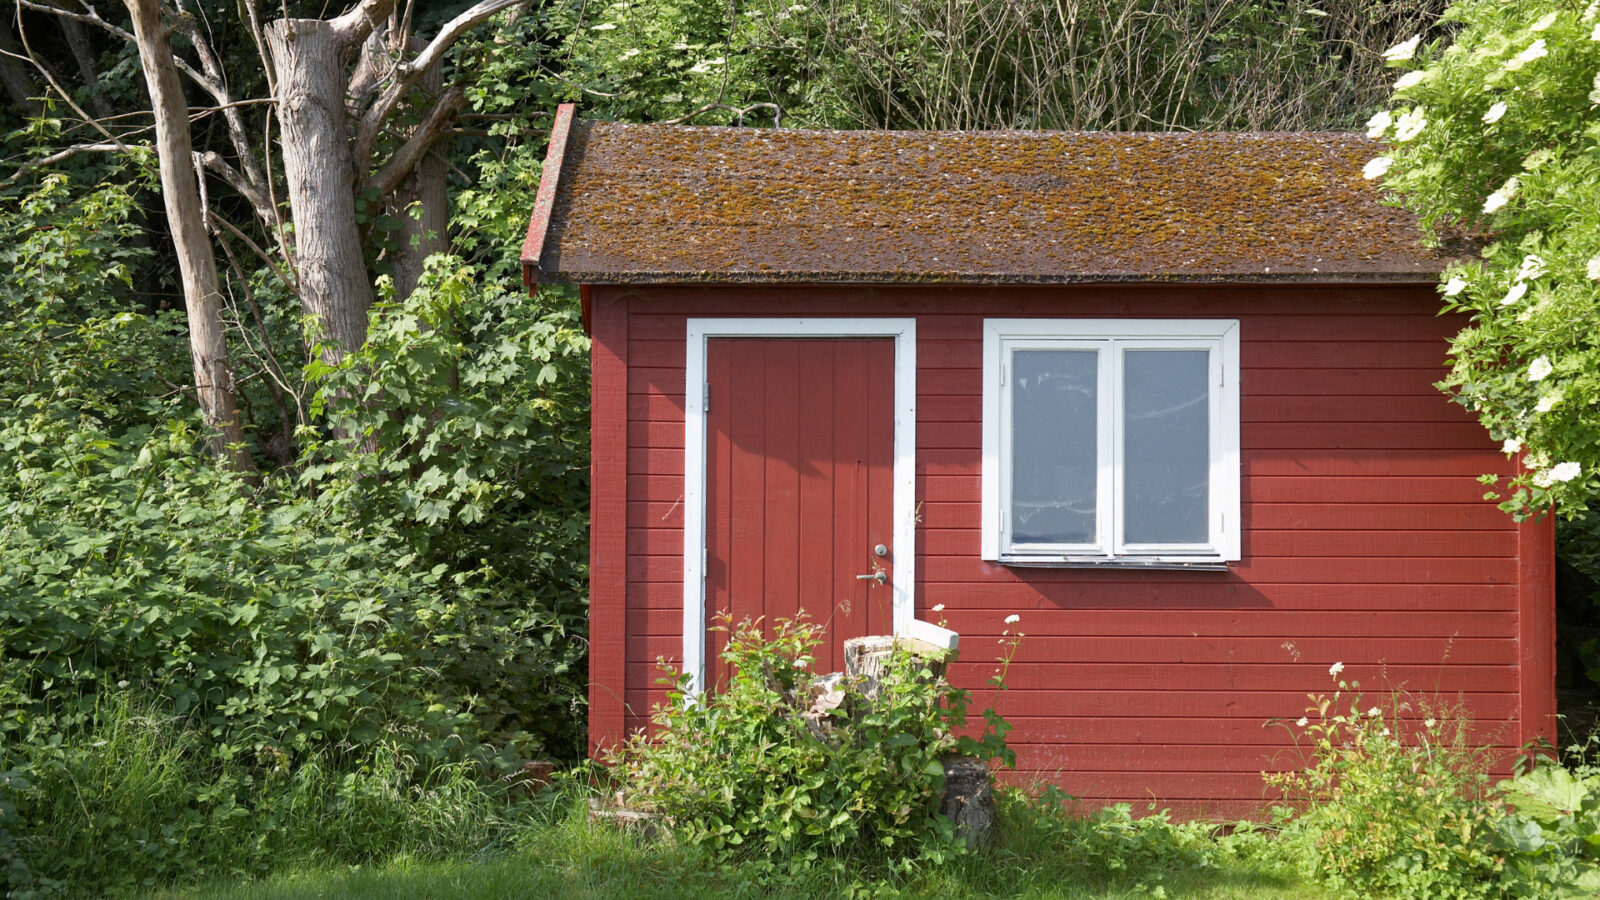
Learn how to roof a shed for a practical and satisfying DIY project. Save money and improve your outdoor space with essential tools and techniques like using a nail gun. By the end, you’ll be confident to transform your shed into a durable, weatherproof, attractive structure. Remember to prioritise safety gear for this project.
Table of Contents
Let’s get started
Step 1: Gather Your Materials and Tools. Before you begin, ensure you have all the necessary materials and tools:
– Before beginning the task, gather all required materials and tools:
– Roofing materials
– Roofing nails
– Nail gun
– Roofing felt
– Underlayment
– Ladder
– Safety gear (gloves, goggles, hard hat)
Step 2: Prepare the Roof Surface. Ensure the shed roof is clean and free of debris. Repair any damaged or rotted wood. Install a drip edge along the roof edges to prevent water from seeping underneath the roofing materials.
Step 3: Install the Underlayment. Roll out roofing felt or underlayment over the entire roof surface. Secure it using a staple gun or roofing nails, ensuring it overlaps correctly per the manufacturer’s instructions.
Step 4: Snap Chalk Lines Use a chalk line to create guidelines for properly aligning your shingles or roofing material. This ensures your roof looks neat and professional.
Step 5: Start Roofing. Begin at the bottom edge of the roof and work your way up. If using asphalt shingles, align the first row with the starter strip. For metal roofing, start at the eaves. Using your nail gun, secure the first row of roofing material with roofing nails.
Step 6: Overlap Rows Continue adding rows of roofing material, overlapping them according to the manufacturer’s instructions. Use your nail gun to secure each piece, ensuring proper spacing between nails.
Also read: What is the best nail gun?
Step 7: Cut and Trim As you approach the edges, you may need to cut and trim the roofing material to fit. Use your saw to make accurate cuts and secure the trimmed pieces.
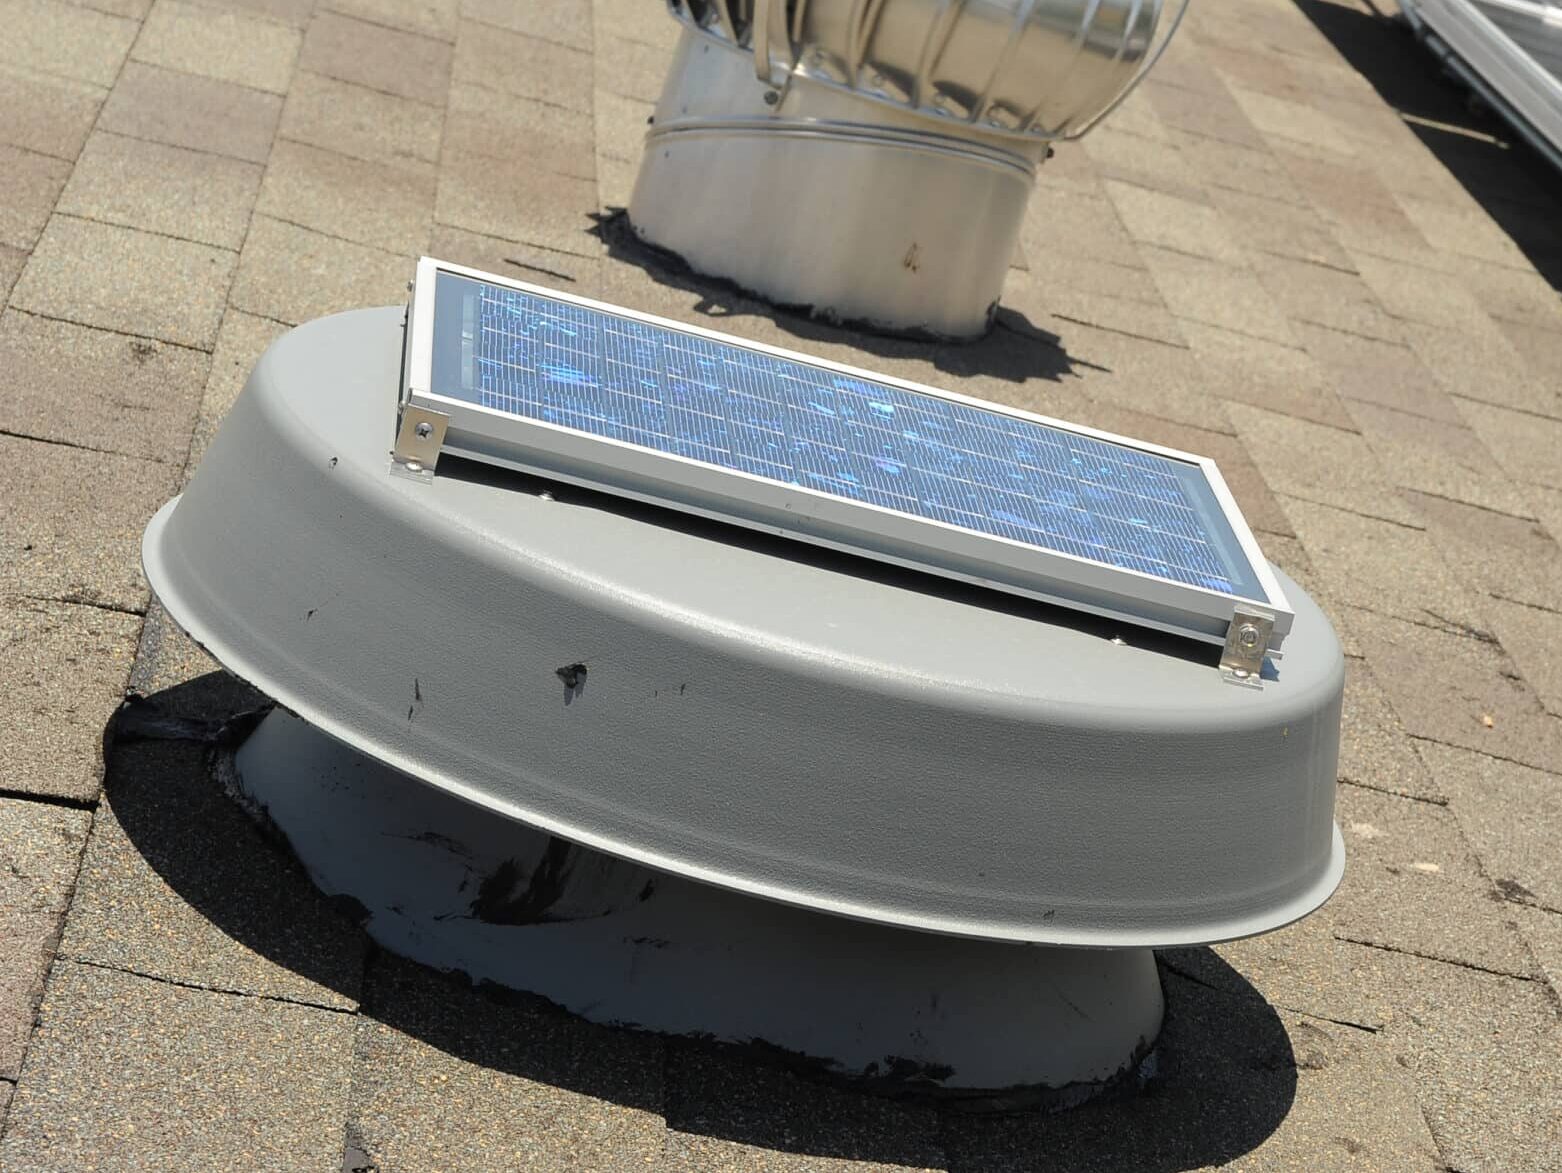
Step 8: Ridge Cap Installation Install ridge caps or ridge vents at the roof’s peak. These components provide ventilation and protection. Secure them with nails or screws, depending on the type of roofing material.
Step 9: Inspect and Clean Up After completing the roofing, inspect your work for loose nails or materials. Clean up the work area and remove any debris from the roof.
Step 10: Final Check: Step back and inspect your newly roofed shed. Ensure all edges are properly sealed and there are no visible issues with the installation.
Conclusion
Roofing your shed can be a rewarding DIY project. Use appropriate materials, tools, and techniques for a high-quality result. A nail gun can help achieve a professional finish quickly, but safety is a top priority. Follow the manufacturer’s guidelines and take your time. Enjoy the process of roofing for a sturdy and well-roofed shed that will last.