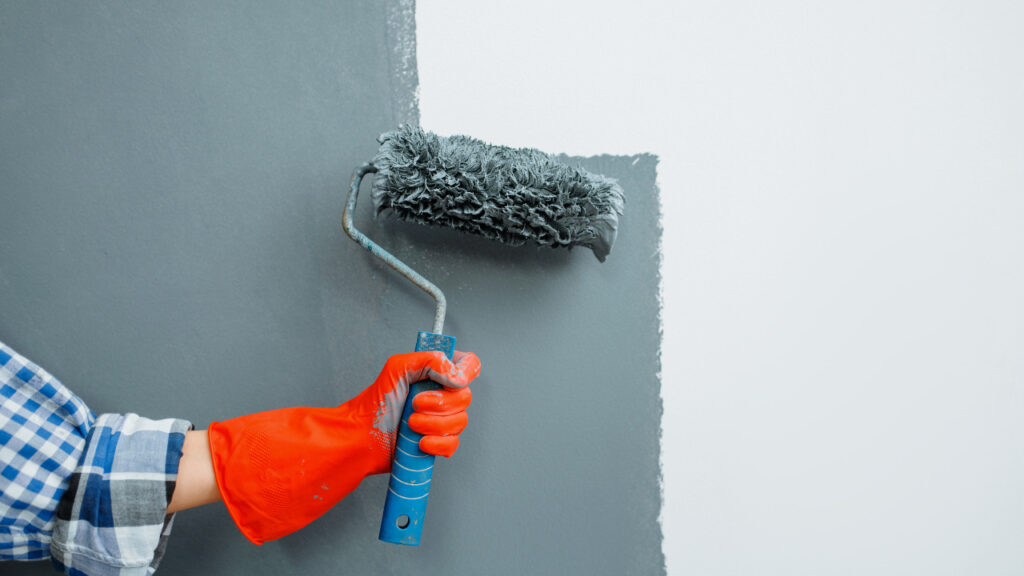
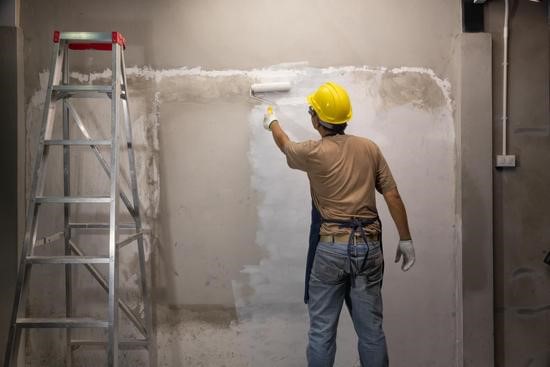
Most people have probably used paint rollers at some point in their painting projects. However, the degrees of success in using a roller vary. Maybe you just plunged right in and started rolling, or you took your sweet time developing the technique you wanted. So, how to paint a wall with a roller as a beginner?
Let’s walk through some tips and techniques to help you get a smooth spread using a roller. You can even coat the wall with latex paint using a roller.
Table of Contents
10 Easy Steps to Painting a Wall with a Roller
If you use the paint roller the right way, you will get the job done faster. It will even eliminate the problems like light areas, roller marks, and built-up ridges. These issues can bother the beginners, so just ensure following these steps for a smooth roller job:
1. Get Quality Painting Tools
Even if you employ the best painting techniques, it won’t work with poor-quality painting tools. That’s why it’s recommended to buy a pro setup instead of wasting money on all-in-one throwaway roller setups. A pro arrangement will last a lifetime. If you want a great house color scheme interior, invest in good painting stuff.
Start with a solid roller frame. For better control and extended reach, screw a 48-inch wood handle onto the end of the roller. You can also opt for a threaded broom handle.
You will also need a container for storing the paint. Most DIYers use paint trays. However, you will rarely see professionals using them. It’s because a 5-gallon bucket with a special bucket hung over the edge works better.
You can use a drywall compound bucket or get a new, clean bucket. Add a bucket screen and you are ready to go.
2. Use a Good Paint Roller Cover
The roller cover is the most essential part of your paint-rolling setup. It’s also known as a sleeve.
You may feel the temptation to get the cheapest roller cover available so that you can throw it away when you are done with the paint. However, when you experience the difference a good roller cover creates, you won’t mind the extra minutes of cleanup and extra bucks to get a good roller cover.
Additionally, the cheap roller covers can’t contain enough paint to do a great job, as it will take you four times as long to paint a room. Moreover, you are likely to end up with roller marks, inconsistent paint layers, built-up paint ridges, etc.
Instead, buy a ½ inch wool blend roller cover and give it a try. If you take proper care of this roller cover, it will do you a lot of good in the long run.
However, you may face some issues while using the wool roller cover. They tend to shed fibers when you first use them. To minimize this shedding, take a masking tape to wrap the new roller cover. Peel the tape off to remove loose fibers. Repeat this process a few times to ensure the roller cover gets smooth.
If you apply too much pressure while painting, wool covers can get matted. Always remember! Rolling demands a light touch. Always let the paint do the work, no matter which type of roller cover you use.
Keep the roller cover loaded with paint, and apply only enough pressure to release and spread the paint over the wall.

3. Load the Paint Roller with Paint
Dip the roller cover in the paint about ½ inch and load the roller with paint. After that, get it rolling against the screen. If you fill a dry roller cover with paint, you will need to do about five or six paint-loading repetitions. Afterward, you will only need 2-3 more dippings.
4. Prepare the Wall Surface for Painting
If you notice any holes or gaps in the wall, fill them using a lightweight spackling compound or sanding powder to smooth the wall.
Use 100-grit sandpaper and apply it over the entire wall. This setup will prepare the wall for painting. Next, mask off the baseboard, windows, and door trims. Use the blade of a putty knife along the edge of the masking tape to seal it. If you don’t do this, the paint can seep underneath.
You should also remove any paint from the wallpapers on the walls to clean them properly.
5. Avoid Roller Marks and Fat Edges
Fat edges are a common problem you may face when you are painting a room. These edges are ridges of the paint left by the roller edge. If these edges get dry, you will find it hard to get rid of them without heaving sanding, or patching.
Here are a few ways you can solve the problem of fat edges:
- Don’t submerge the roller in the paint fully to load it. That’s because paint can seep inside the roller cover and leak out when you are painting. Trip to dip only the nap of the roller in paint. Then spin it against the screen and dip again until the roller gets loaded with paint.
- Don’t press the roller too hard when you smooth out the paint.
- If you have a roller full of paint, don’t start your painting against an edge like a corner. Start about 6 inches from the edge and unload the paint from the roller. Then work your way backward.
- Get rid of the excess paint from the roller. Tilt the roller and apply extra pressure to the open side while rolling it up and down on the surface you are painting.
6. Use a Proper Paint Rolling Technique
When you paint a wall, try to roll it up and down. Keep the rolling from floor to ceiling, and move over about three-quarters of a roller length every time. If you are painting challenging ceilings like vaulted, a paint roller can help you reach the edges easily.
When you reach a wall corner, roll as close as you can to the nearby walls without touching it. This is the right paint roller technique that every DIYer paint lover should understand.
Use the roller over the entire area you covered and blend the paint smoothly. Don’t reload the roller with paint for this step. Instead, use very light pressure.
Repeat this process until you have rolled the paint over the entire wall.
7. Keep a Wet Edge
If you want a top-quality paint job, keeping a wet edge of the wall is crucial. It comes in handy whether you enamel a door, varnish furniture, or roll paint on a wall.
This idea works by planning a sequence of work and working fast enough so that you lap newly applied paint onto a paint layer that’s still wet.
If you stop for a break in the middle of painting the wall, and then start repainting after this area gets dried, you will likely get a lap mark.
The proper rolling technique avoids this problem and allows you to quickly cover a large surface area with paint. You can then return to smooth out this area, and this brings us to the next important paint roller technique.
8. Lay on Paint, Spread it Out
The one mistake you can make as a DIYer, whether you brush or roll, you take too long to apply the paint. You should quickly spread the paint after laying it on, and repeat the laying-on process.
However, this technique only works with a good-quality roller cover that can hold a lot of paint. Until you get comfortable with this technique, and get a feel of how soon the paint get dry, cover only about 3 or 4 feet of the wall. If you find the paint drying slowly, you can cover the entire wall with paint before smoothing it off.

9. Cutting In
A paint roller can’t get tight to the edges. That’s why the first painting step to follow is brushing along the ceiling, inside corners, and moldings.
This “cutting-in” process leaves brush marks that won’t match the roller texture on the rest of the surface.
If you want the best paint job, try to cover as many brush marks as you can with the paint roller. You can do this by rolling up close to the corners, edges, moldings, and ceilings. Remember to use the roller with the open end towards the edge and keep it fully loaded with paint.
With continued practice, you can get within an inch of the ceiling rolling vertically.
10. Pick Out the Paint Lumps Before Drying
No matter what you do, you can occasionally get lumps in the paint. You should keep the roller cover away from the floor where bits of debris may accumulate over it. Moreover, keep a wet rag in your pocket and pick lumps off the walls as you go. Strain used paint through a mesh paint strainer to remove paint lumps.
Paint Roll Your Way on the Wall
You can use this guide to get a detailed idea of using a paint roller for the first time. Using these roller painting techniques and avoiding mistakes, you can easily roll your way into a great and perfect paint job.


