The discovery of the dreaded brown spot on your ceiling is highly alarming. After a while, the water smashes through your ceiling, and you must scramble to find buckets or pots to catch it. You have no idea how much damage the leak is causing to your home. You can even come across mold that is dangerous to you and your family.
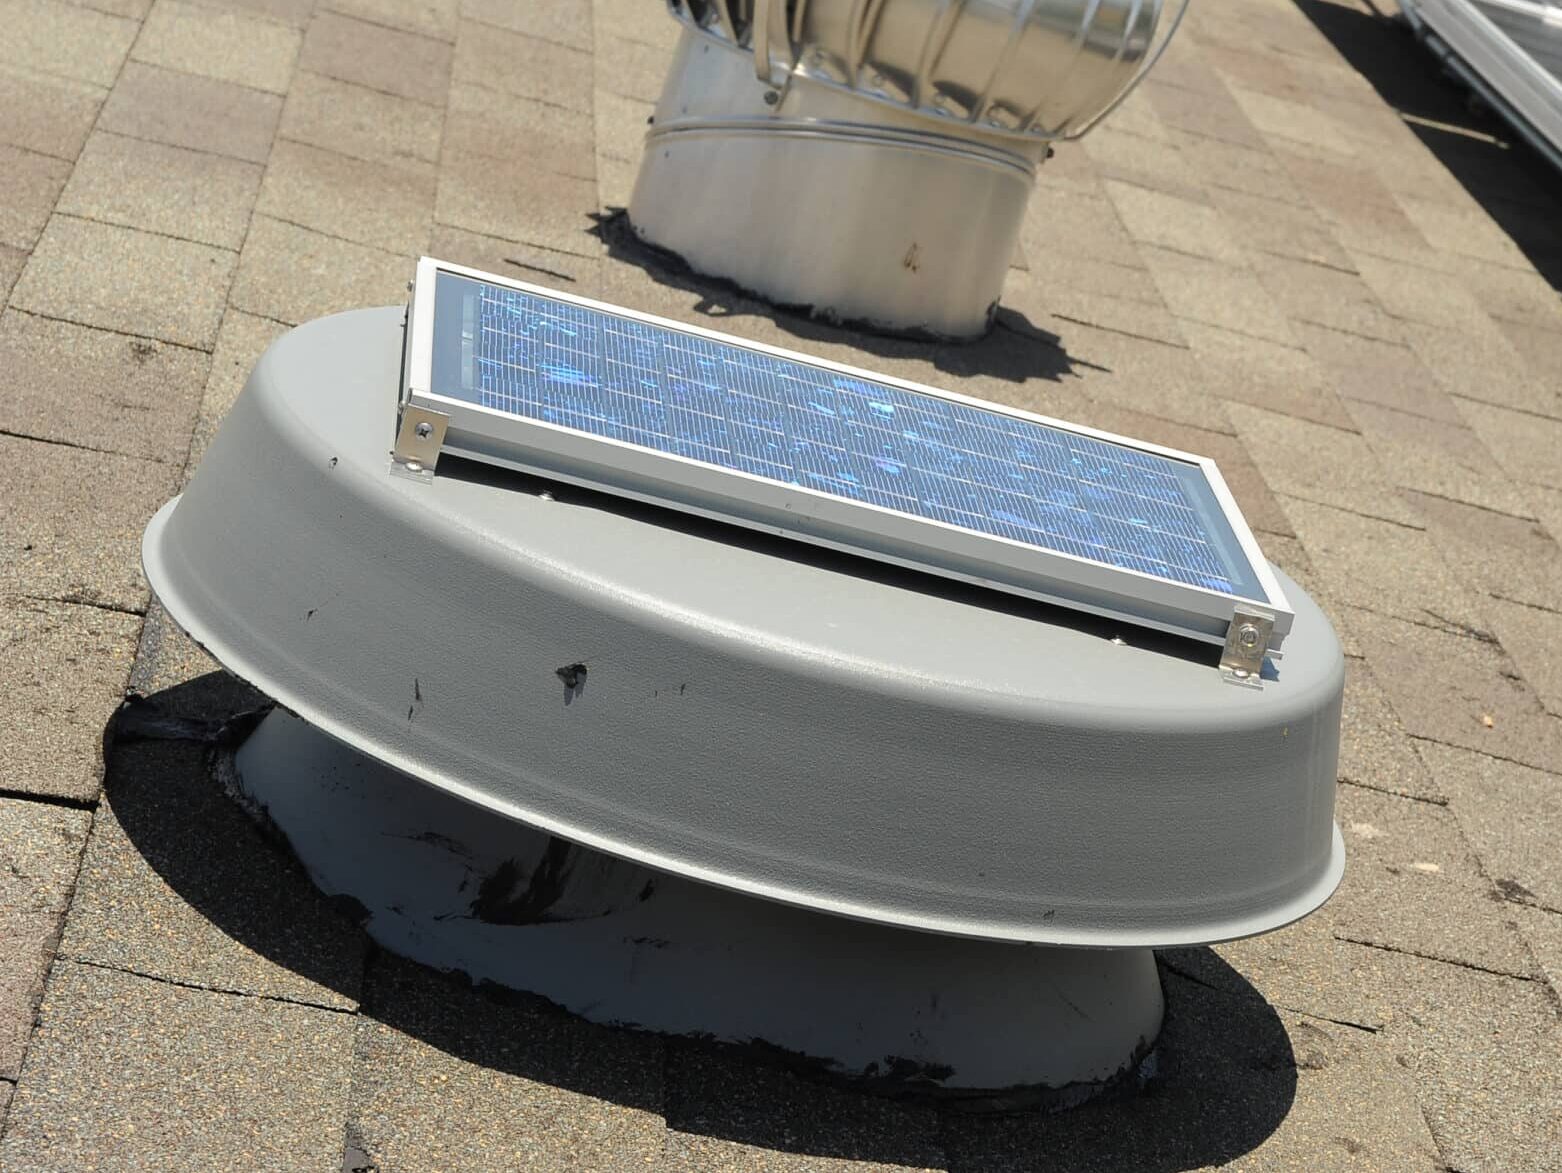
A metal square of flashing covers plumbing vent pipes on home roofs, and silicone caulk is used to seal them. Water does not enter the house since the vent pipes are flashed shut. Due to extended exposure to UV radiation, this gasket deteriorates over time and cracks or crumbles, resulting in roof leaks.
Table of Contents
The Common Reason Behind The Roof Vent Pipes Leakage
When a boot around a pipe fails, it’s the most likely leak source. A boot is a roof flashing that waterproofs the pipes from your roof. A roofer may wear lead, plastic, copper, or other boots. The primary purpose of a pipe boot, regardless of the material used, is to prevent water from flowing down the pipe and into your home.
You can choose a neoprene pipe boot for this type of leak because the synthetic rubber boot fails the most. Sunlight degrades neoprene, causing the material to crack. When it fractures, water will leak into a closet, kitchen, bathroom, or wherever the pipe exiting your house is located.
1) Inappropriately Driven Nails
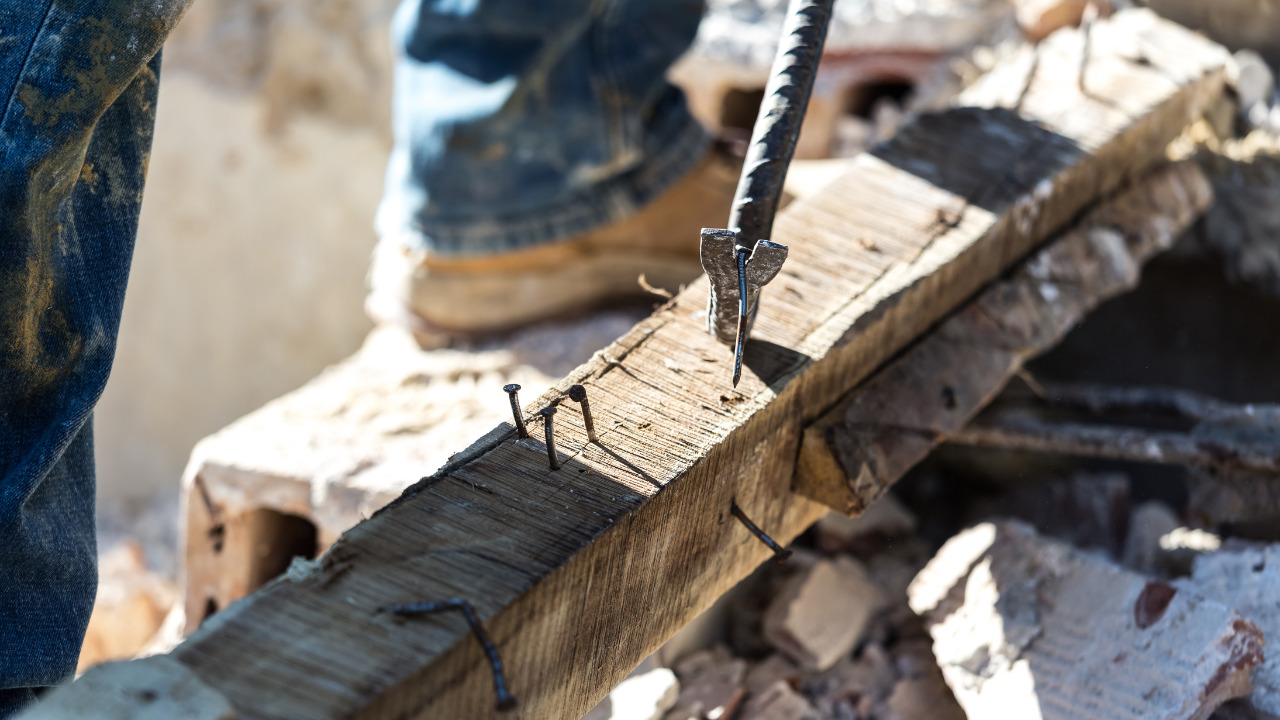
A roofing nail backing out of a shingle is the most typical source of leaks. You shouldn’t have a problem with whether air-nailed or hand-nailed, as long as the nail strikes good wood, holds firm and snug, and isn’t overdriven.
If a nail isn’t driven far enough or in the wrong direction, its head will work its way back up through the shingle. This happens to deck nails as well as roofing nails used on shingles. If the decking nail didn’t touch wood during the construction, the sun would pull it out through the cracks.
2) Stopped Debris Above The Roof-Line
When a valley comes to a halt in the center of a roof, a gutter will run into it to keep the water flowing. The issue is with the fascia, the board that runs along the roof’s lower border and supports the gutters.
A leak will occur if the fascia board does not have a flash. In normal circumstances, this leak would not occur. Even if it’s raining hard, water will flow down the path of least resistance when that valley gutter fills up with leaves and other debris.
From Where Can You See Vent Pipe leakage?
The leak could appear in the master bedroom, a bathroom, or a closet. It’ll be wherever that pipe is on the roof. Examining your roof in the general region of the leak will reveal which pipe allows water to enter your property. Otherwise, the leakage may damage your whole room or property over time.
Steps To Seal Or Repair Vent Pipes
Installing a little rubber collar over the old cracked vent pipe boot is the simplest solution to fix this leak. The collar will surround the existing flange and should last long.
Collect Needed Tools And Materials
- Caulk gun
- A ladder
- Nails
- A nail gun
- A screwdriver
- A putty knife
- Scissors
- A sponge
Remove Nails
Remove the roof nails that are holding the vent pipe flashing in place. Some nails will be near the pipe’s bottom, while others will be near the vent pipe, under the top row of shingles. Using a putty knife, carefully lift the shingles 1 inch from the seam or edge.
Using a pry bar, pry any roofing nails off the shingles. To loosen the shingles that cover the flashing, run the putty knife under them for 10 inches. When you remove the old flashing from under the shingles, you won’t damage them.
Remove Old Caulk Or Sealant
To separate the vent from the roof’s surface, use a carpenter’s knife or box cutter to cut the previous caulk line. Do this around the vent. With a putty knife or screwdriver, remove all of the old caulk. Scrape the tool’s flat edge against the vent’s edges to remove any stuck sealant.
Clean Vent Pipes
Use a paintbrush or a hand broom to sweep away all the dust and debris caused by loosening caulk. With a sponge bathed in soapy water, clean the vent’s edges and the surrounding roof. Allow it to air dry entirely. Around the vent, completely caulk the area. Make gradual movements to draw a precise line and a reliable seal.
When you’ve finished caulking around the vent, lift the caulking gun away while twisting the tube’s nozzle to seal the hole completely.
Protect The Underneath The Shingles
Run a putty knife across the top row for 10 inches. This is necessary to get them ready for when the flashing is removed. Raise the corner with a putty knife to remove the nails holding the flashing. Position the pry bar between the pry bar and the flashing to carefully uplift the nails.
Carry out the same procedure for all the nails holding the flashing in place. Remove the flashing from the shingles by carefully lifting them away from the roof. To securely bring the flashing up, you must trick around the bends.
Use a Roofing Membrane To Seal The Cut Or Pipe Leakage
With a utility knife, cut a piece of roofing membrane to cover the pipe opening in the roof and the now-bare region where the flashing was on the roof. For the vent pipe, cut a hole in the center of the roofing membrane. Trim the roofing membrane’s borders. So, the vent pipe flashing overlaps it by one inch on all sides.
Apply a bead of silicone caulk to the roof vent pipe aperture. Remove the roofing membrane’s plastic backing and slide it over the vent pipe and down onto the roof. To seal the vent pipe, run a bead of silicone caulk down the top edge of the roofing membrane where it meets the vent pipe.
Nail Back The Shingles
Install the flashing on the roof by pressing it down. The flashing and the roof drive nails 1 inch from each corner. On each side of the flashing, place a nail centered on the sides, 1 inch from the edge. Replace the shingles and the flashing where they overlap on the roof with nails. As you nail the shingles down, position the fresh nails near the previous nail holes.
On the bottom of the top row of loose shingles, apply a bead of silicone half an inch above the black asphalt or tar adhesive line. Place the shingles’ silicone edges against the flashing and press them down.
What Is The Cost Of Sealing Roof Vent Pipes?
You will love to know that you don’t need to hire a professional to seal vent pipes. The reason is that it’s a DIY project. The difficulty of this project is easy to intermediate-level. The cost to complete this project depends on the size and number of vent pipes. However, the average cost is $15-$25.


