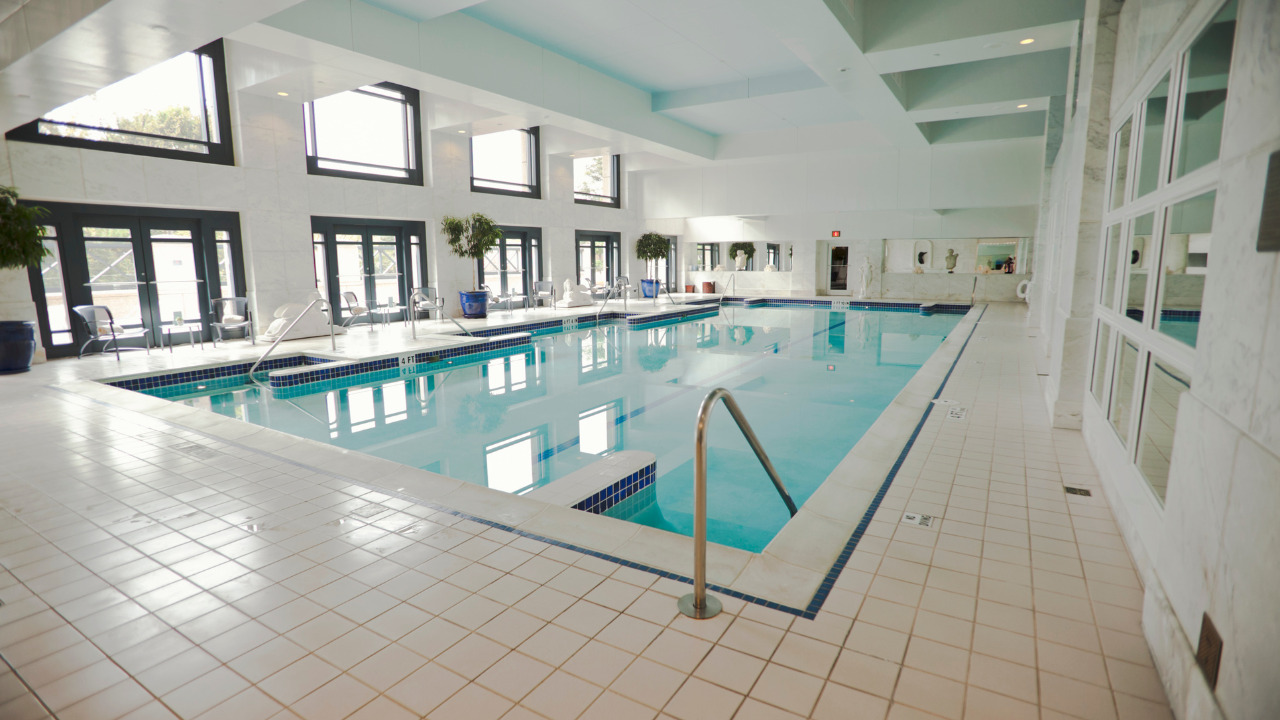
The water’s surface in a swimming pool is enhanced with waterline tile. Tiles made of ceramic that extend just below the waterline are installed flush with the decking’s surface. Hire a contractor to install the tiles and waterproof grout for plaster swimming pools.
A DIY homeowner can install the tiles on a fiberglass pool without paying a contractor, saving money. The task begins with basic measurements and the acquisition of the necessary materials and supplies, much like many tasks.
When you consider the various pool tile options available today, you realize countless options for the level of luxury your pool can have. While having a beautiful pool is important, it’s also crucial to start by choosing waterline tiles that offer the proper aesthetics and upkeep your pool requires.
Pool waterline tiles have many uses after installation than just aesthetics. Here is a comprehensive guide with all the information required to choose pool waterline tiles.
Table of Contents
Why Do You Need To Install Pool Waterline?
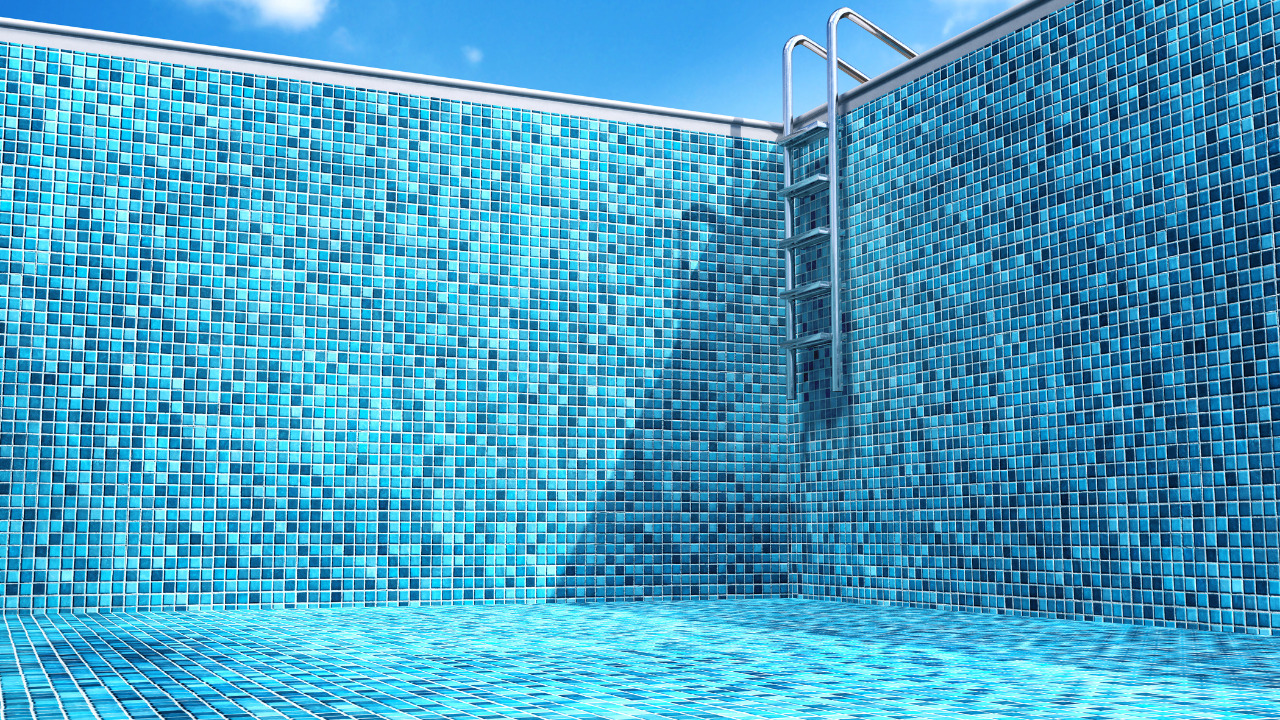
If your pool doesn’t have high-quality waterline tiles, it won’t take long for the waterline to be distinguished by a very visible yellow scum line. This, which results from many chemicals that get into your pool water, won’t make you or anybody else at the pool want to go swimming.
A few swipes with a rag are all that is required to remove any scum accumulation off the surface of waterline pool tiles, making it simple to remove any scum or other debris and grime when your pool is being cleaned.
If you do not use waterline pool tiles, you will attempt to scrape off the scum, which may or may not come off. In theory, waterline pool tiles aren’t always necessary for pools. But if these tiles aren’t put in, a pool can have issues that require pricey repairs or perhaps a total replacement.
In addition to preventing a scum line from forming, waterline pool tiles provide a pool’s appearance with a touch of luxury and beauty. In addition to these advantages, the waterline tiles maintain the seal between the pool’s shell and liner.
To avoid issues like cracking and pool water freezing, which could all cause significant damage to a pool, it is best to have an airtight liner or shell.
Steps To Install Pool Waterline
-
Measure Your Pool
Measure the pool or spa’s sides from one end to the other. To account for the tiles extending below the waterline, add 2 inches to the measurement between the upper lip of the borders and the waterline. Get the tiles based on the width of the waterline and the overall length of the sides.
-
Drain Out Water
The water in the pool or spa should be drained until it is 6 inches below the waterline by opening the drain valve at the filter. The drain valve should be closed. Use fresh rags to wipe away any dust or moisture from the inner edges of the sidewalls.
-
Install Tiles
Activate the caulking gun and insert a tube of silicone adhesive. Utilizing a utility knife, remove the tube’s tip to create an aperture. The inside corner is a good place to start. The back of a tile should have silicone adhesive applied in a crisscross pattern from corner to corner.
Ensure that the tile’s upper edge is parallel to the upper edge of the pool’s side before pressing it into position. This makes certain that the tile is perfectly upright.
-
Install Tiles On The Edges
The tiles should be installed edge to edge along one side, with the upper edges lined with the upper edge of the poolside. A ceramic tile cutter should be used to measure and cut a filler tile for the end of the row.
Before installing, use a sanding block to round out the filler tile’s cut edge. Install waterline tiles on the remaining edges of the pool or spa by following the same technique a second time. Remove the masking tape strips from each tile and the pool’s edge after the adhesive has had time to dry overnight.
-
Install Silicone Sealant
The caulking gun should be equipped with a tube of silicone sealant. Make an aperture by chopping off the tube’s tip. Apply the sealant using the caulking gun in an upward motion, beginning at the lower end of a seam between two tiles.
Dab your fingertip in a rag to remove the seam and remove any extra sealant.
-
Repeat The Process
Repetition is necessary to seal the tile seams. For maximum results, wipe away any extra sealant as you go. When the upper edges of the tiles meet the upper edge of the pool’s side, apply a uniform bead of sealant along the seam.
Utilizing the fingertip and a towel, smooth the seam. Before filling the pool or spa to the waterline, give the sealer an overnight cure.
Conclusion
Learning as much as possible about various styles and other topics may simplify any job, whether it’s a minor repair project or a significant overhaul. Keep in mind that everybody can benefit from guidance occasionally.
Many of the greatest pool contractors speak with pool tile experts so they can provide their customers with exceptional service. This is because contractors also want to stay up to date on the most recent design trends and which materials perform best for certain pools.