Are you thinking of giving your furniture a fresh breath of life? Painting with chalk paint is a brilliant way to spice up outdated, worn-out, and tired-looking furniture. Chalky-style paint is famous for its matte, chalky appearance, and vintage finishing, and can spruce up kitchen cabinets, chairs, drawers, internal doors, etc.
Painting with chalk paint is quick, easy, and perfect for beginners. You won’t need much sanding or priming. You can chalk paint onto surfaces, including wood, plastic, and brick. It produces a full coverage and a perfect chalky finish.
Let’s go through the art of painting with chalk paint in detail, with an emphasis on painting the furniture with chalk paint.
Table of Contents
How to Use Chalk Paint on Furniture?
You can use chalk paint on almost anything, walls, kitchen cabinets, metal, wood, and even fabric. However, the most common use is to give new life to your outdated furniture or to make new pieces look distressed and vintage.
The great thing about chalk paint is that you won’t need a huge learning curve or a lot of preparation before starting a project. You can just dive right into it.
So, how to apply chalk paint to furniture? Let’s discuss tips for painting with chalk paint:
1. To Prep or Prime First?
The best benefit of painting with chalk paint is that you don’t need to prepare much with no priming. You only need to prep or sand the furniture if the surfaces are uneven, or if the piece is damaged, and needs patching.

It doesn’t matter if you have an old dresser, a glossy walnut table, or your mom’s old glass-doored hutch from the 80s, chalk paint can bring all your furniture back to life. You simply need to remove any hardware you don’t want to be painted and go for chalk paint.
2. It Doesn’t Have to Be Perfect
You don’t need to be perfect at painting to try your luck with chalk paint. If you finish the piece by distressing it with sandpaper, the irregular and imperfect surface will help you attain that look.
However, just like any paint application, you have to avoid runs and drips. Moreover, if that happens, you can just sand the piece down.
3. Clean the Furniture Piece First
You need to make sure your furniture surface is clean and repair imperfections if any. You can use a cleaner and degreaser for this purpose.
The point of cleaning the furniture is to wipe off any dirt and grime off the piece before you begin the paint project.
4. Getting a Smooth Finish with Chalk Paint
When you start with chalk paint, ensure to paint with several thin coats. It’s better than dabbing on a thick messy coat the first time.
You can also try applying the first layer of chalk paint with a brush and then rolling with a second layer. Make sure to apply long strokes of the brush. If necessary, thin out the chalk paint using paint thinner if its consistency is thick. Don’t forget to dispose of the paint thinner after using it.
Most furniture pieces may require a second coat. Just add a paint layer and see how it goes.
5. Perfect Time to Sand
Sanding seems to be a process in painting that helps achieve a smoother finish. You can do sanding until you like the way your furniture piece looks. Make sure to remove all the dust before finishing the step.
6. How to Apply Chalk Paint to Furniture?
For using chalk paint, you can get a paintbrush specifically designed for chalk painting, or get one that is not too expensive. Remember! You don’t need to go for pretty here, you just need enough good coverage for painting old furniture with chalk paint.
Moreover, avoid using a natural bristle brush made for oil-based paints and stains. Like other DIY paint projects, there’s always much to learn with applying chalk paint.
While cleaning your brushes, remember chalk paint is a water-based medium. You only need soapy water for a thorough cleanup. If you expose your paintbrushes to water, it will ruin them.
7. Distressing a Furniture Piece the Easy Way
The last step is distressing, which refers to giving your furniture pieces a vintage and old-school charming look.
While this step is not necessarily essential and may not work with your house decor, distressing is popular with chalk paint.
The key is to do the distressing naturally. Think of the areas where a furniture piece will naturally wear over time and remove the paint there. Typically, these areas are around handles, knobs, corners, along edges, and random spots.
The secret to a perfect distressed look is sanding just enough that the piece will look like a perfect vintage piece from many generations ago. Moreover, another popular tip is to apply Vaseline on the spots where wearing out might take place in the future.
5 Mistakes to Avoid While Applying Chalk Paint
Now you know all about how to use chalk paint on furniture. Let’s talk about mistakes to avoid while applying chalk paint:
1. Overloading Your Paint Brush
Never overload your paintbrush with paint. This is the first and foremost rule with every kind of painting. You can add paint to your paintbrush but it will be harder to take it away. Too much paint can also lead to paint oozing, smudging, and general messiness.
While applying chalk paint, wipe your paint brush on a lint-free cotton cloth or on your roller tray to remove the excess paint.
2. Painting the Top Side First
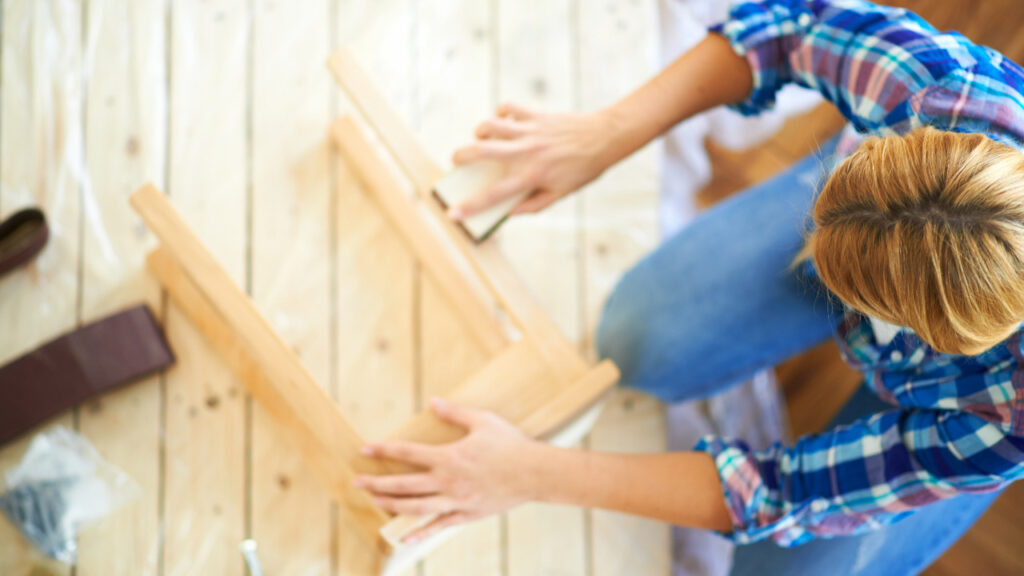
When you are painting a chair, you must turn it upside down and paint the underneath first. In this way, you won’t miss bits of the furniture and it’s a fun way to paint.
3. Waiting Too Long Before Removing Tape
Before removing the stencil, let the paint dry slightly, rather than waiting for it to get completely dry. This rule also applies to the painter’s tape.
When you remove the tape on dry paint, it can potentially crack. That’s why it’s best to do it when the paint is dry enough but still a little wet.
4. Following the Paint Trends
Always follow your heart’s voice while choosing a paint trend. For example, you can’t paint your kitchen red if it’s not a color you like.
It doesn’t matter if fashion tells you to do it, you can choose a color of your liking because you will have to live with it every day.
5. Overthinking the Paint Effects
You can use chalk paint to create any paint effect, from industrial rustic to bone-inlay effects. You can decide what style you want before you start painting your project. Choose a paint effect that suits your home and personality.
Use Chalk Paint for Indoor Paint Projects!
Chalk paint is the best painting project to do indoors. It’s recommended for interior room painting such as ceilings, walls, floors, furniture, cabinets, etc., because of the need to seal the final coat.
Chalk paint is a quick way to give any surface you want a refurbished and fresh look.