Have you used chalk paint as a quick fix for an at-home DIY paint project and want to elevate your painted piece? Or have you stumbled upon a cheap thrift piece and want to fix the paintwork? Painting over chalk paint can do the job for you.
It will not cost you much and you can do it yourself with just a few easy steps. Let’s discuss how to paint over chalk paint in detail.
Table of Contents
8 Easy Steps to Painting Over Chalk Paint
Chalk paint is not chalkboard paint. It is actually a decorative paint with a matte sheen and will give your furniture a farmhouse style, old vintage vibe.
If you are a DIY paint enthusiast, follow the steps outlined below to achieve a beautifully painted surface when freshening old chalk paint pieces.
1. Prepare Your Workspace
A well-organized, laid-out workspace will help you reduce time spent fidgeting for supplies and ensure you get the best results. Keep this in mind whenever you start a DIY paint project.
If your workspace is well-prepared, it will create a stress-free environment and allow you to feel relaxed. So, take out your paint supplies, and let’s get to work.
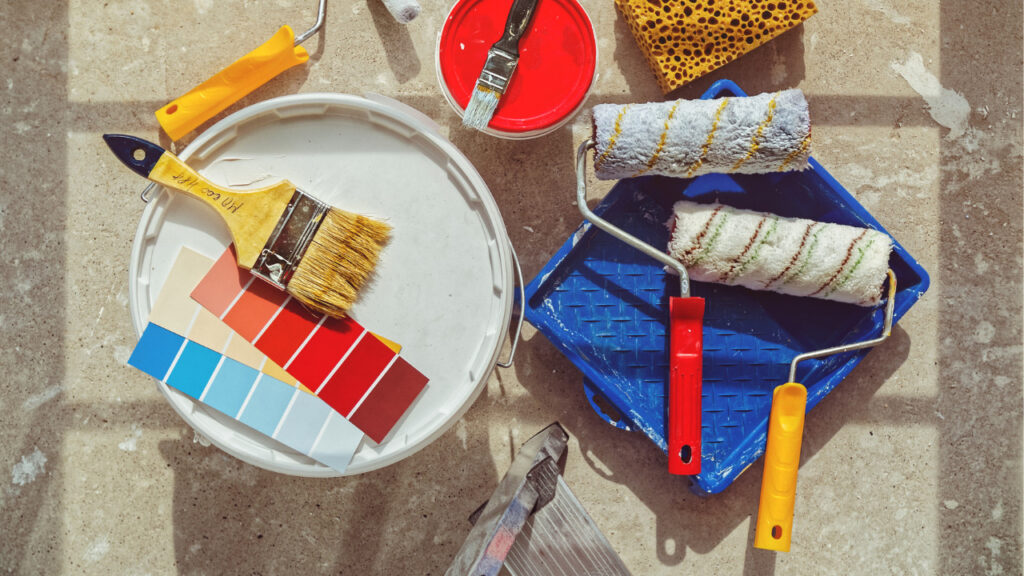
Here’s a breakdown of the paint supplies you will need for painting over chalk paint:
- Gloves
- Mineral Spirits
- Scrub Pads (Scotch Brite)
- Primer
- Paint of your choice
- Cloth or rag

2. Consider the Finish of the Furniture Piece
Take an assessment of the furniture piece to determine what kind of finish you want for it.
Check if the piece has a sealant applied on top, such as clear wax. It is usually used over chalk paint to help protect it. Chalk paint has the advantage of giving a drip-free application. However, it requires a topcoat to last for long periods.
If the sealant wax is fresh and hasn’t fully cured, the new paint may not adhere properly to the piece.
You can check whether a sealant application is present on the piece you are working on. Simply conduct a water test by dropping a few water drops onto the piece, if the droplets get absorbed, there is no sealant.
However, if the water glides right off, and does not penetrate the surface, you are dealing with a wax sealant.
The best news is you can paint over furniture covered in chalk paint wax. You are good to go if the wax is not fresh and appears to be thoroughly dried.
3. Sand the Piece
The next step is to sand the furniture piece.
You can skip this step if the chalk-painted furniture has a smooth finish. If that’s the case, you can simply clean the furniture piece before repainting.
If you choose to sand your piece, it will help ensure a smooth base for the new paint layer to sit on top of. Sanding also reveals imperfections that you can later deal with.
4. Dealing with Furniture with Multiple Layers of Paint
You will need to put a bit more effort if there are several coats of old paint over the furniture piece. It can become challenging, though.
The best strategy is to use a power sander such as an orbital sander, disk sander, or belt sander to sand off your piece.
If you want to repaint the piece, you don’t need to remove all of the paint Just ensure the entire furniture piece is smooth and ready to be repainted.
5. Dealing with Minimal Coats of Paint
If your chalk-painted furniture is in great shape, you don’t need to do a complete sanding. All you need is an update with a fresh coat of paint.
To do that, grab some medium-grit sandpaper and rough up the furniture surface because the existing finish does not need complete removal.
6. Dust and Clean the Piece
Your furniture piece will be full of dust particles after sanding. You will need to clean the surface and the crevices. Use a dry, lint-free cloth to clean the surface and remove all dirt and debris.
Follow up with a damp cloth to clean any grime. This step is crucial because old furniture pieces tend to develop greasy grime from usage.
This grime may get built into a sticky layer, resembling a glossy topcoat. It will not allow the paint to adhere or allow you to achieve a smooth paint job.
Mineral spirit will remove any oily substances you find on the surface. Before using it, read the instructions on the can for the proper use and best results.
7. Prime Your Furniture Piece
Priming your furniture with a primer is optional. It depends on what kind of color you choose for painting over chalk paint.
If you are painting with white or another light color, you only need one to two coats of primer to save your paint job in the long run.
If you have time, energy, and resources, using a primer for your furniture is a great way to set your canvas for painting.
White primers also help the new paint layer to appear true to the color. However, if you don’t have much time and primer, you can skip priming when painting over chalk paint.
One thing to keep in mind is the paint you apply may appear slightly different depending on the base color of the furniture piece.
If you don’t have the primer, you can use the ceiling paint as a primer.
8. Finally, Paint the Piece
Finally, you have reached the painting step. You will need a good paintbrush at this point to minimize the brush marks.
You can choose any paint of your liking. You can look through different types of paints and decide which color should go on the furniture piece.


